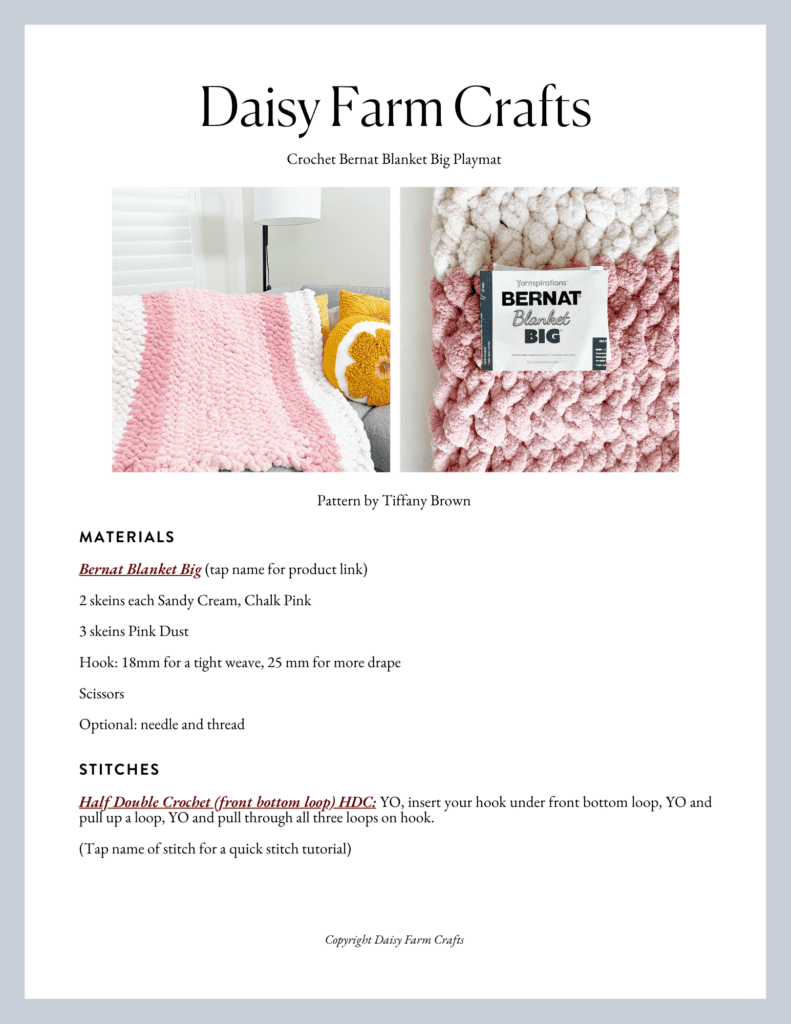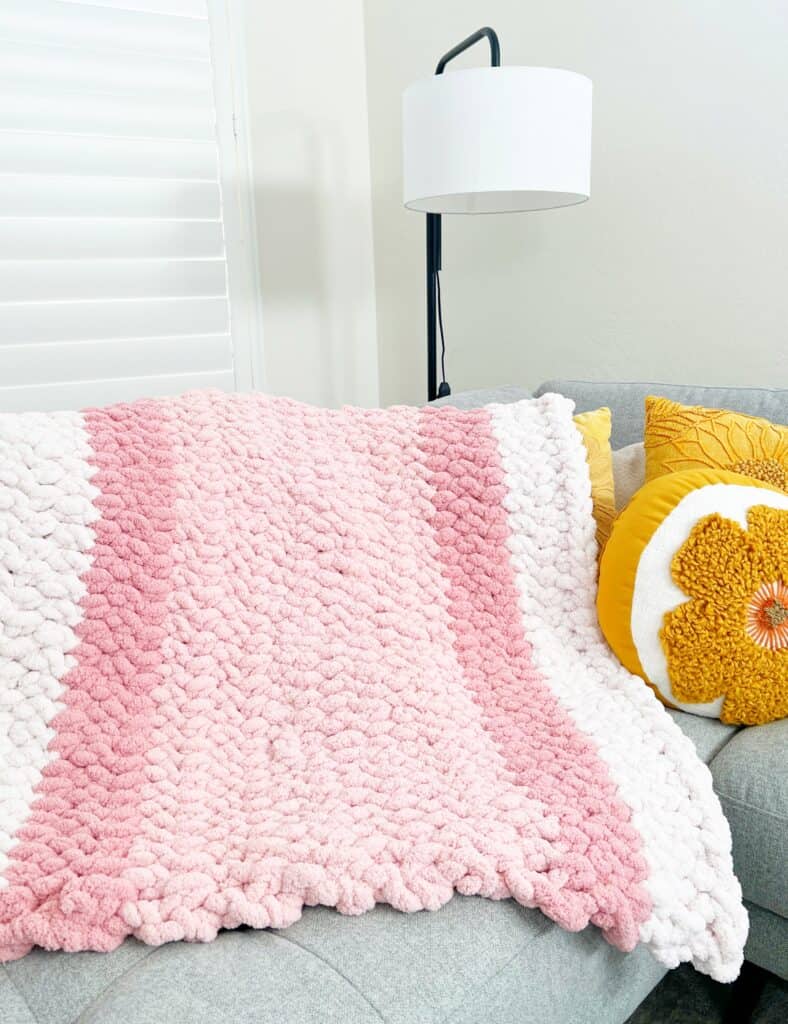
I made a playmat for baby Kate! I love using the Bernat Blanket Big yarn for this type of project.
I made a hand-knit one for baby James, and Hannah loved having a soft cozy mat to quickly layout on the floor for him.
That project is just a Youtube video tutorial, if you are interested in learning how to make one.
I also wanted to see how crocheting one for baby Kate, instead of hand-knitting, would turn out. I wanted a tighter weave that really would give me that mat feel.
The crochet version is much thicker than the knit version as well.
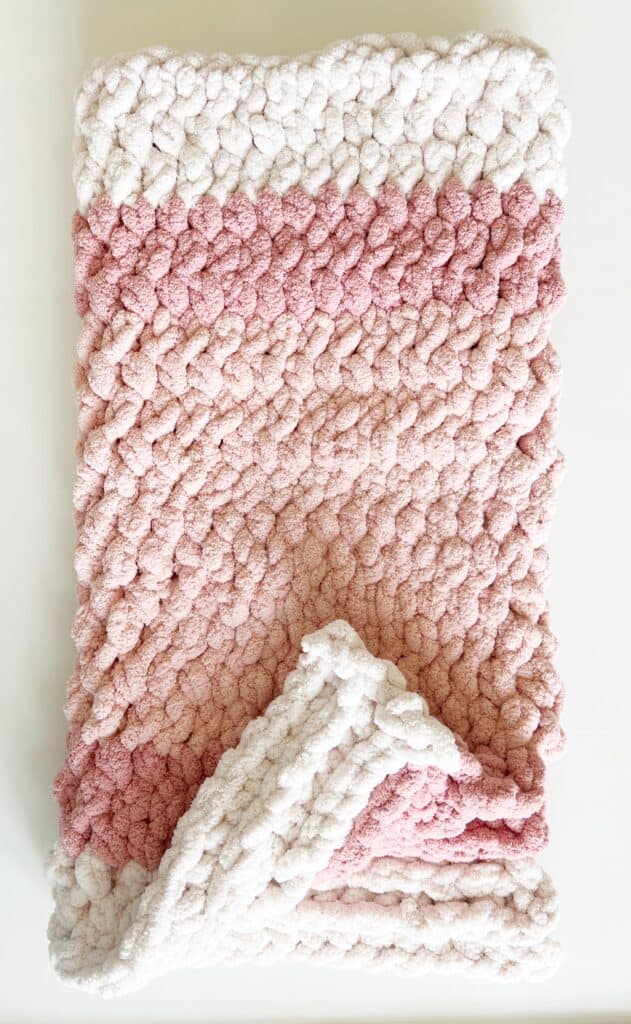
I’m using a variation of half double crochet which I believe some call the camel stitch. I am working in the front bottom loop of the HDC. However, each row will be different as to how you reach the hook around the loop.
I will explain it as much as possible in the pattern, but I did film a tutorial that can further clarify how to insert your hook so the “braids” will be on one side of the blanket, and the other side will have a flat look.
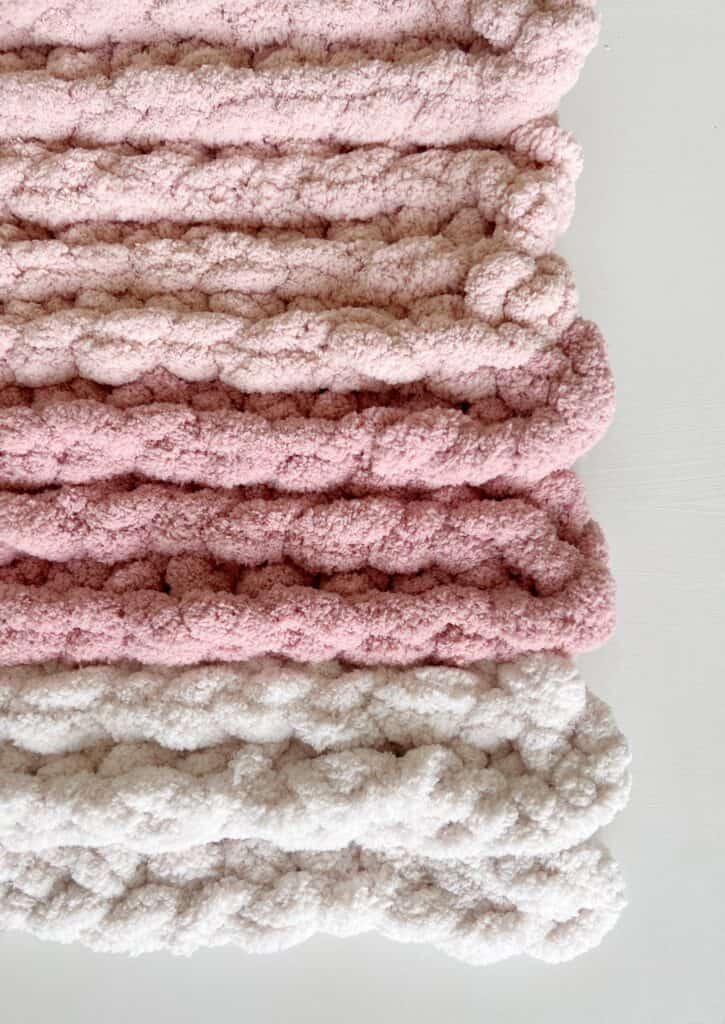
Here is a picture of what I’m calling the back side or the braided side:
This project can be finished in just a few hours as the yarn is so thick. I was surprised how fast I finished this.
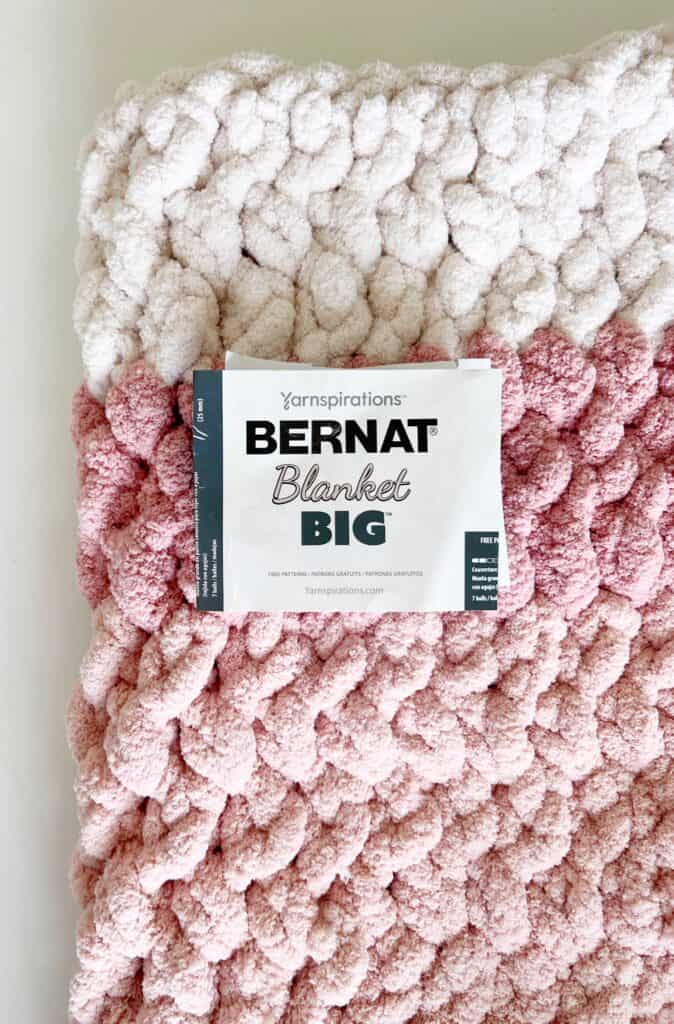
This yarn is being sold exclusively at Michael’s craft stores. If you need it from Joanns or Yarnspirations.com, it is labeled as Bernat Blanket Extra Thick.
Materials
Size 38 x 38 inches approximately
2 skeins each Sandy Cream, Chalk Pink
3 skeins Pink Dust
Hook: 18mm for a tight weave, 25 mm for more drape
scissors
Optional: needle and thread
Stitches
Half Double Crochet (front bottom loop) HDC: YO, insert your hook under front bottom loop, YO and pull up a loop, YO and pull through all three loops on hook. Tap name of stitch for a quick stitch tutorial
Pattern
Chain 32 with Sandy Cream
Row 1: Begin in the 3rd chain from the hook with HDC. HDC into each chain across the row. CH 2 and turn. (30)
Row 2: (Smooth side). HDC into the front bottom loop of each HDC across the row. CH 2 and turn. (30)
Row 3: (Braided side) YO and insert your hook from the back to front and around the front bottom loop, YO and pull through all loops to finish the HDC. HDC in this manner into each HDC across the row. Change color on the last st to Chalk Pink. CH 2 and turn. (30)
Row 4-6: Repeat row 2 and 3 instructions. Change color to Pink Dust on the last st of row 6.
Row 7-15: With Pink Dust continue row 2 and 3 instructions. Change color at the end of row 15 to Chalk Pink
Row 16-18: With Chalk Pink, continue pattern. At the end of row 18, change color to Sandy Cream.
Row 19-21: With Sandy Cream, continue pattern. Tie off after row 21.
To weave in the ends, use your hook to weave the ends in and around stitches. Weave in about 12 inches of tail to make sure it’s secure. For further security, with a needle and thread, after weaving through the stitches, sew the end to a stitch.
Link to the Youtube Tutorial below:
Thanks so much for stopping by! If you decide to make this, come and join the Daisy Farm Crafters Group on Facebook and show us! We have 65,000 crochet friends there making and sharing DFC patterns. It is fun to see the projects made with different colors.
Happy Crocheting!
XO, Tiffany

