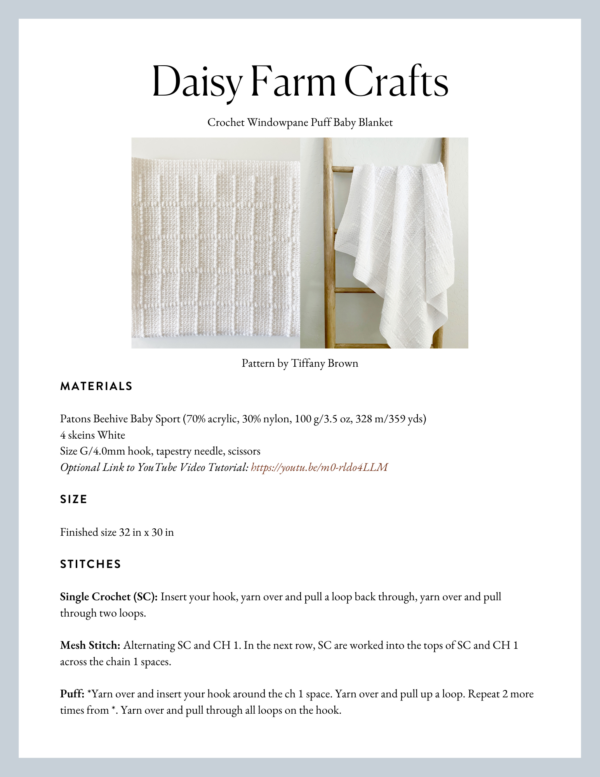
Post update: Baby Jack is here! And he loves his blanket!
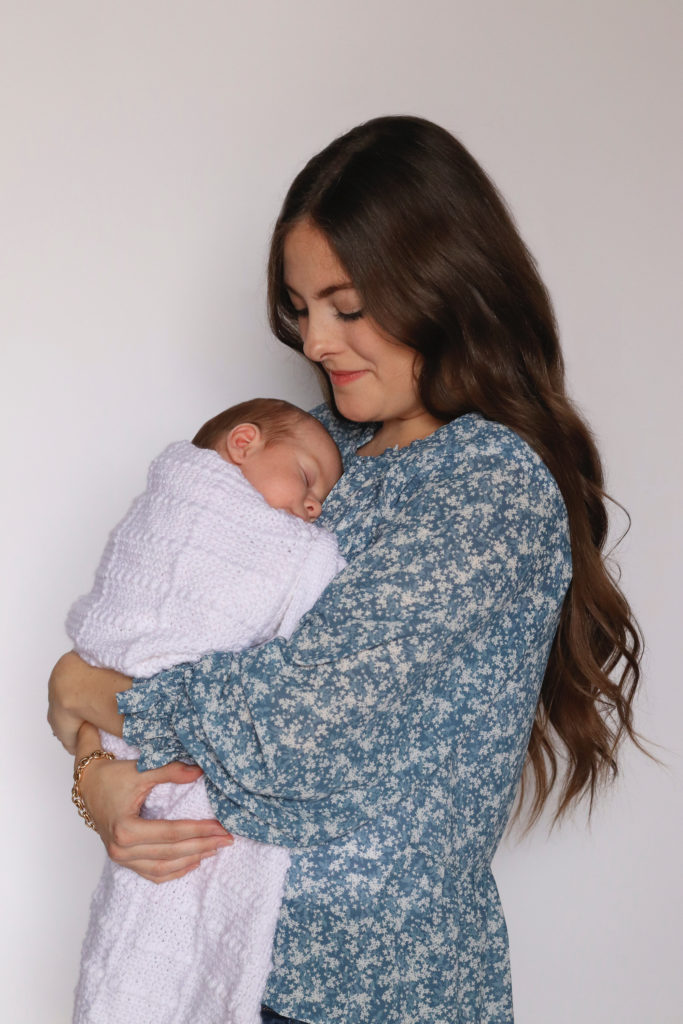
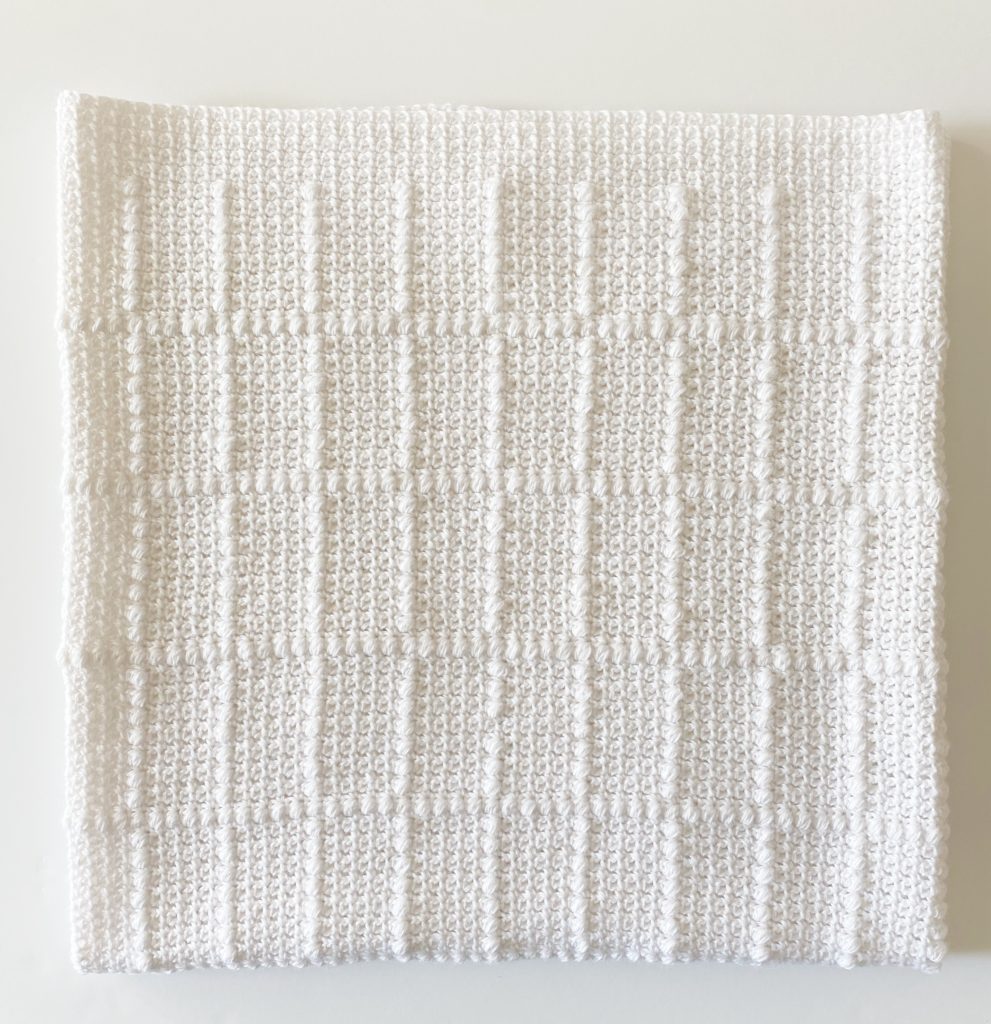
My first grandbaby is due in December 2020 and I’m getting a few newborn blankets finished for him. This is going to be his blessing blanket. My daughter-in-law Elizabeth, the almost to be new mommy of this little guy, helped me design this blanket.
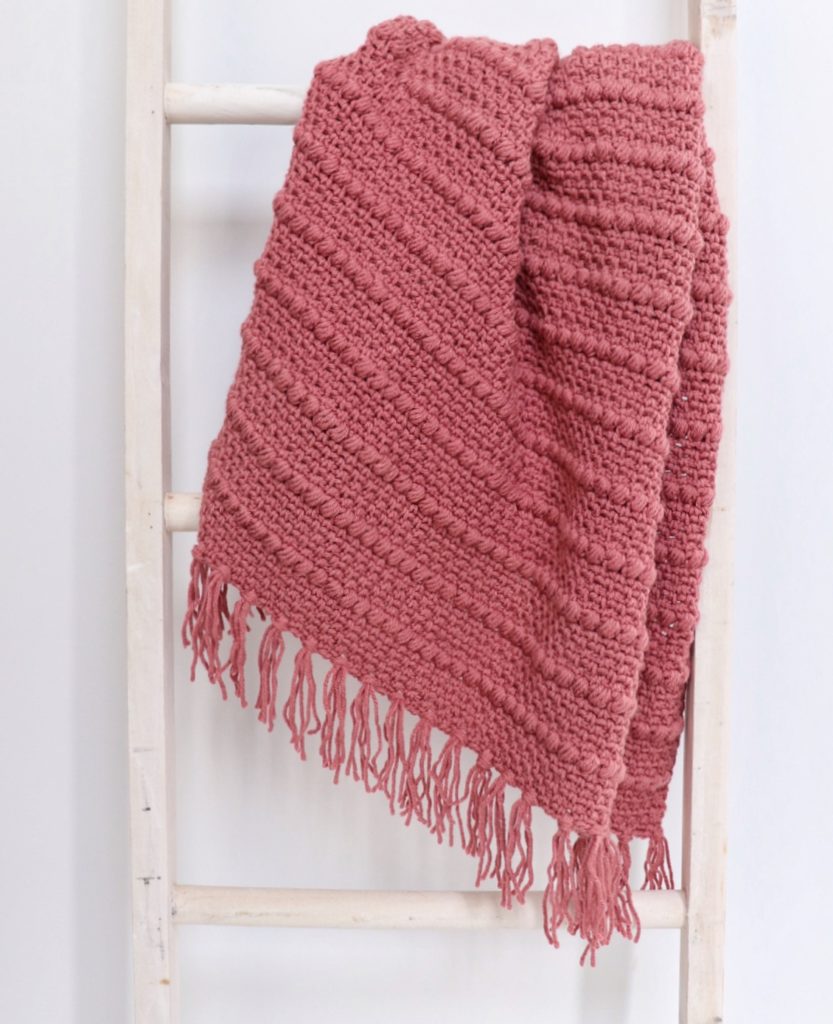
We really liked Hannah’s Boho Puff Stripes Blanket and based our design on it.
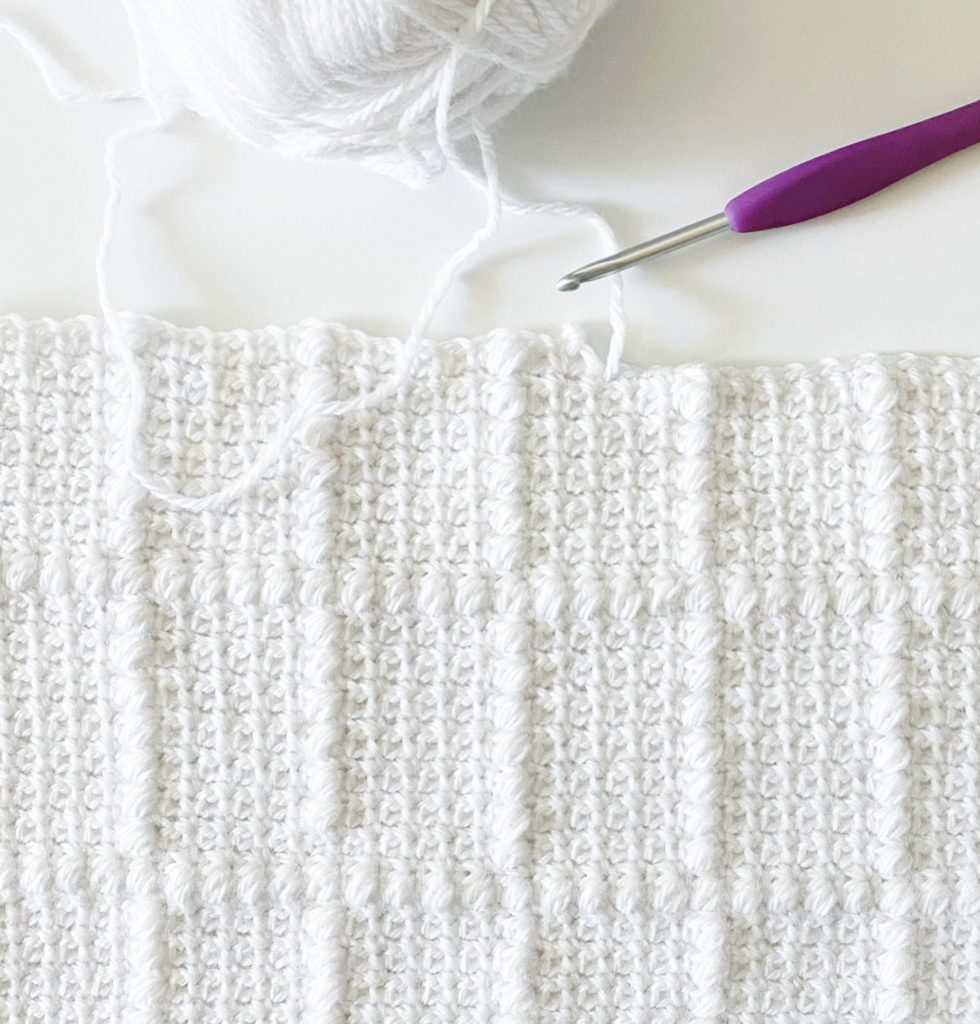
We designed this with more of a windowpane look and changed the main stitch from moss stitch to mesh stitch. Overall, we really are in love with how it turned out and think it will make a nice blessing blanket and hopefully an heirloom to be passed down.
Materials
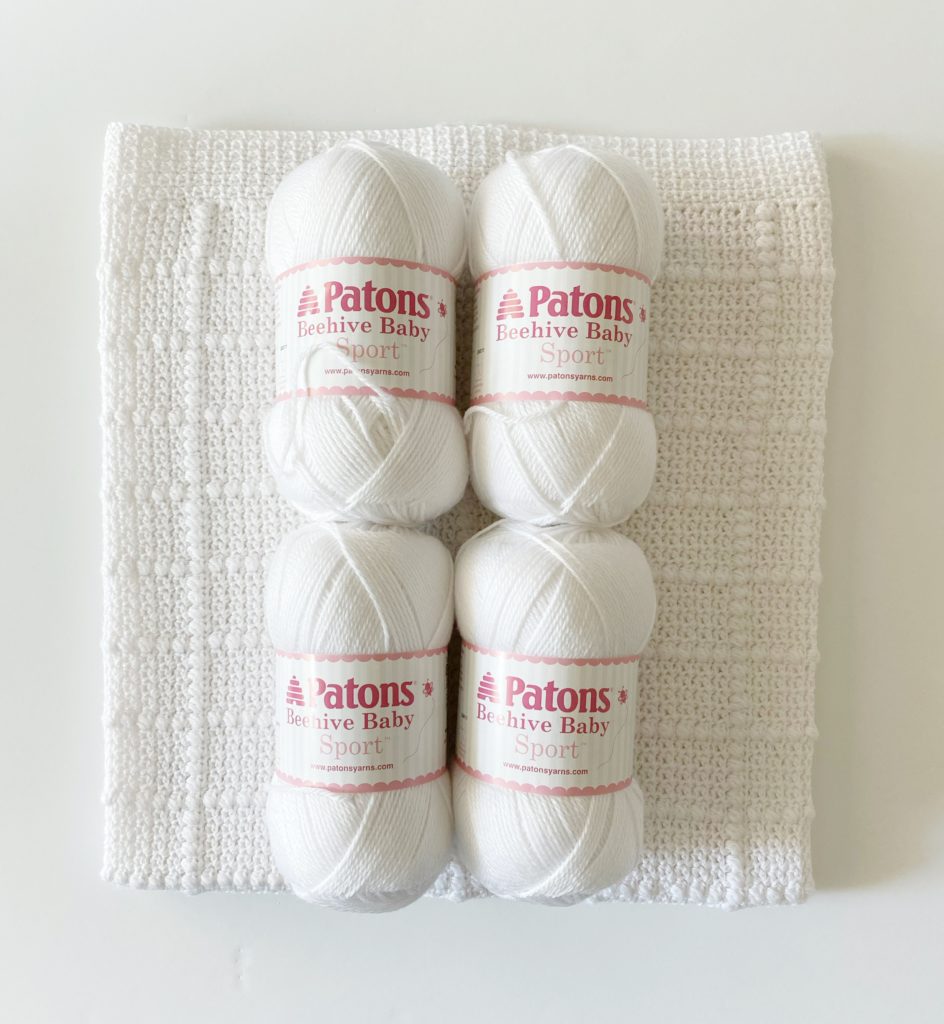
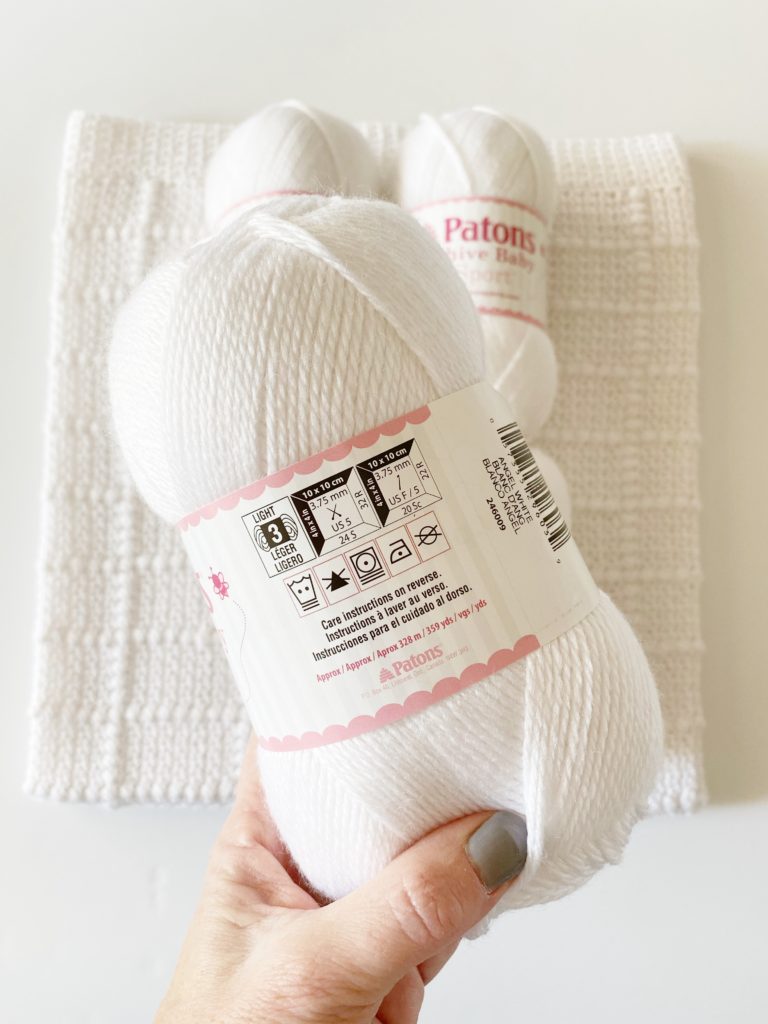
Patons Beehive Baby Sport (70% acrylic, 30% nylon, 100 g/3.5 oz, 328 m/359 yds)
4 skeins White
Size G/4.0mm hook, tapestry needle, scissors
Size
Finished size 32 in x 30 in
Stitches
Single Crochet (SC): Insert your hook, yarn over and pull a loop back through, yarn over and pull through two loops.
Mesh Stitch: Alternating SC and CH 1. In the next row, SC are worked into the tops of SC and CH 1 across the chain 1 spaces.
Puff: *Yarn over and insert your hook around the ch 1 space. Yarn over and pull up a loop. Repeat 2 more times from *. Yarn over and pull through all loops on the hook.
Pattern
Chain 100. (Pattern repeat is any multiple of 10.)
Tip: Work a small practice swatch and see if using a hook one size smaller for the chain and first row only will help to keep the starting row a bit tighter. The skipped chain on the starting chain can sag and you want to try and avoid that.
ROW 1: Work 1 single crochet (SC) into the second chain from the hook. Chain (ch) 1 and skip (sk) the next chain. Work 1 SC into the next chain space. Repeat from * across the row, you should end with a SC into the last chain. Ch 1 and turn. (This is the Mesh Stitch.)
ROW 2: Work 1 SC into the SC, *ch 1, skip chain, work SC into the SC. Repeat from * 3 times for a total of 5 SC stitches and 4 ch stitches. Work 1 Puff around the chain space (the tenth stitch). **Work Mesh Stitch across next 9 stitches, work 1 puff into the 10th chain. Repeat from ** across the row, end with Mesh Stitch across the last 9 stitches. Chain 1 and turn.
ROWS 3 – 15: Repeat Rows 1 and 2.
ROW 16: *Work SC into SC and Puff stitch around each ch 1. Repeat from * across the row. Chain 1 and turn.
Repeat Rows 2 – 16 until blanket measures 30 inches or to desired height.
Tie off and weave in all the ends before beginning the border.
Border
Pull up a loop in any corner, work one round of SC evenly around the entire blanket, working 3 SC into each corner space.
Tip: It may help to use one size smaller hook for this round and work 2 SC into the tops of the SC’s and skip the CH 1 spaces. On the sides of the blanket, work 2 SC at the end of a row and then skip a row. Try this tip around your practice swatch first, you may not need to use this tip, it’s just a suggestion if you find your border is wavy.
Join with a slip stitch to the end of the round, ch 1 and turn. Change back to the larger hook size if you worked the first round with a smaller hook.
Work the mesh stitch around the blanket, working 3 SC into the middle SC of the corners.
Tip: When approaching the corners, break from the mesh stitch pattern in order to work 3 SC into the middle stitch. You will always work 3 SC into the middle SC that makes the corner, so if that means 4 SC are in a row, it’s okay.
Also, as the rounds grow around the corners, sometimes you will be working a CH across a SC in order to keep the mesh stitch consistent.
Join each round with a slip stitch, ch 1 and turn. Make as many rounds as needed to achieve a 2-inch border. (I worked 12 rounds)
Tie off and weave in the ends.
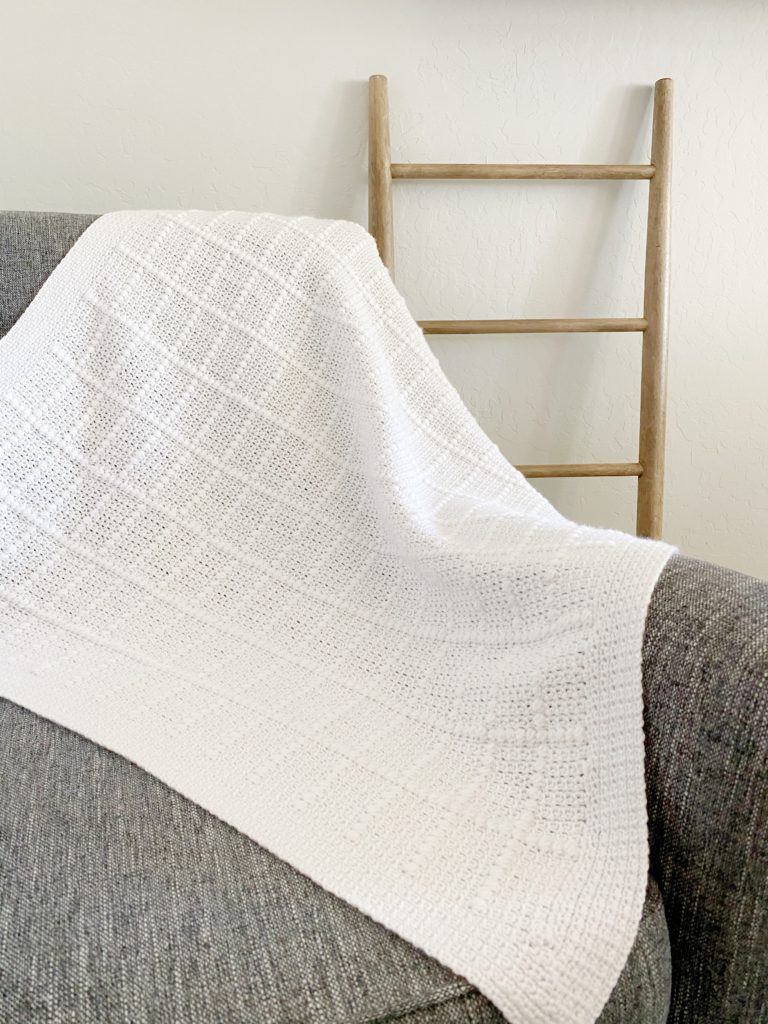
If you need help with a video, I also have made a YouTube Tutorial that accompanies this pattern and can help you learn the stitches.
I really can’t wait to take pictures of my grandbaby and this blanket!
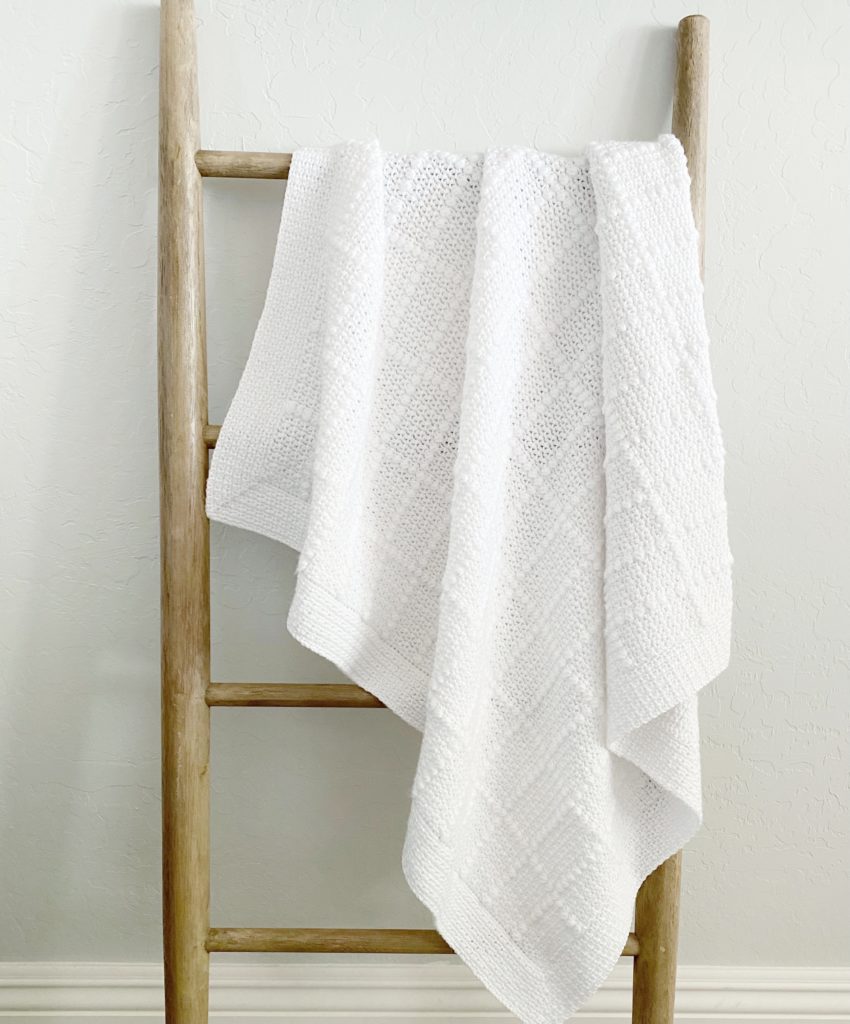
If you’d like to add finishing touches to your blanket, lay it out flat on a towel or foam blocking boards if you have them. Use a spray bottle with water to dampen the blanket. Press the blanket into straight lines, massaging the stitches and adjusting your tension. Pin with straight pins and let it dry.
Thanks so much for stopping by! xo, Tiffany
Click here or on image below for printable pattern

