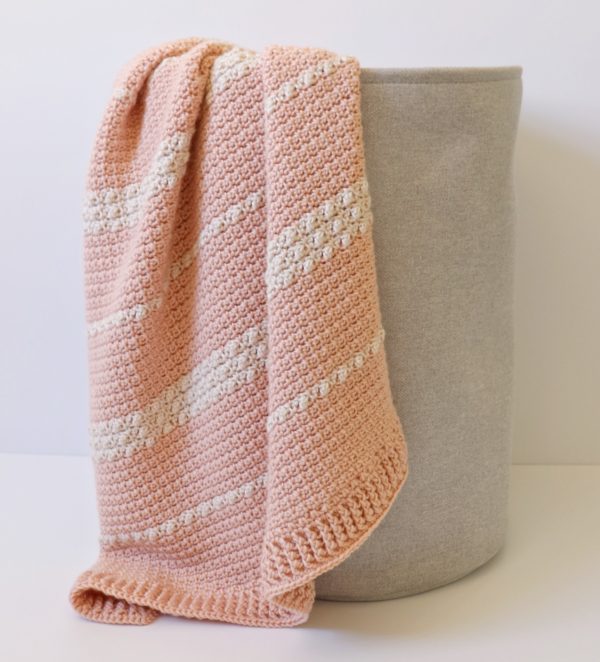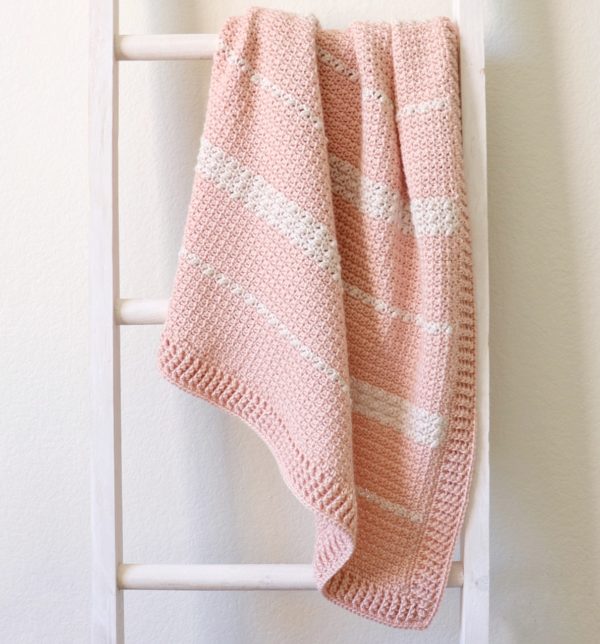
I found this Caron Pantone x Bamboo yarn on sale at my local Michael’s earlier this summer, and I’m glad I finally had the chance to try it out! The yarn is so nice and soft and I love how it worked up into a blanket.
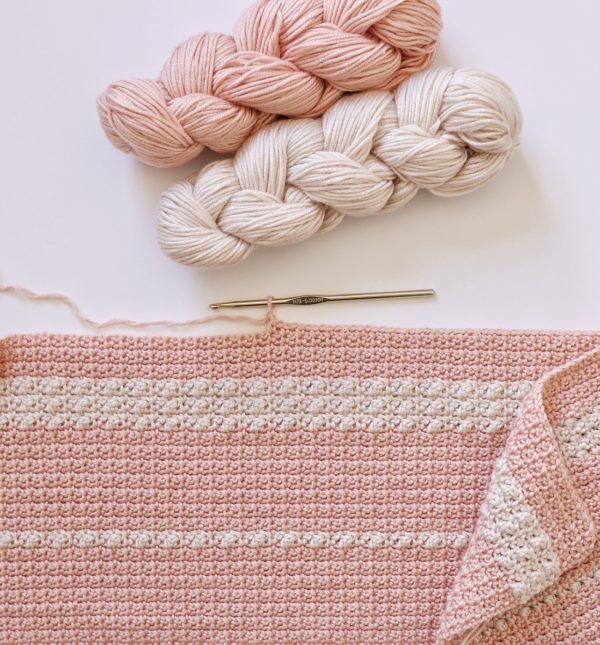
The only challenge of this yarn is that it comes in braids that you have to roll into a ball before you get started (there’s no way to pull from the braids). The first time I tried rolling one I ended up with a big mess, but then I watched this video from Yarnspirations that gives some suggestions for rolling and it definitely helped me roll them a lot faster.
I love the way this blanket turned out with this yarn, but I think this pattern would like great in other yarns as well! The blanket is essentially all the mesh stitch, with some berry stitches subbed in on the off-white rows. I chose the berry stitch because I wanted the definition on those rows to be more subtle, but if you really want them to pop you could use a DC5tog cluster bobble instead. 🙂
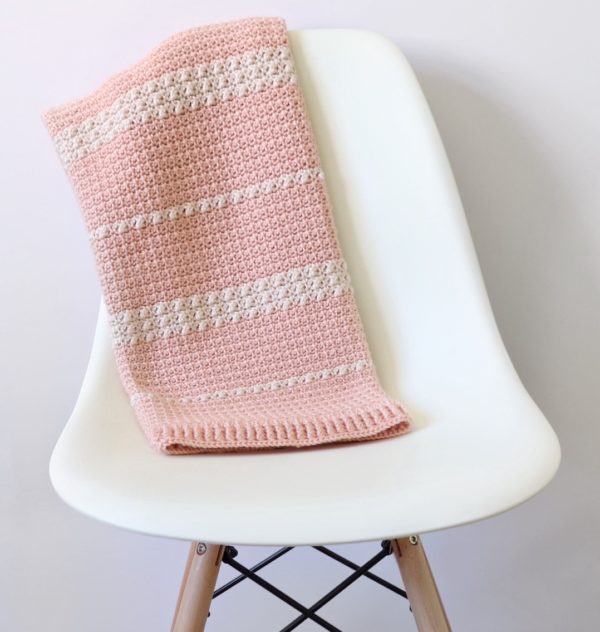
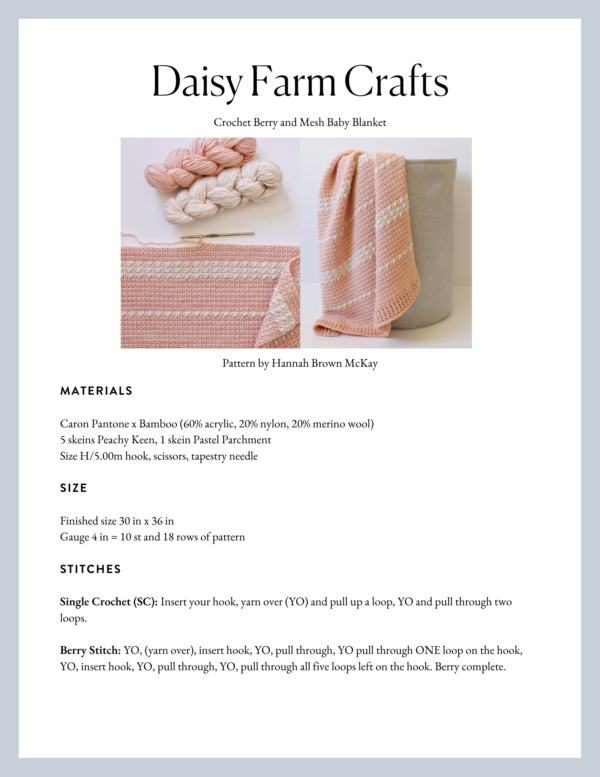
Materials
Caron Pantone x Bamboo (60% acrylic, 20% nylon, 20% merino wool)
5 skeins Peachy Keen, 1 skein Pastel Parchment
Size H/5.00m hook, scissors, tapestry needle
Size
Finished size 30 in x 36 in
Gauge 4 in = 10 st and 18 rows of pattern
Stitches
Single Crochet (SC): Insert your hook, yarn over (YO) and pull up a loop, YO and pull through two loops.Single Crochet (SC): Insert your hook, yarn over (YO) and pull up a loop, YO and pull through two loops.
Berry Stitch: YO, (yarn over), insert hook, YO, pull through, YO pull through ONE loop on the hook, YO, insert hook, YO, pull through, YO, pull through all five loops left on the hook. Berry complete.
Double Crochet (DC): YO, insert your hook, YO and pull up a loop, YO and pull through two loops, YO and pull through remaining two loops.
Front and Back Post Double Crochet (FPDC & BPDC): A front post DC means you insert your hook from front to back around the post of the next DC and work your DC. A back post DC means you insert your hook from the back to the front and work a DC.
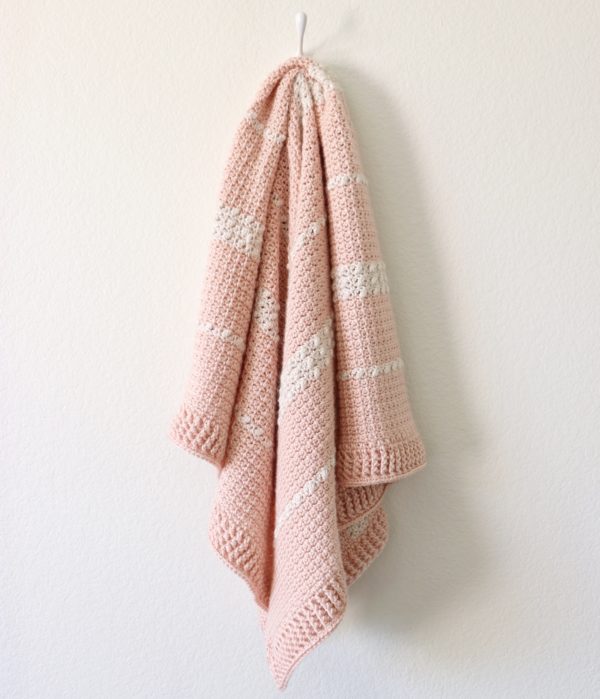
Pattern
Chain 142. (Or any even number that results in an odd number when divided in half. For example, half of 142 is 71.)
Row 1: SC in the 2nd chain from the hook and CH 1. Skip (SK) one chain, then SC, CH 1. Skip the next chain and continue the pattern of SC, CH 1, SK 1 all the way across. Your last stitch in the final chain should be a SC. CH 1 and turn.
Rows 2 – 15: SC into the SC you just made on the row below. CH 1, skip the chain space, SC into the SC. Repeat the sequence all the way across, ending again with a SC in the last SC. CH 1 and turn. When you reach the last SC of row 15, pull through with new color, then CH 1 and turn.
Row 16: SC into the SC you made on the row below. CH 1, skip the chain space, then work a Berry Stitch into the next SC of the row below. Repeat the sequence of *SC, CH 1, skip chain space, Berry Stitch, CH 1, skip chain space* to the end of the row. When you reach the last SC of the row, pull through with first color. CH 1 and turn.
Rows 17 – 31: Work 15 rows of the Mesh Stitch (SC, CH 1, SK 1).
Row 32: SC into the SC you made on the row below. CH 1, skip the chain space, then work a Berry Stitch into the next SC of the row below. Repeat the sequence of SC, CH 1, skip chain space, Berry Stitch, CH 1, skip chain space to the end of the row.
Row 33: Work one row of the Mesh Stitch in the same color. (Make sure you are still skipping the chain spaces and working into the tops of the Berry stitches).
Row 34: Repeat row 32.
Row 35: Repeat row 33.
Row 36: Repeat row 32. On the last stitch, change colors.
Rows 37 – 51: Work 15 rows of the Mesh Stitch.
Repeat rows 16 through 51 for remainder of the blanket. I ended up with 7 off-white sections when my blanket was the length I wanted.

Border
Round 1: Work SC, CH1 in every other stitch around the outside of the blanket (or every other space on the sides.) Slip stitch into starting corner and turn.
Round 2: Chain 3, work a DC into each stitch around the blanket, working 3 DCs into each of the corners.
Note: If your DCs start to make your border wavy, you may try going down a hook size.
Round 3: When you reach the corner you started with, work 3 DCs into the corner, then go around the blanket again, this time alternating front and back post double crochet. When you get to the corners of this row, you will want to continue the pattern of alternating front and back post double crochet, but you will work three stitches around the corner post.
So, for example, if you get to the corner post and you are supposed to work a front post DC, then work a front post DC, a back post DC, and a front post DC all around that corner post. Then in the next stitch you would continue the alternating pattern, working the opposite of whichever stitch you just used (in this example, you would work a back post DC). Just remember that you are always alternating front and back post double crochet around the whole blanket, you just happen to be working three of those stitches around the same post when you are working the corners.
Repeat round 3 as many time as you like, making sure your post DCs are always poking out in the same direction as the previous round.
To finish off the border, I worked one row of SC around the blanket, working 3 SCs into each of the corners. When I reached the corner I started with, I slip stitched into the starting stitch and tied off.
Thank you so much for visiting our blog! When you’re finished with your project, please share a picture with us on Facebook or Instagram using #daisyfarmcrafts, we’d love to see!
