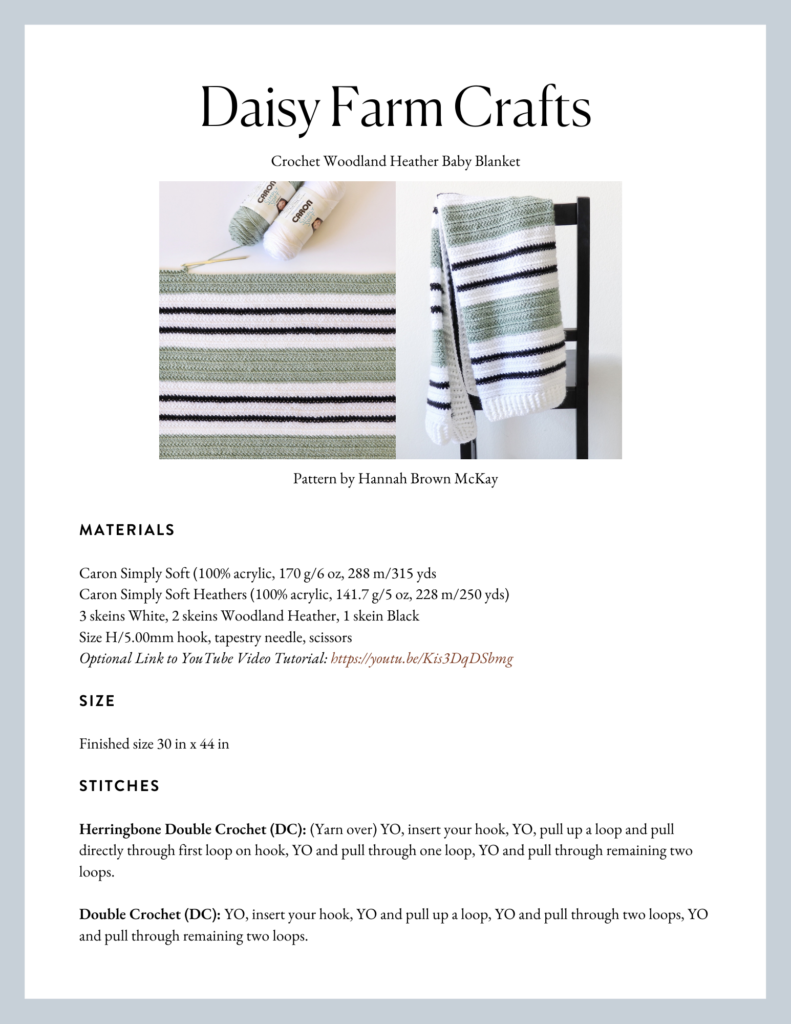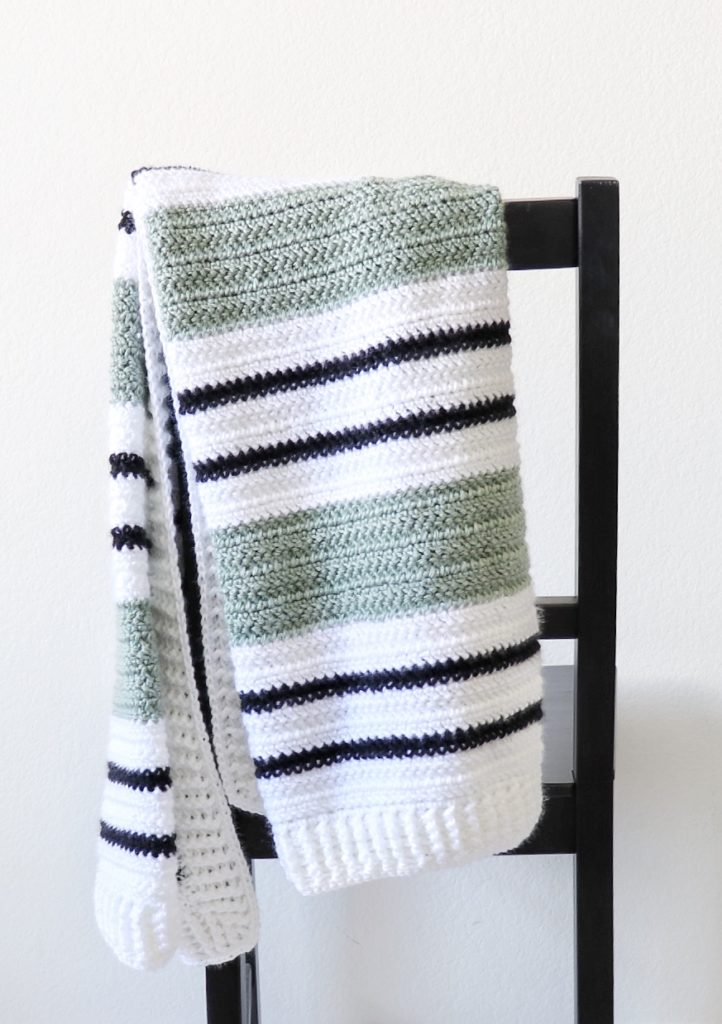
The inspiration for this blanket comes from a beautiful rug that I saw from H&M Home a while ago. I loved the colors and thought it would be a fresh look for a baby boy room (or for a Christmas baby :).
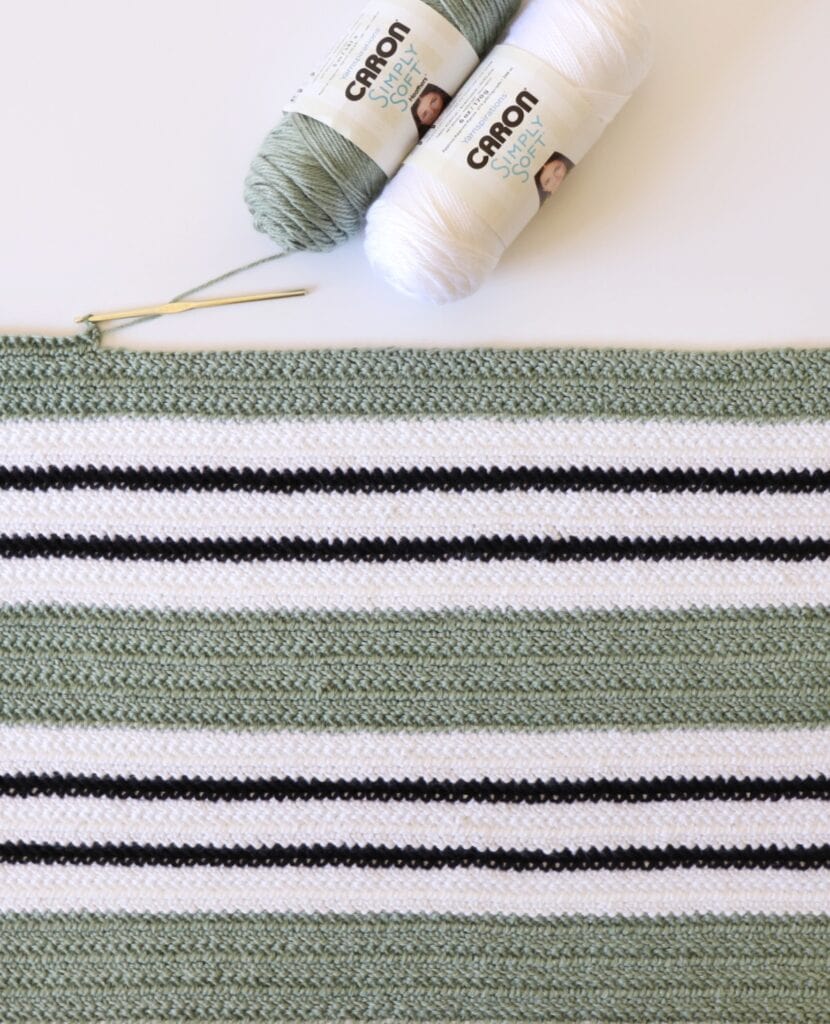
It took me a while to find a color of green that I liked, until one day I was browsing the Yarnspirations website and saw this beautiful Woodland Heather yarn. I wanted to try to get as straight of lines as I could, so I used the regular Herringbone Stitch, which is basically double crochet with a slight variation.
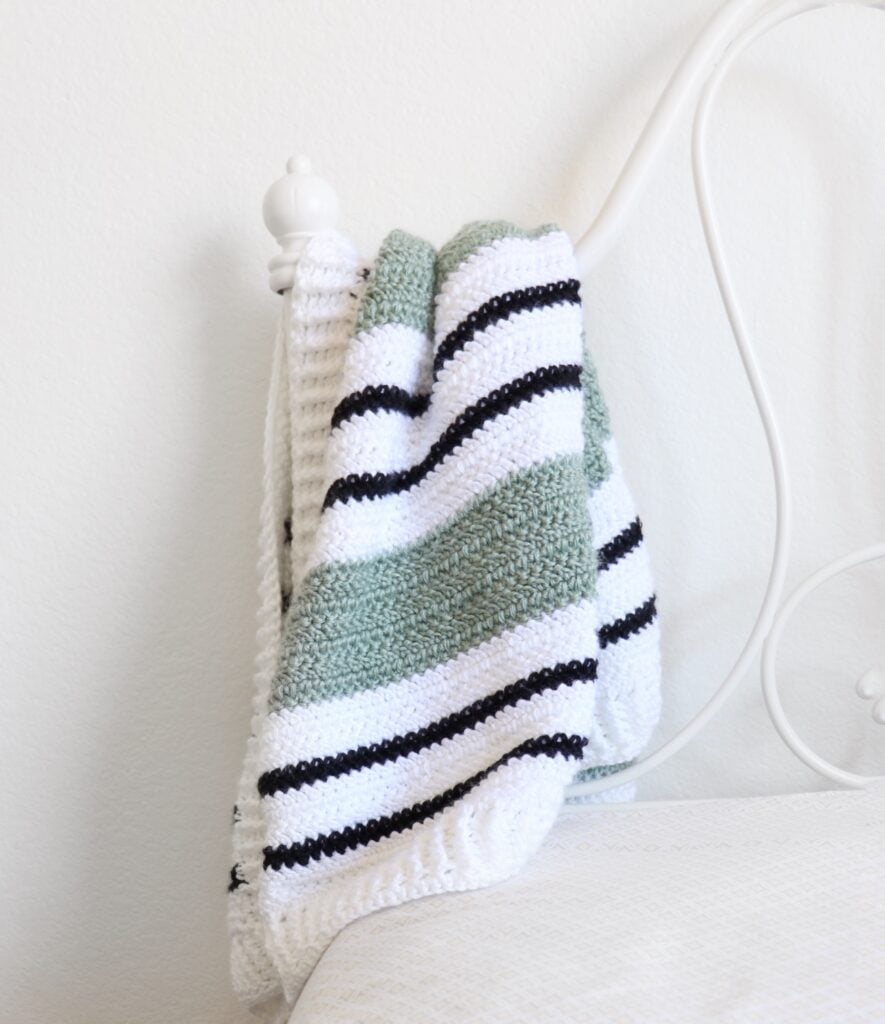
When I finished the blanket I added a front post/back post double crochet ribbed border. When my mom and I have done this border in the past we usually work it back and forth one side at a time, but this time my mom gave me the idea to experiment working it in the round by working three stitches into each of the corners (I’ll explain more how this is done below).
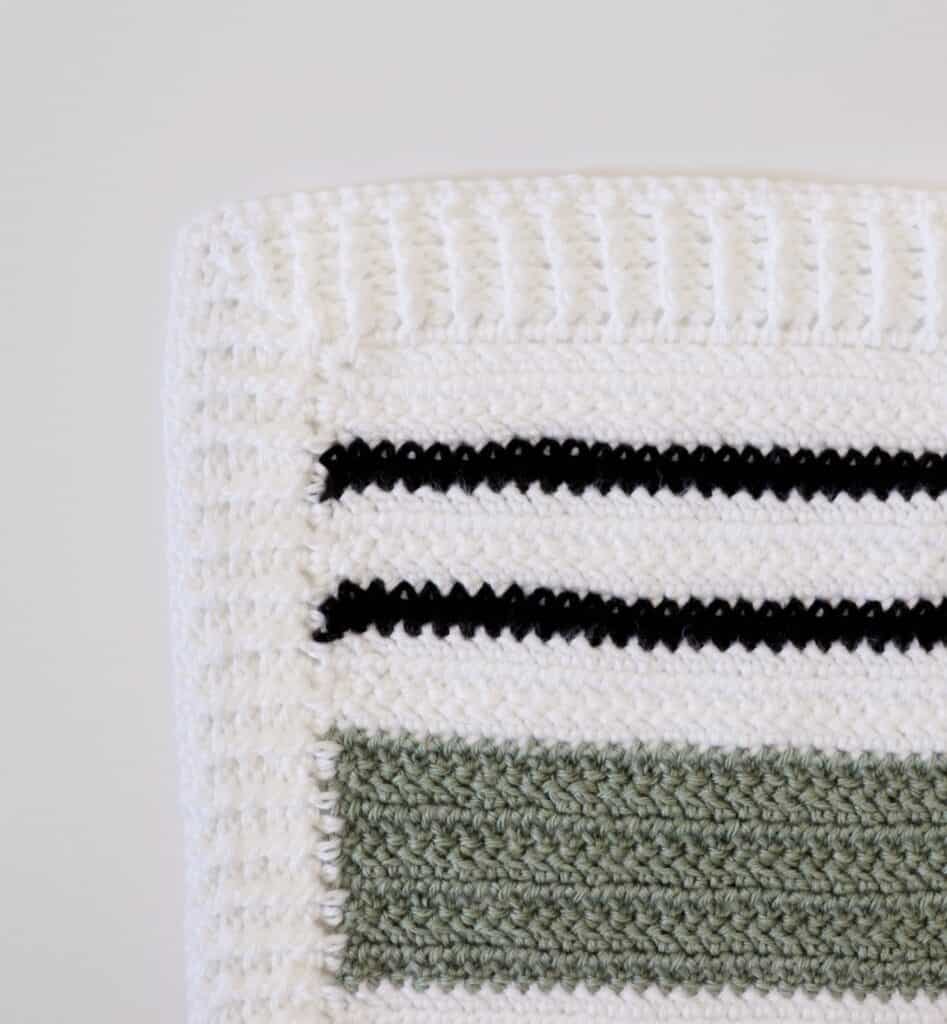
I really liked working around the blanket instead of doing one side at a time and I really like how the corners turned out! I think going around helped to keep the ribbing a little bit straighter and not tug so much at the corners.
Here’s a quick video of the Herringbone Double Crochet Stitch if you’d like to watch before you get started! There’s another video for the border toward the end of the post.
Materials
Caron Simply Soft (100% acrylic, 170 g/6 oz, 288 m/315 yds)
Caron Simply Soft Heathers (100% acrylic, 141.7 g/5 oz, 228 m/250 yds)
3 skeins White, 2 skeins Woodland Heather, 1 skein Black
Size H/5.00mm hook, tapestry needle, scissors
Size
Finished size 30 in x 44 in
Stitches
Herringbone Double Crochet (DC): (Yarn over) YO, insert your hook, YO, pull up a loop and pull directly through first loop on hook, YO and pull through one loop, YO and pull through remaining two loops.
Double Crochet (DC): YO, insert your hook, YO and pull up a loop, YO and pull through two loops, YO and pull through remaining two loops.
Front and Back Post Double Crochet (FPDC & BPDC): A front post DC means you insert your hook from front to back around the post of the next DC and work your DC. A back post DC means you insert your hook from the back to the front and work a DC.
Single Crochet (SC): Insert your hook, YO and pull up a loop, YO and pull through two loops.
Pattern
Chain 95 (or any number) with White.
Row 1: Starting in the 3rd chain from the hook, work 1 Herringbone DC in each chain. CH 2 and turn. (93)
Row 2: I counted the chain 2 as my first stitch, so I started crocheting into the second space of the row below. (Or if that’s confusing, another way to say it is that I went into the 4th chain from the hook). Work 1 Herringbone DC in each stitch across the row. CH 2 and turn.
Repeat row 2 for the remainder of the blanket with the following color changes:
*3 rows White, 1 row Black, 3 rows White, 1 row Black, 3 rows White, 7 rows Woodland Heather. Repeat from * three times, and then repeat black and white rows to match the other end of the blanket.
When you finish the blanket, weave in all your ends with a tapestry needle.
Border
For this border I made a ribbed stitch look on each side of the blanket, working around the blanket five times. I’ll explain how to do this first, and then you can watch a short video clip that shows how to work front post and back post double crochet if you need.
Round 1: Pull up a loop in any corner with White and chain 3. DC around the entire blanket, work 3 DCs into each corner stitch.
Round 2: When you reach the corner you started with, work 3 DCs into that corner, then go around the blanket again, this time alternating front and back post double crochet. When you get to the corners of this row, you will want to continue the pattern of alternating front and back post double crochet, but you will work three stitches around the corner post.
So, for example, if you get to the corner post and you are supposed to work a front post DC, then work a front post DC, a back post DC, and a front post DC all around that corner post. Then in the next stitch you would continue the alternating pattern, working the opposite of whichever stitch you just used (in this example, you would work a back post DC). Just remember that you are always alternating front and back post double crochet around the whole blanket, you just happen to be working three of those stitches around the same post when you are working the corners.
Rounds 3 – 5: When you finish row 2, work 3 alternating front post/back post DCs into the corner you started with and repeat row 2 three more times around the blanket, until you have five rows total, always making sure your post DCs are popping out in the same direction as the previous row.
Round 6: When I finished my fifth row, I worked one round of SC around the entire blanket to even out the tops of the stitches. I worked 3 SCs into the top of each corner stitch and when I reached the corner I started with, I slip stitched into the first stitch and tied off.
Thank you so much for coming to read this pattern, and best of luck with your project! When you are finished please come share a picture with us on Facebook or Instagram, we’d love to see! xo, Hannah

