Single Crochet Weave Scarf by Sugar Joye

Hi everyone! It’s Tiffany here introducing another beautiful scarf my sister Cyndi made and designed. I’ve been teaching her how to crochet and I knew she’d also be more motivated if I taught her to design as well. 

She’s an artist and has always done all sorts of embroidery, cross stitch, painting, collage, you name it, I love her whimsical nature and I’m so thrilled I can share her crochet art. 

You can watch us chat about her journey each Wednesday on the Daisy Farm Crafts Youtube channel. We are sharing lots of laughs along the way as well!

XO, Tiffany

crochet with yarn and hook on table


Hello Crochet Friends! It’s Cyndi, and this week was back to basics for me!  

For those of you who are joining me and learning with me from my sister Tiffany how to crochet, you might know I have been crocheting for a couple of months now.

I’ve learned several different stitches and I have made some really fun scarves but I have found that I’m making the same mistakes over and over and I really needed to take a step back and focus on my skills.

This week on our YouTube show, Crochet Sister Chat, Tiff gave me some great suggestions for how to make a great chain with consistent tension and straight edges and just like life it all begins with a good foundation. 

Check out our chat if you are new like me or if you’re a seasoned crocheter in need of a refresher!

With the goal of precision in mind, this week I designed a scarf project that centered on one stitch and one color and it allowed me to focus on honing the craft.

woman on wearing scarf

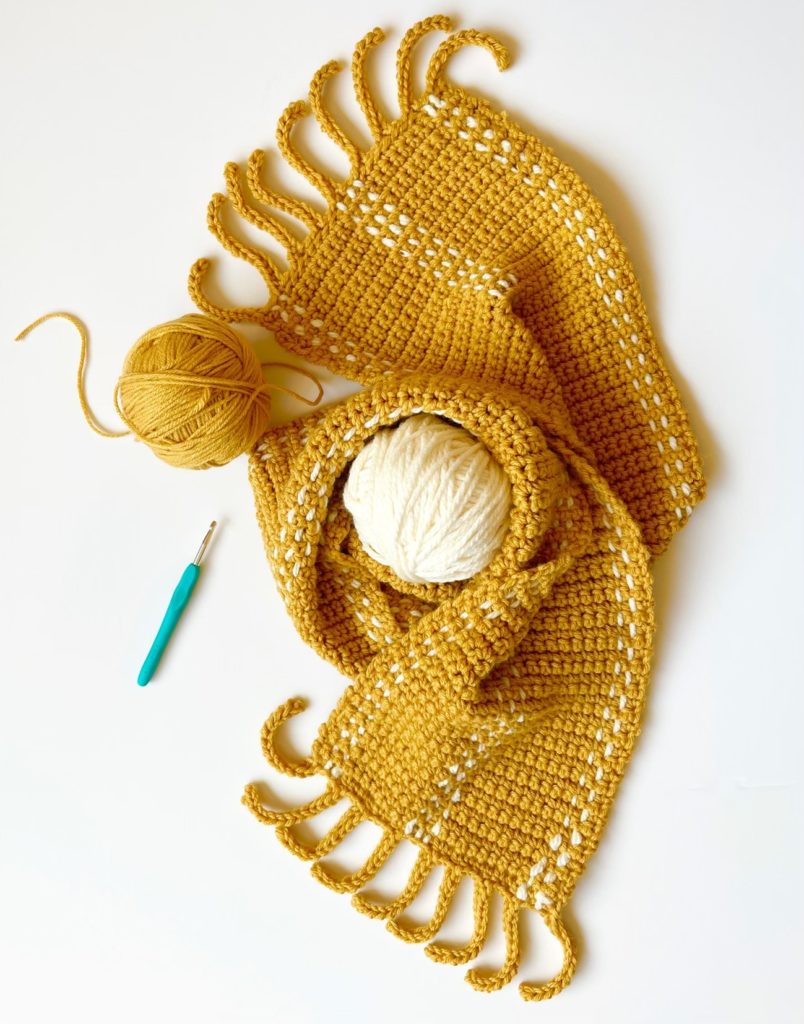
It was a great exercise and to keep it interesting, fun and super stylish -after finishing the body of the scarf I wove in some stripes and tried out a funky fringe technique that I think looks like sun rays. 

woman wearing scarf

It took me approximately  6-8 hours of crochet time and 2 hours to weave in the ends. Be sure and scroll to the end of the post for a free pdf printable version of this pattern. 

Materials  

Caron One Pound (100% acrylic, 7 oz/198g, 364 yds/ 333 m, 4 weight worsted)

1 skein Dijon

Bernat Softee Chunky Yarn (100% acrylic, 3.5oz/100g, 108 yd. / 99m)

1 skein Natural

Size H/5.5 mm hook, metal tapestry needle, scissors

Size

Finished size 60 in x 9 in

Stitches

Single Crochet (SC)Insert your hook, YO and pull up a loop, YO and pull through two loops on hook.

Half Double Crochet Slip Stitch (HDSS)YO, insert your hook into back loop, YO, pull up a loop and pull directly through two loops on hook.

Pattern

Chain 25. 

ROW 1: Starting in the 2nd chain from hook, work 1 SC. Work 1 SC into each chain across. Chain (CH) 1 and turn. (24) 

ROW 2: Work 1 SC into the first SC from previous row. Work 1 SC into each SC across. CH 1 and turn. (24)

Repeat row 2 for 398 rows or 5ft of length.

Tie off by pulling last loop through.

Fringe

For this pattern I found that completing the fringe before weaving gave me a nice even edge to work from.

Find the first chain at the bottom corner of the scarf.  Insert hook and pull up a loop leaving an 8 inch tail.  Chain 15.  *Turn and work 1 half double crochet slip stitch (HDSS) into each chain (14).  Slip stitch into the next 3 stitches on the base of the scarf, then repeat from *.  Secure last stitch with a slip stitch, pull through and knot.  Weave in ends.

scarf with yarn ball on table

Weaving 

Cut eight 3 yards, (9 feet) pieces of the Bernat Natural White yarn.  To make measuring easy I marked my work table with a piece of tape at 1 yard from the corner. 

Thread a metal tapestry needle.  Take a minute to examine where the chain spaces are in the scarf.  It might be helpful to think of it as a needlepoint canvas.  The weaving happens in the spaces between the stitches.

Starting at the second space on the first row above the fringe pull the needle up and around the first stitch to create an anchor loop leaving an 8 inch tail. 

Weave in and out in a straight line up the row end to end.  Loop around the last weave to anchor.  Check the weaving to adjust the tension to match the scarf you don’t want it too tight or loose.  

To weave in the end, work the needle through the center of the anchor loop to secure and continue working the needle carefully through the center of the yarn for one or two inches to hide the end.  Clip and gently pull into place.  

Repeat weaving in spaces, 3, 11, 12, 13, 14, 22 and 23.

pattern graph

If you are a visual learner (like me!)  I made a video demonstrating the process!  It’s actually much easier than it sounds!

(Side note, in the video I say I’m making a Half Double Crochet for the fringe, it’s actually a half double slip stitch.)


scarf and yarn and hook on table

I think you will really love making this scarf!  I know I did!

Happy Crocheting!

XOXO

Cyndi

Aka Sugar Joye

Click here or image below for a free pdf of the pattern.