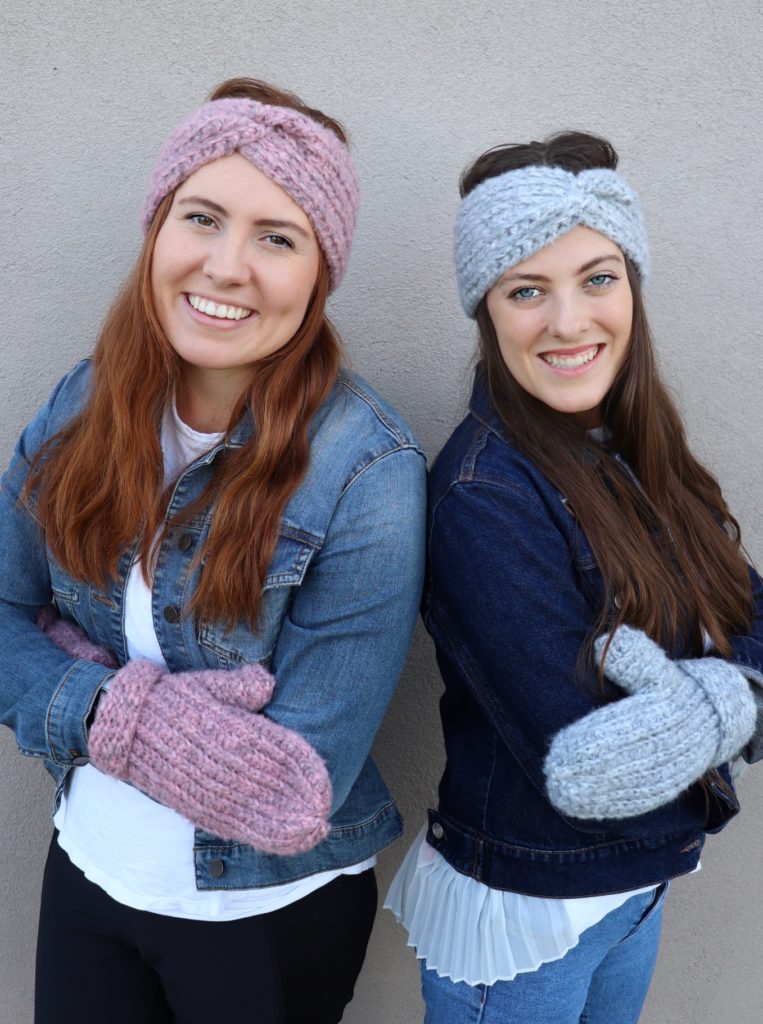
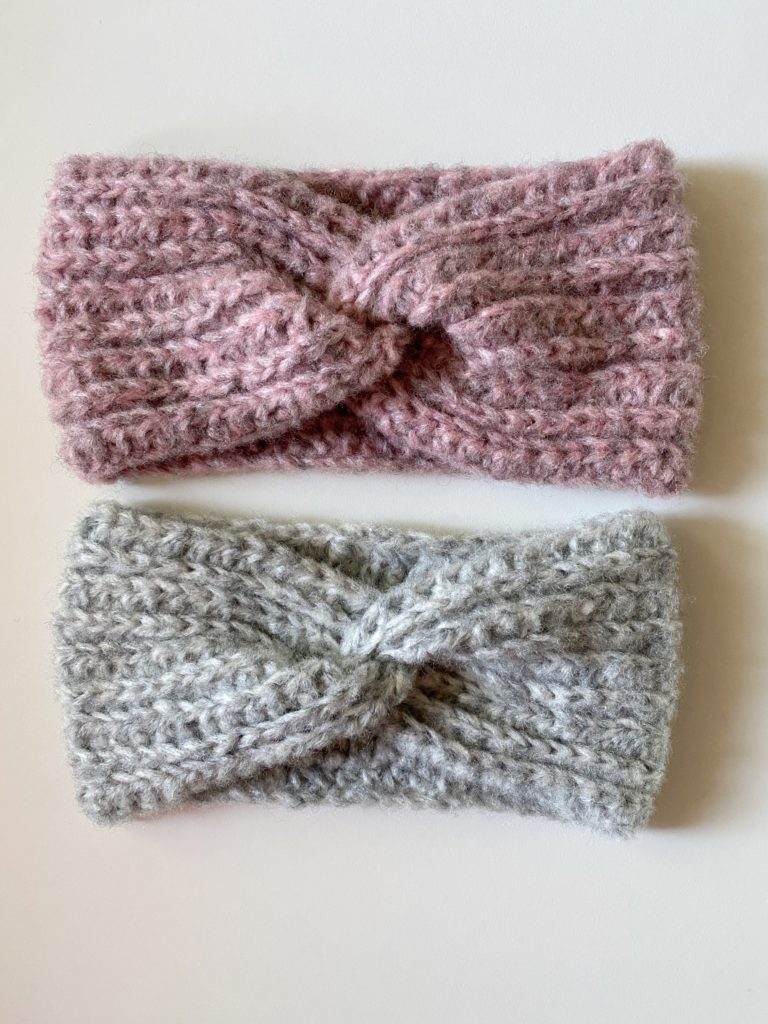
It’s that time of year where I start making new sets of mittens and headbands for my girls. Annie is on the left in purple and Elizabeth, my daughter in law, is on the right in grey.
This year the girls requested that I make headbands and mittens with a “knit” look. They wanted simple and classic.
And they loved them and said I delivered. (That makes a mom heart happy!)
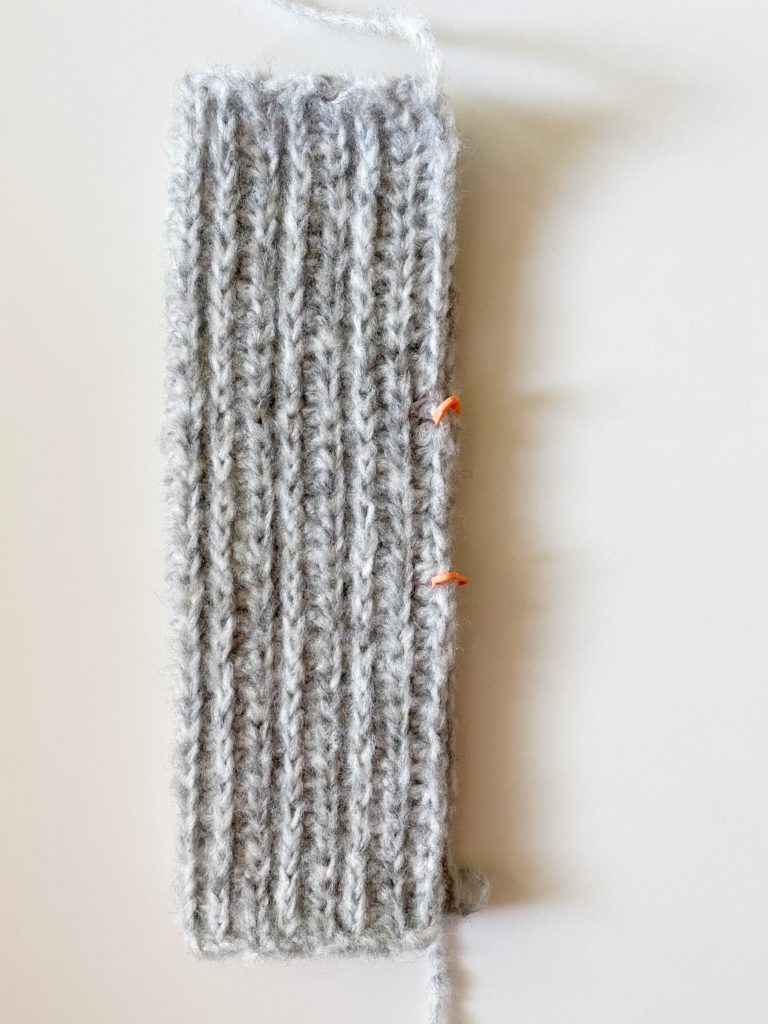
I used half double crochet and simply switched up each row as to which loop I worked into. For example, one row is back loop HDC, one row is front bottom loop HDC.
This puts all the little “v’s” on one side of the work and the other side is plain.
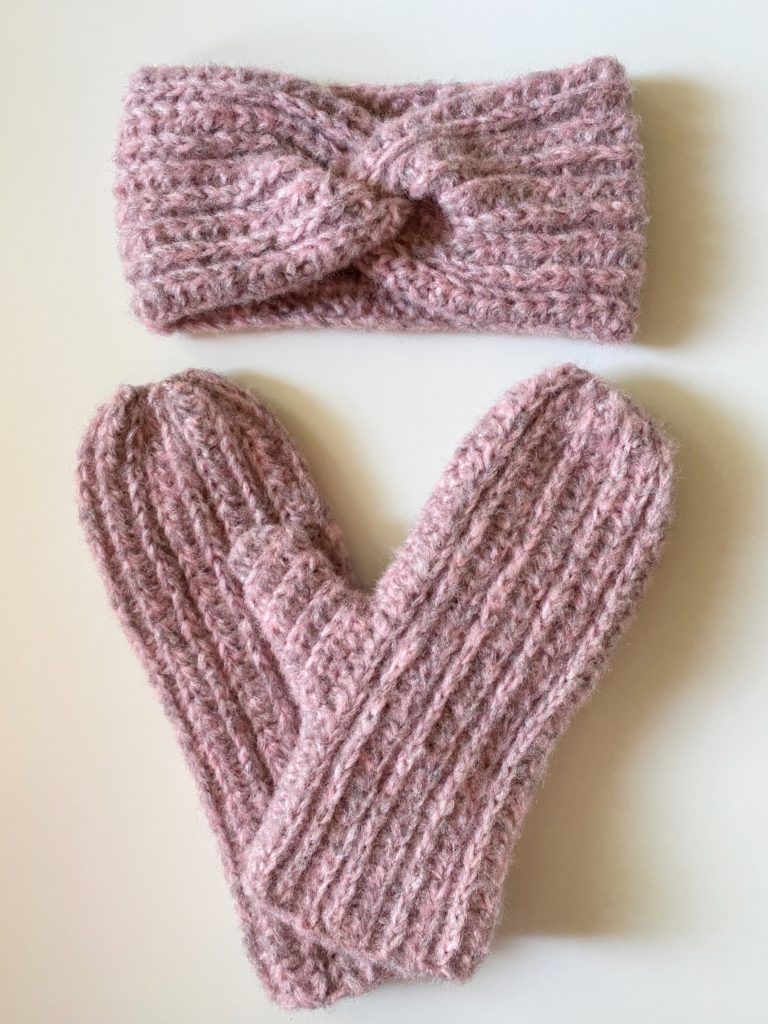
(That’s knit looking don’t you think?)
The mittens are very simply constructed. I make an eight by twelve inch rectangle, folded it in half length-wise, gathered the top and sewed one side together leaving a hole for the thumb.
Then I went back and crocheted around the thumb opening in a spiral, never joining the round, but skipping one stitch on every round at the base of the thumb in order for it to angle upward.
Once I had enough length, I gathered the top of the thumb in and wove in all the ends.
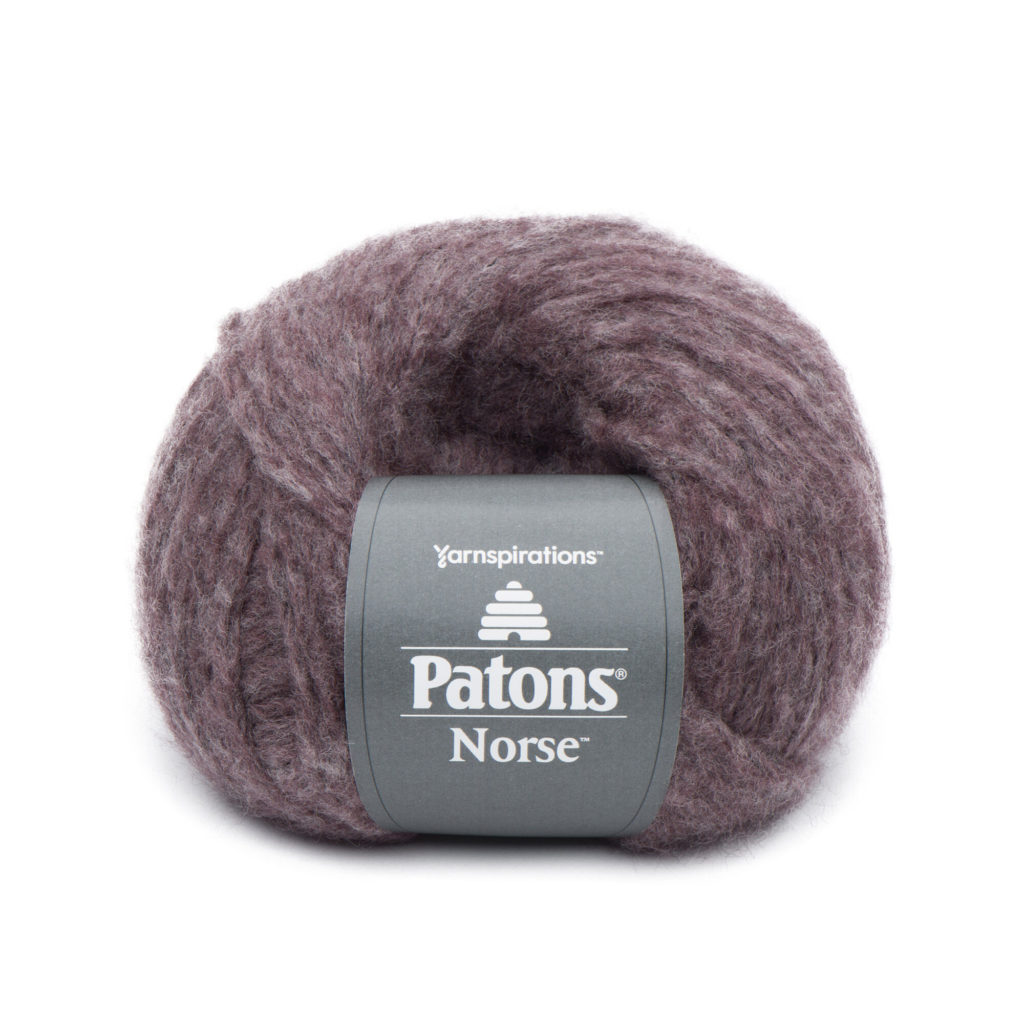
For this entire project, I used one ball of Patons Norse yarn. It’s a wool blend that is fuzzy and soft and I really love it. (Annie wants me to make a sweater with it, it’s that soft.)
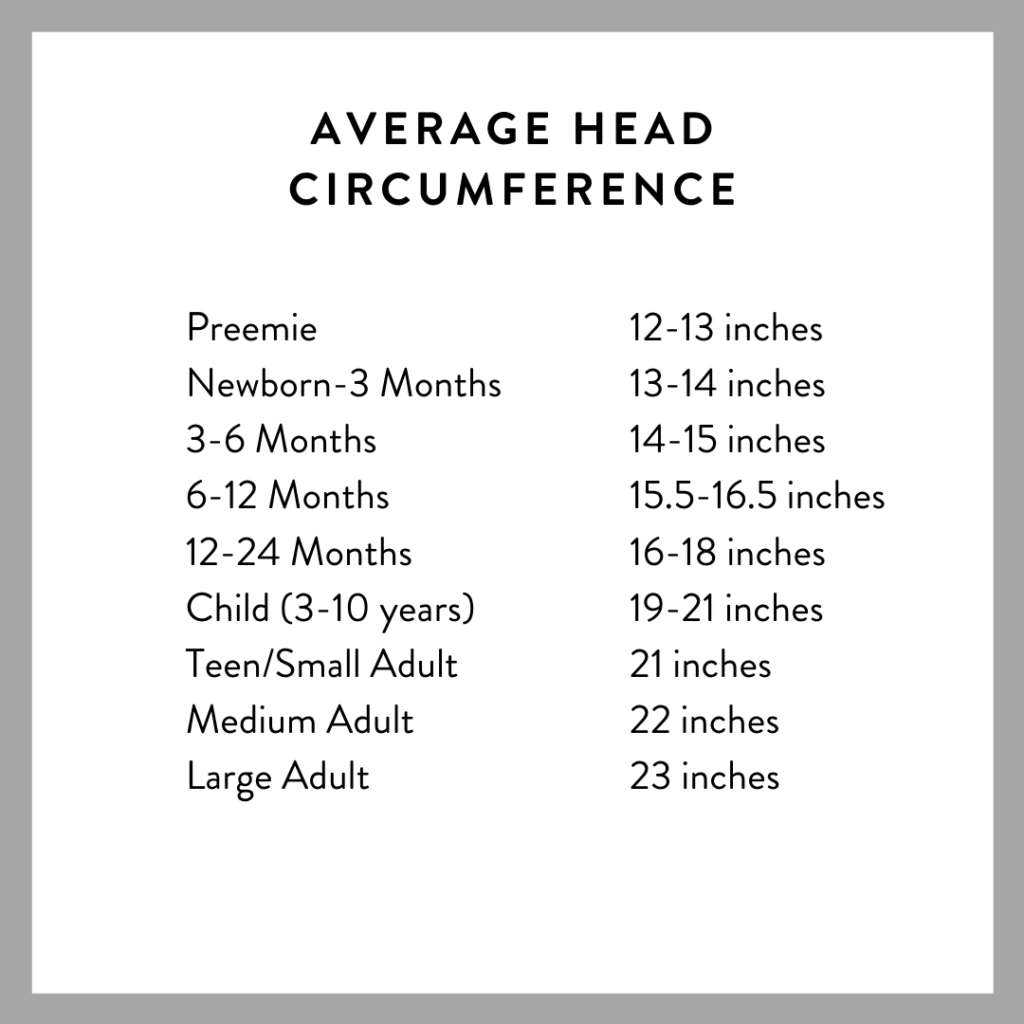
I made a pair of mittens and one headband for an average women’s size head. (About a 22 inch circumference)
I make the length of the chain for the headband about 2 inches shorter than the circumference needed. Or make a chain and stretch the chain to the size needed. You want to make sure your headband is a little snug.
Here is the size chart that I use for head circumferences:
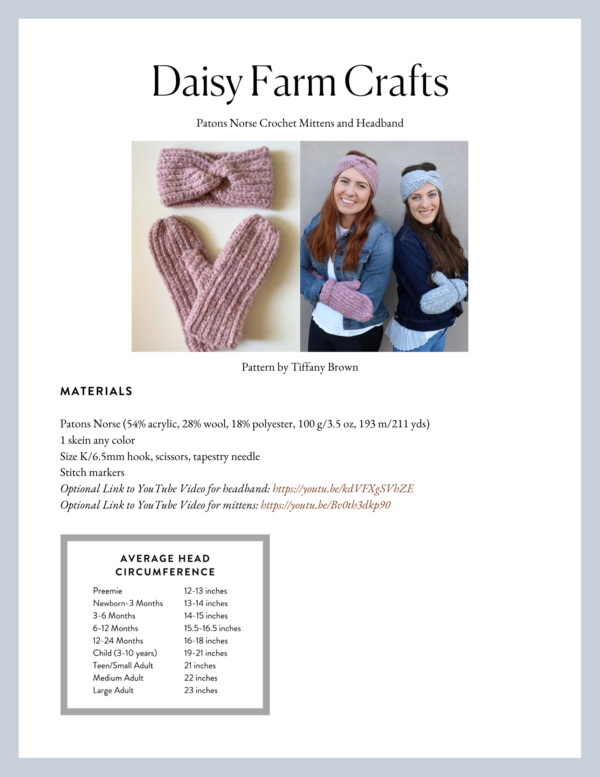
Materials
Patons Norse (54% acrylic, 28% wool, 18% polyester, 100 g/3.5 oz, 193 m/211 yds)
1 skein any color
Size K/6.5mm hook, scissors, tapestry needle
Stitch markers
Stitches US Terms
Half Double Crochet (HDC): Yarn over (YO), insert your hook, YO and pull up a loop, YO and pull through all 3 loops on hook.
Back Loop Half Double Crochet (HDC): YO, insert your hook into back loop only, YO and pull up a loop, YO and pull through all 3 loops on hook.
Front Bottom Loop Half Double Crochet (HDC): YO, insert your hook into front bottom loop only, YO and pull up a loop, YO and pull through all 3 loops on hook.
Pattern
Mittens
Make a slip knot with a longer tail (will be needed for sewing later.)
Chain 38 (37 plus 1) or chain 12 inches.
Row 1: Begin in the second chain from the hook with HDC. Work 1 HDC into each chain. Chain 1 and turn.
Row 2: Begin in the back loop of the first stitch (turning chain does not count as a stitch) with 1 HDC. Work 1 HDC into each back loop across the row. Chain 1 and turn.
Row 3: Begin in the bottom front loop of the first stitch with 1 HDC. Work 1 HDC in each bottom front loop across the row. Ch 1 and turn.
(Tip: sometimes it is hard to find the last stitch of each row. Use your stitch markers to mark the first stitch you make as it is the last stitch you work into on the next row. Also, for neatness, work under both loops if you wish in the last stitch of each row.)
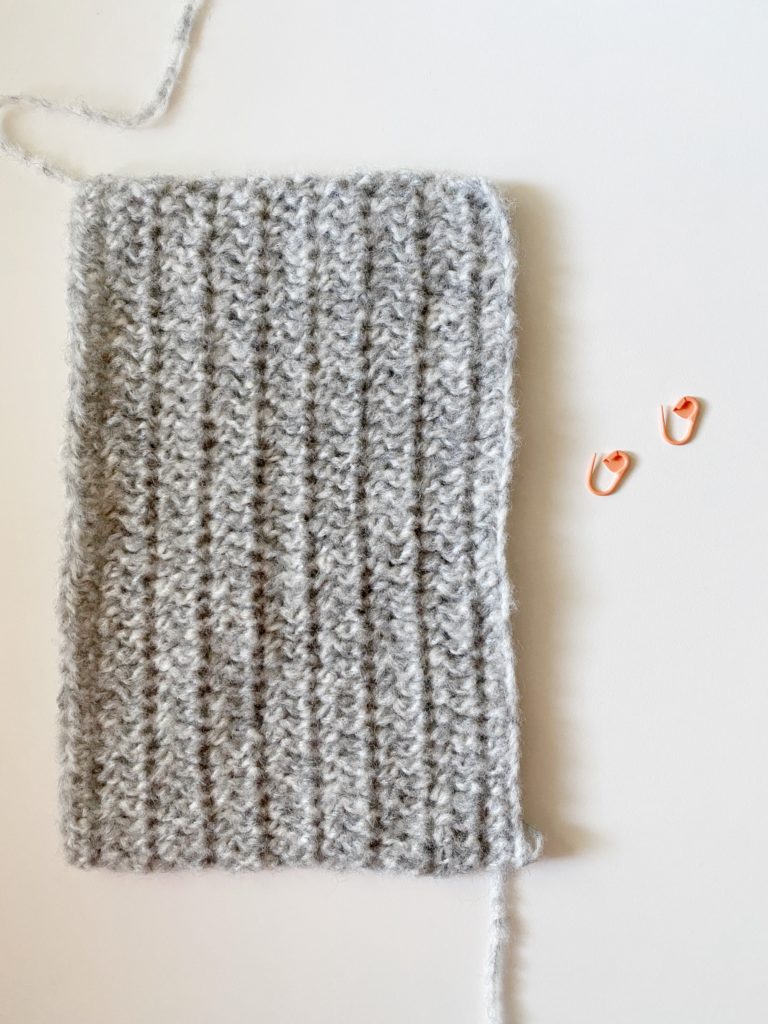
Repeat rows 2 and 3 until you reach 8 inches in width (about 16 rows)
Tie off, with a long tail for sewing.
Fold the rectangle lengthwise and mark thumb hole. (Place your hand on the rectangle and measure for the best guide.)
With tapestry needle, sew the top side down to the first thumb marker, back to the top and then gather the top in. Weave in end and tie off.
With tapestry needle, sew the bottom side up to the bottom stitch marker, don’t tie off just yet. Work the thumb first.
Thumb
Pull up a loop where the top stitch marker was placed. Work 1 HDC down one side to the second stitch marker and continue working the other side back up to the first stitch marker. (Approximately 8 or 9 HDC’s worked per side.) Don’t join the round.
Work the next HDC into the front loop of the next stitch. Work 1 HDC into each front loop around, skipping one stitch at the bottom of the thumb in every round.
Gather the top of the thumb with the tapestry needle and tie off when you have enough length. (About 6 rounds.)
Use the tails to sew together any holes at the base of the thumb or top. Weave in and cut.
Headband
Using the same pattern for the mittens, make your starting chain about 2 inches smaller than the circumference of the head. Work until the headband is 4 inches wide. (Maybe 3.5 inches for children.)
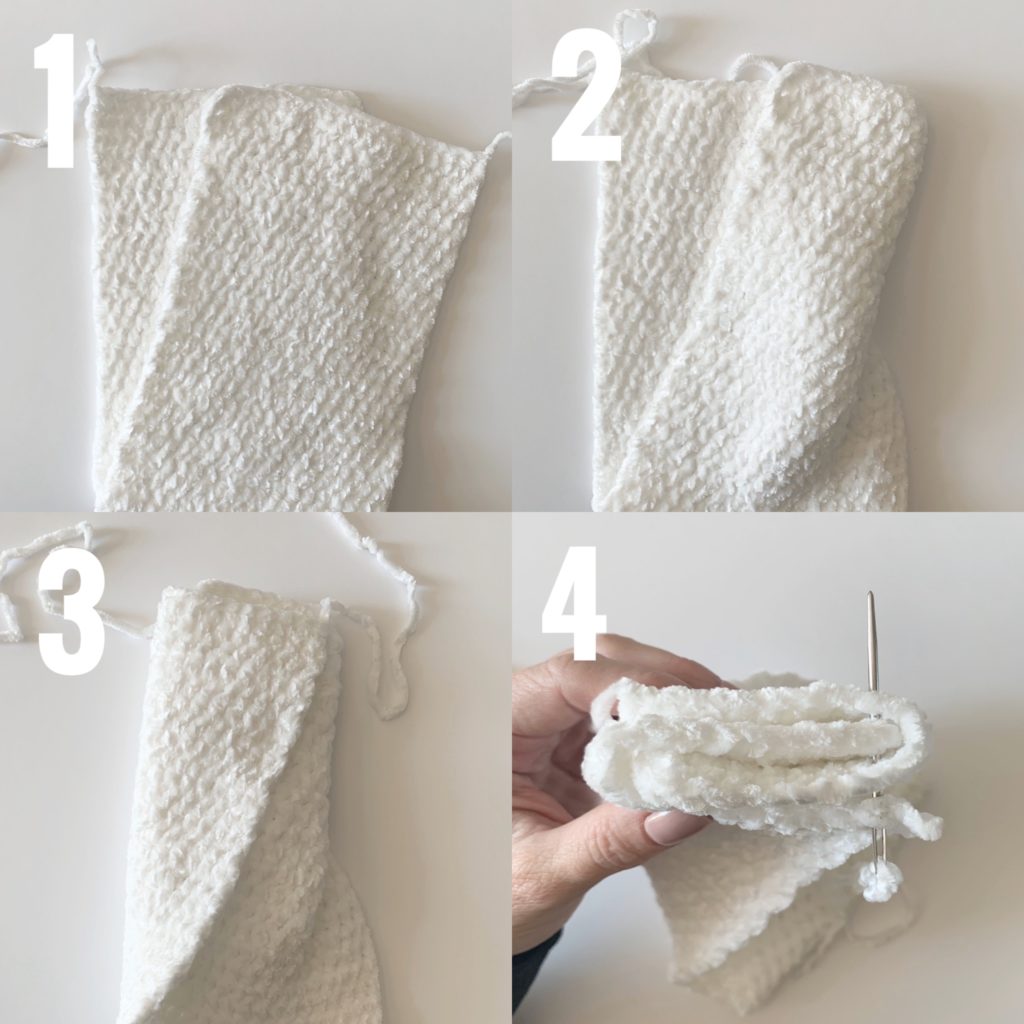
Watch video linked at the end of this post for a demonstration on how to sew the headband together or refer to the photo below:
Step 1: Lay the band out and fold in half and slide one side of the band across so one end is matched up to the middle of the other.
Step 2: Fold the right hand side around the back.
Step 3: Fold the left hand side around the front, giving you four layers
Step 4: Sew with the tapestry needle through all four layers.
Thank you all so much for stopping by! I hope you have great success making these mittens and headbands!
XO, Tiffany
Click here or on image below for printable pattern