(The following post is sponsored by Michaels)
We have been so excited to be asked by Michaels to celebrate National Crochet month by making a project with beautiful yarn from Michaels.com!
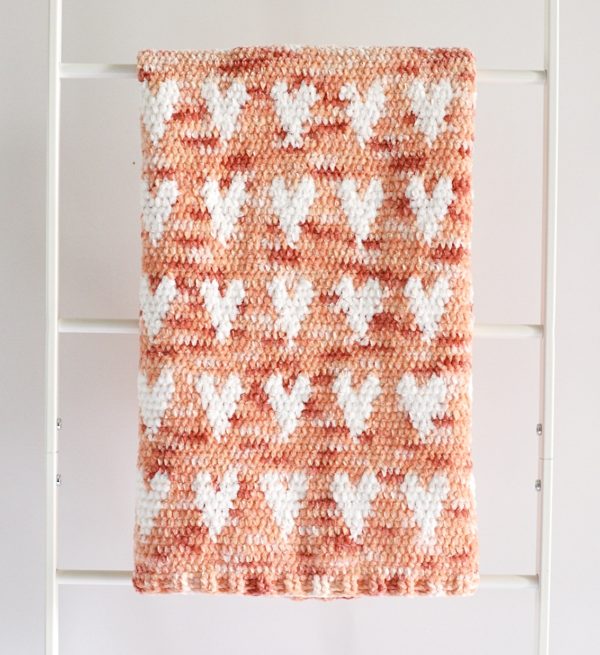
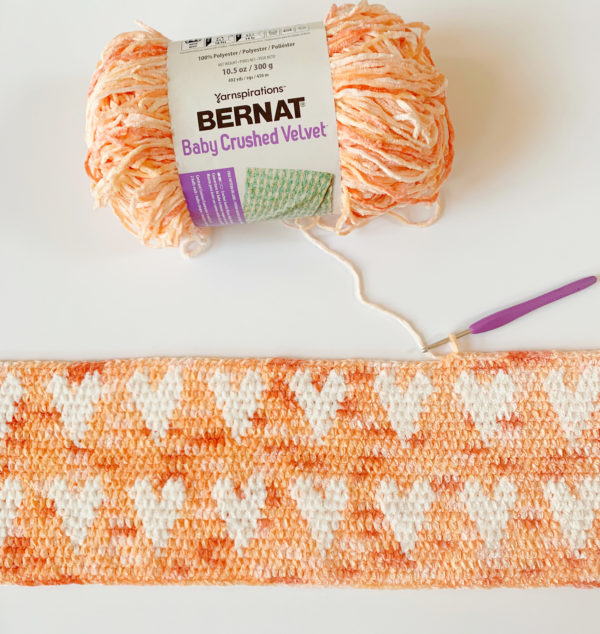
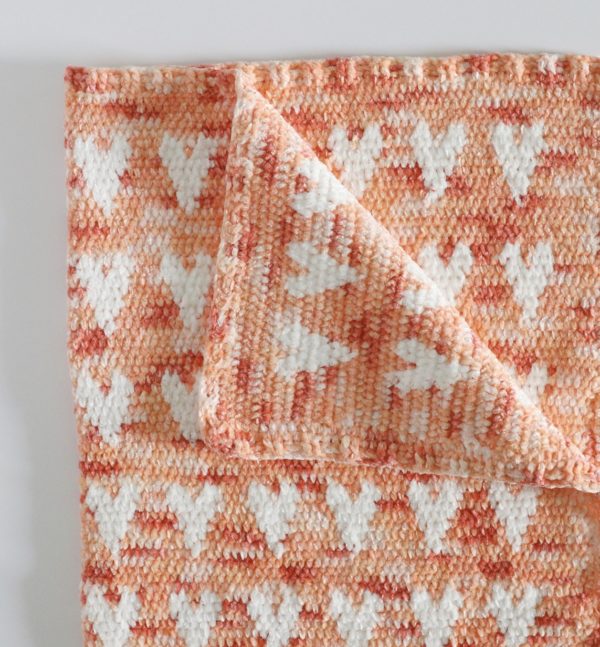
I used a new version of Bernat Baby Velvet called Baby Crushed Velvet. I love the tie-dye look of this yarn! I used Hannah’s Modern Hearts baby blanket pattern to celebrate my love of crochet.
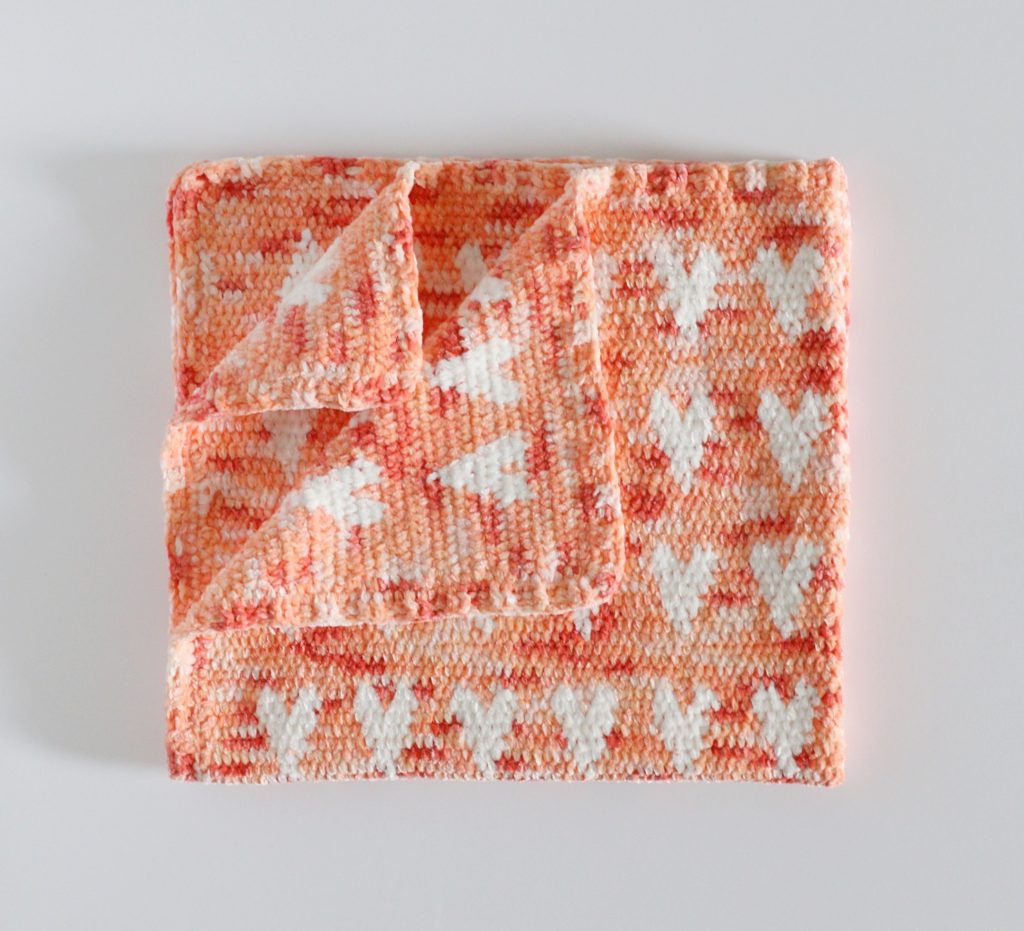
I’ve made several blankets with velvet so I have a tip to share with you before you get started.
Velvet is very slippery to work with. You will want to work a practice swatch of the stitch to make sure you are using a size of hook that will keep your tension tighter than usual. You can also use regular Bernat Baby Velvet yarn if you’d like a solid color for the background.
If you notice on your swatch that loops are pulling loose, that is how you’ll know to use a hook one size smaller.
Materials
Bernat Crushed Baby Velvet (100% polyester, 300 g/10.5oz, 450 m/492 yd)
2 skeins Peach Parfait, 1 skein White
Size 4.5mm hook, scissors, tapestry needle
Size
Finished size 32 in x 30 in
Stitches
Half Double Crochet (HDC): Yarn over (YO), insert your hook, YO and pull up a loop, YO and pull through all three loops on hook.
Wide Half Double Crochet (WHDC): YO, insert your hook between stitch posts, YO and pull up a loop, YO and pull through all three loops on hook.

Double Crochet (DC): YO, insert your hook, YO and pull up a loop, YO, pull through two loops, YO, pull through remaining two loops.
Front and Back Post Double Crochet (FPDC & BPDC): A front post double crochet means you insert your hook from front to back around the post of the next DC and work a DC. A back post double crochet means you insert your hook from back to front around the post of the next DC and work a DC.
Pattern
You will be carrying the white velvet through the work. Here is a tip on changing colors: Pull through with the new color just before you finish the wide HDC stitch, when you have three loops on your hook. To avoid your yarn getting twisted as you carry it along your work, it helps to always keep one color to the front and one color to the back.
Chain 121 with Peach Parfait. (The pattern repeat is 10, plus 1 if you’d like to make your blanket a different size. That means you will multiply any number by 10, then add 1.)
ROW 1: Starting in 3rd chain from hook, work 1 HDC in each chain. CH 2 and turn.
ROWS 2 – 3: Work 1 WHDC in each space across the row. CH 2 and turn. (From now on you will always be inserting your hook in between the stitch posts of the previous row.)
ROW 4: *Work 9 WHDCs with Peach Parfait, then 1 WHDC in white. Repeat from * to the end of the row. CH 2 and turn.
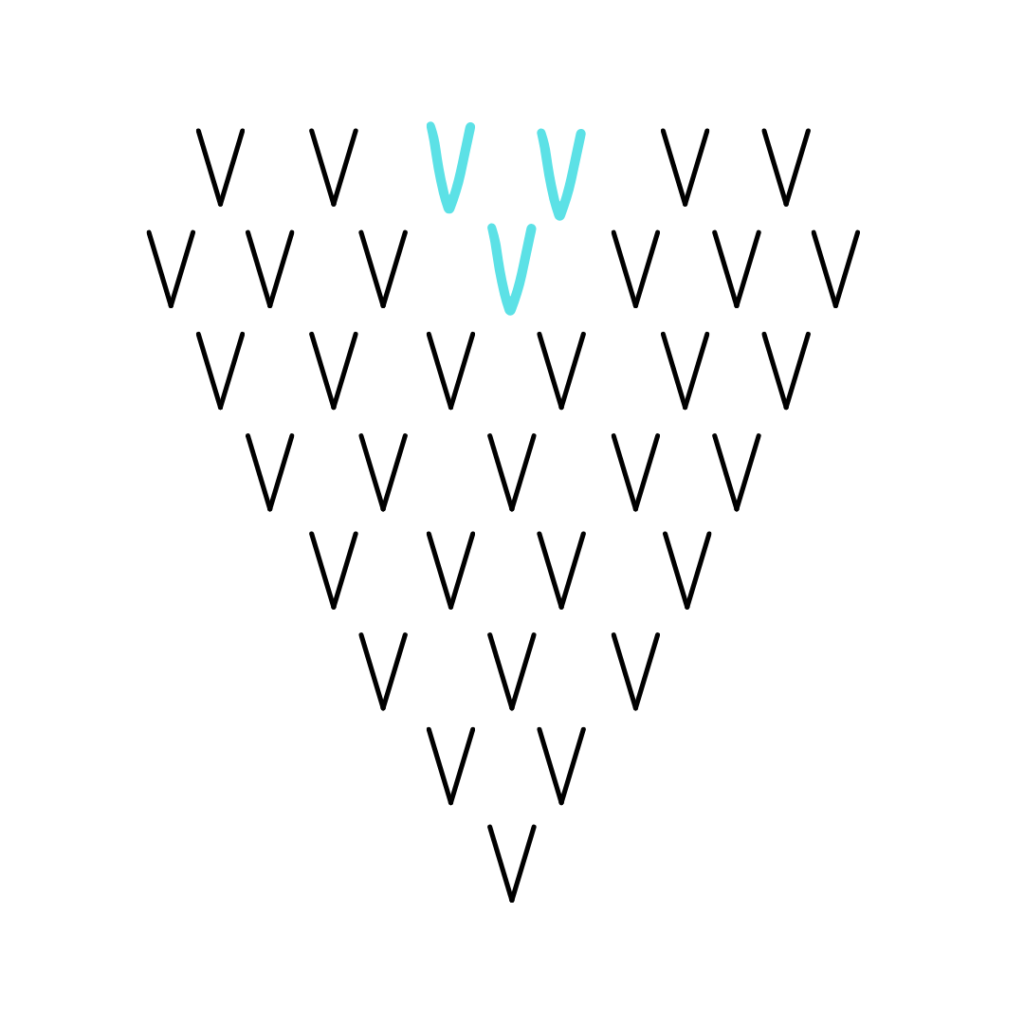
Now, from here on out, instead of telling you the exact counts for when to switch colors on each row, I think it’s going to be a lot easier for you to visually build your heart instead of counting stitches. The main reason for this is because we are using WHDC, so the counts will be different depending on whether you are on the front side or back side and so instead of counting the orange stitches, it was a lot easier for me to focus on putting white stitches on either side of the white stitches from the row below. Here’s the graph you want to follow for each heart (the black v’s represent the white stitches):
Remaining rows: Work 4 rows of WHDC in between each section of hearts. (If you want to add more rows before you start a next section of hearts, just make sure you use an even number.)
We also have a video tutorial if you’d like to watch how to create the heart and carry yarn through the row. (Note: the border on Hannah’s green heart blanket is different than the one I used on the peach.)
Border
Weave in all ends before starting the border.
Round 1: Pull up a loop in any corner. CH 1. Work HDC in each stitch around, and 3 HDC into each corner space. Join with a sl stitch to the beginning chain 1.
Round 2: CH 2 and continue in the same direction. DC around the entire blanket, working 3 DCs into each corner stitch. Join with a slip stitch to starting chain 2.
Round 3: CH 2 and continue in the same direction. *Work FPDC (Front post double crochet) around the next 2 DC. Work BPDC (Back Post Double Crochet) around the next 2 DC. Repeat from * to the corner. Work alternating FPDC and BPDC around the middle post. Begin repeating alternating 2 FPDC around next 2 DC and 2 BPDC around next 2 DC. Treat the corners in the same manner. Finish all sides of the blanket, join with a slip stitch to the beginning chain 2.
(Note: it may or may not work out exactly to approach a corner and have 2 front post or back post DC in a row. That is okay. Working 3 FPDC around the middle stitch is the important step.)
Round 4: Repeat row 3.
Weave in all the ends and you’re done!
Thank you all for coming by! We love to crochet and are so happy we can celebrate National Crochet Month with Michaels!
xo, Tiffany
