This Windowpane Blanket pattern is now available as a free PDF pattern download from Yarnspirations – click here to see!
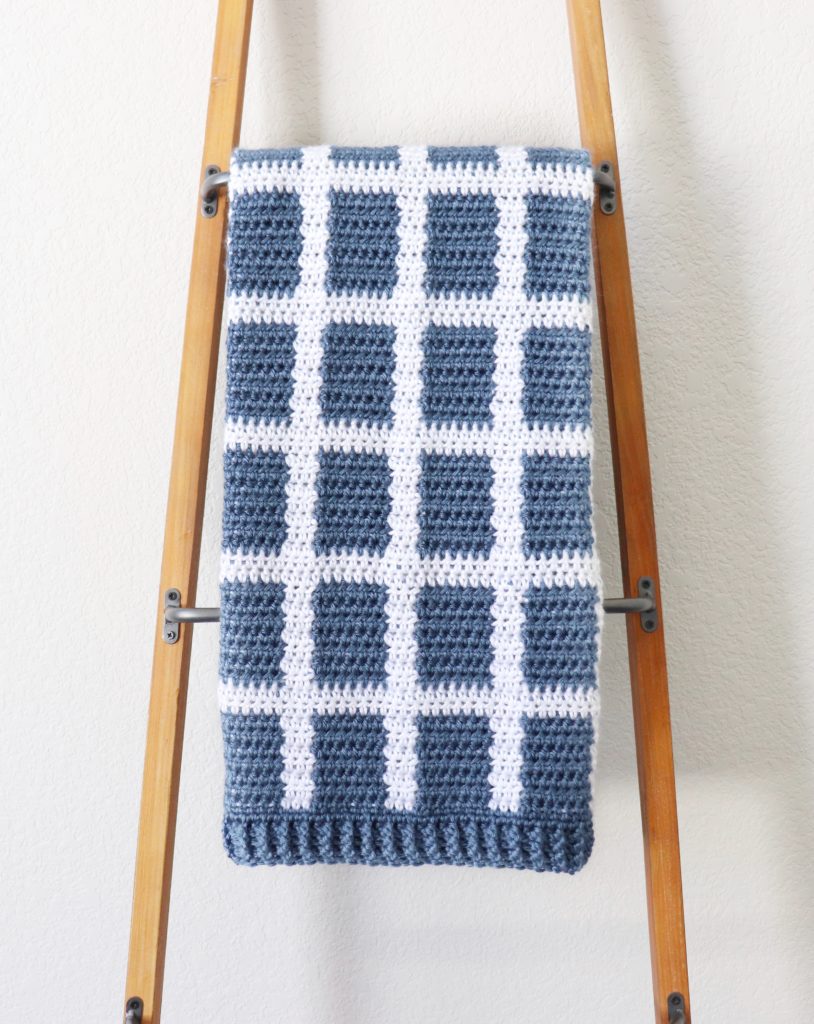
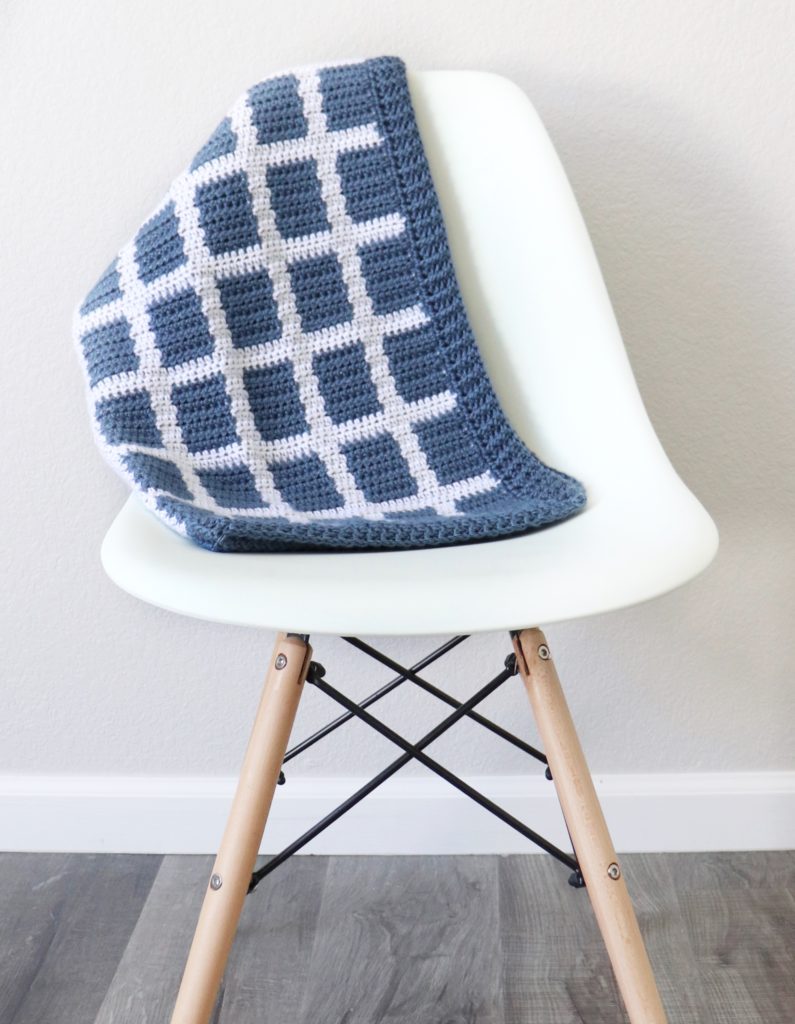
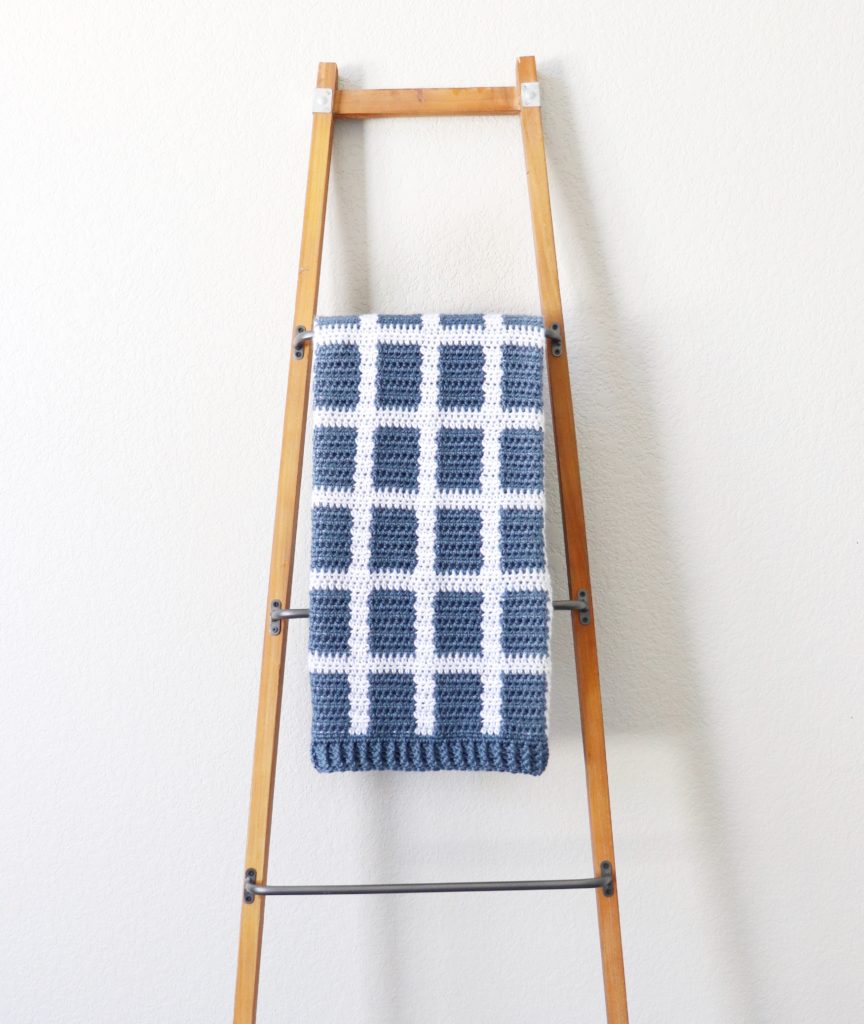
I first made a windowpane blanket a few years ago, but the main color was white with mint stripes, so I wanted to try one with a darker background this time and I love how it turned out!
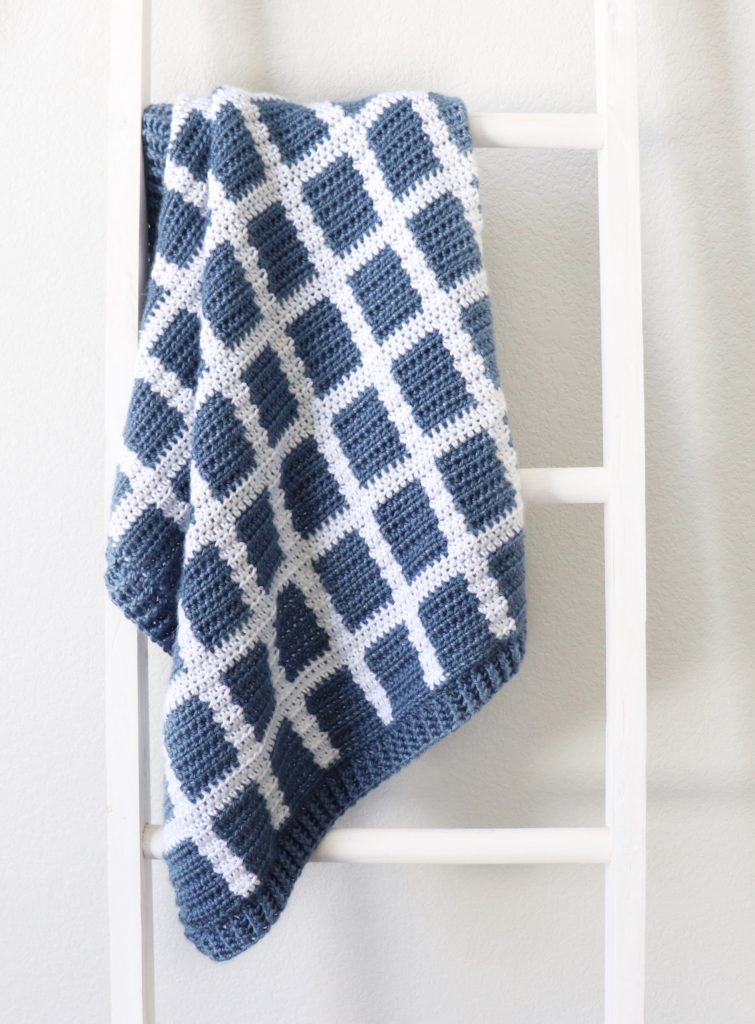
This blanket is made with the same technique as most of our gingham blankets, by carrying whichever color we aren’t using along the top of our work and crocheting over it as we go (also called tapestry crochet), so that we can easily change colors.
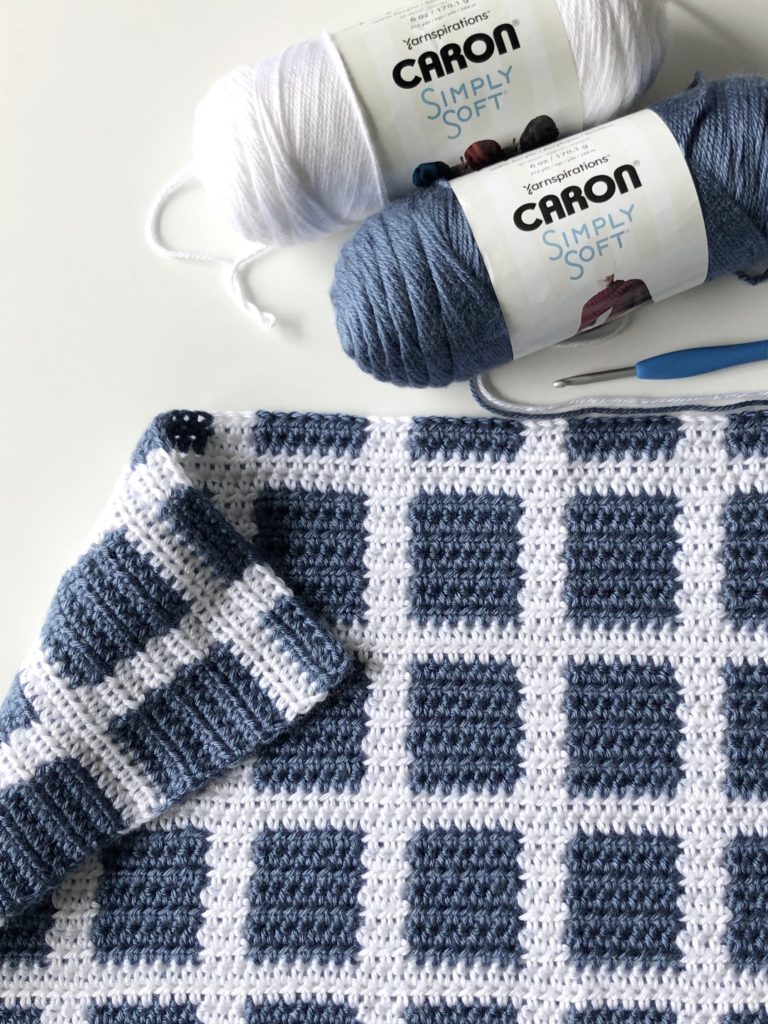
If you look closely you can see bits of blue peeking through the white parts of my blanket, so don’t worry if your carried yarn is showing a little bit when you first get started. Once the blanket is completed the yarn showing throw all blends together and I think it adds more to the overall gingham look!
If you’ve never carried yarn before and would like to see how it’s done, here’s a video you can watch before you get started! (Please note that in the video my mom did three rows of white for the horizontal stripes and I only did two – either way is fine, it’s up to you whatever you think looks better!)
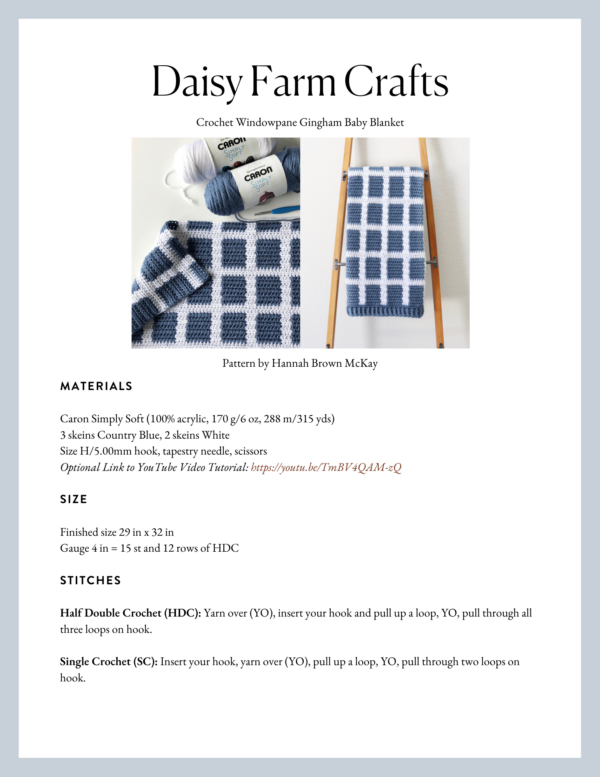
Materials
Caron Simply Soft (100% acrylic, 170 g/6 oz, 288 m/315 yds)
3 skeins Country Blue, 2 skeins White
Size H/5.00mm hook, tapestry needle, scissors
Size
Finished size 29 in x 32 in
Gauge 4 in = 15 st and 12 rows of HDC
Stitches
Half Double Crochet (HDC): Yarn over (YO), insert your hook and pull up a loop, YO, pull through all three loops on hook.
Single Crochet (SC): Insert your hook, yarn over (YO), pull up a loop, YO, pull through two loops on hook.
Double Crochet (DC): YO, insert your hook, YO and pull up a loop, YO, pull through two loops, YO, pull through remaining two loops.
Front and Back Post Double Crochet (FPDC & BPDC): A front post double crochet means you insert your hook from front to back around the post of the next DC and work a DC. A back post double crochet means you insert your hook from back to front around the post of the next DC and work a DC.
Pattern
Chain 99 (If you’d like to make your blanket bigger, make your base chain a multiple of 10, then add 9).
ROW 1: With Blue, start in the third chain from the hook and work HDC in each of the first 7 chains. On the 7th stitch, pull through with White. *Work HDC in the next 3 chains with White, carrying the Blue along the top of your work and crocheting over it as you go. On the 3rd White stitch, pull through with Blue. Now work 7 HDCs in Blue, carrying the White along the top of your work and crocheting over it as you go. On the 7th stitch, pull through with White. Repeat from * to the end of the row. You should end with 7 HDCs in Blue. Chain 2 with Blue and turn.
Note: To avoid your yarn getting twisted as you carry it along your work, it helps to always keep one color to the front and one color to the back. (See video above to see how this is done.)
ROWS 2 – 7: Wrap the White yarn around the side of your work, and crochet over it as you *work 7 HDCs in Blue, then 3 HDCs in White, always carrying whichever color you aren’t using along the top of your work and crocheting over it. Repeat from * to the end of the row. Chain 2 and turn.
ROWS 8 – 9: Work 2 rows of HDC in White, carrying the Blue yarn across your work. (You can also drop the Blue yarn and pick it up again when you get back to that side of the blanket, but I thought the horizontal stripes looked better when they had bits of blue peaking through just like the vertical stripes, so I chose to carry the yarn on these rows.) When you reach the end of row 9, pull through with Blue. Chain 2 with Blue and turn.
ROWS 10 – 16: *Work 7 HDCs in Blue, then 3 HDCs in White, always carrying whichever color you aren’t using along the top of your work and crocheting over it. Repeat from * to the end of the row. Chain 2 and turn.
Repeat rows 8 through 16 for the remainder of the blanket until you have 7 horizontal stripes total (or until the blanket is your desired length.)
Border
Weave in any ends with a tapestry needle, then pull up a loop in any corner and chain one.
Round 1: SC around the edge of the blanket, working 3 SCs into each corner. (On the sides of the blanket, I worked 7 SCs for each blue section and 3 SCs for each white section.)
Round 2: When you reach the corner you started with, work 3 SCs into the corner, then DC around the blanket, working 5 DCs into each corner.
Round 3: When you reach the corner you started with, work 5 DCs into the corner, then go around the blanket again, still going in the same direction, this time alternating front and back post double crochet. A front post DC means you insert your hook from front to back around the post of the next DC and work your DC. A back post DC means you insert your hook from the back to the front and work a DC.
When you get to the corners of this row, you will want to continue the pattern of alternating front and back post double crochet, but you will work three stitches around the corner post.
So, for example, if you get to the corner post and you are supposed to work a front post DC, then work a front post DC, a back post DC, and a front post DC all around that corner post. Then in the next stitch you would continue the alternating pattern, working the opposite of whichever stitch you just used (in this example, you would work a back post DC).
Just remember that you are always alternating front and back post double crochet around the whole blanket, you just happen to be working three of those stitches around the same post when you are working the corners.
Rounds 4 – 5: When you finish row 3, work 3 alternating front post/back post DCs into the corner you started with and repeat row 2 two more times around the blanket, until you have four rows total. Always match your post double crochets so that they are poking out in the same direction as the row below. You can go around as many times as you’d like to get your desired border height.
Here’s a video you can watch for the border!
If you’d like to add finishing touches to your blanket, lay it out flat on a towel or foam blocking boards if you have them. Use a spray bottle with water to dampen the blanket. Press the blanket into straight lines, massaging the stitches and adjusting your tension. Pin with straight pins and let it dry.
Thank you so much for coming to read this pattern, I hope you enjoy making this windowpane blanket! When you’re finished please come share a picture with us on Facebook or Instagram using #daisyfarmcrafts, we’d love to see!
xo, Hannah
Click here or on image below for printable pattern
Daisy Farm Crafts is sponsored in 2020 by Yarnspirations