Hello friends, Hannah here with a new baby blanket pattern!
I’ve been staying pretty busy taking care of baby James for the past few months but I managed to finish a small blanket for one of my good friends here in Colorado that just had her first baby in December.
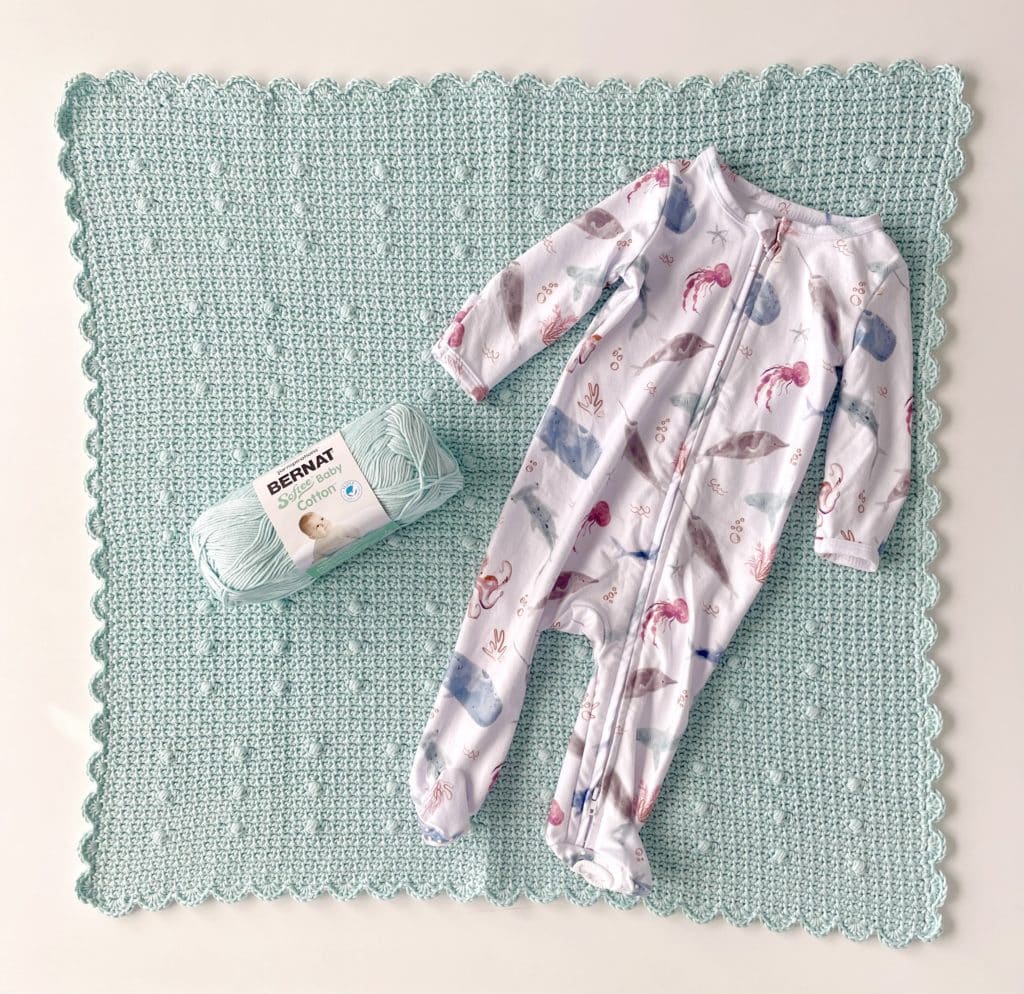
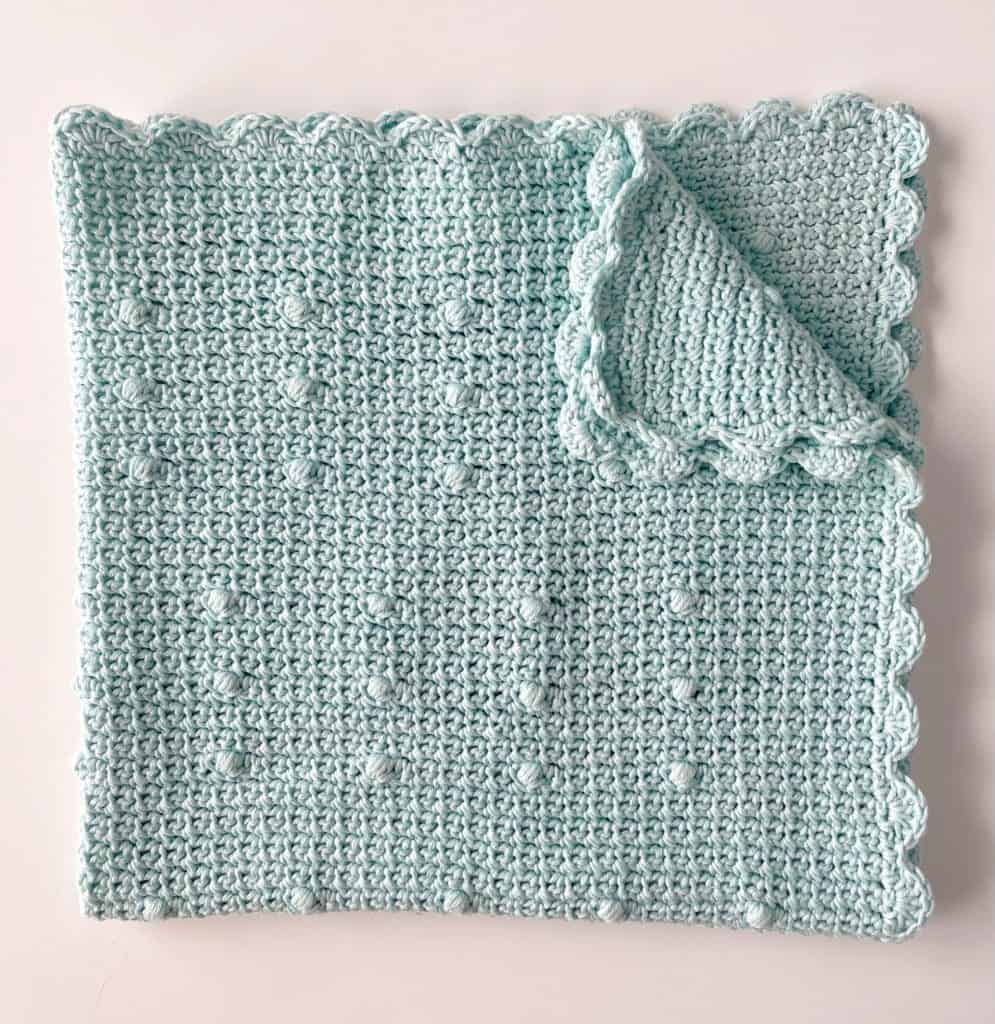
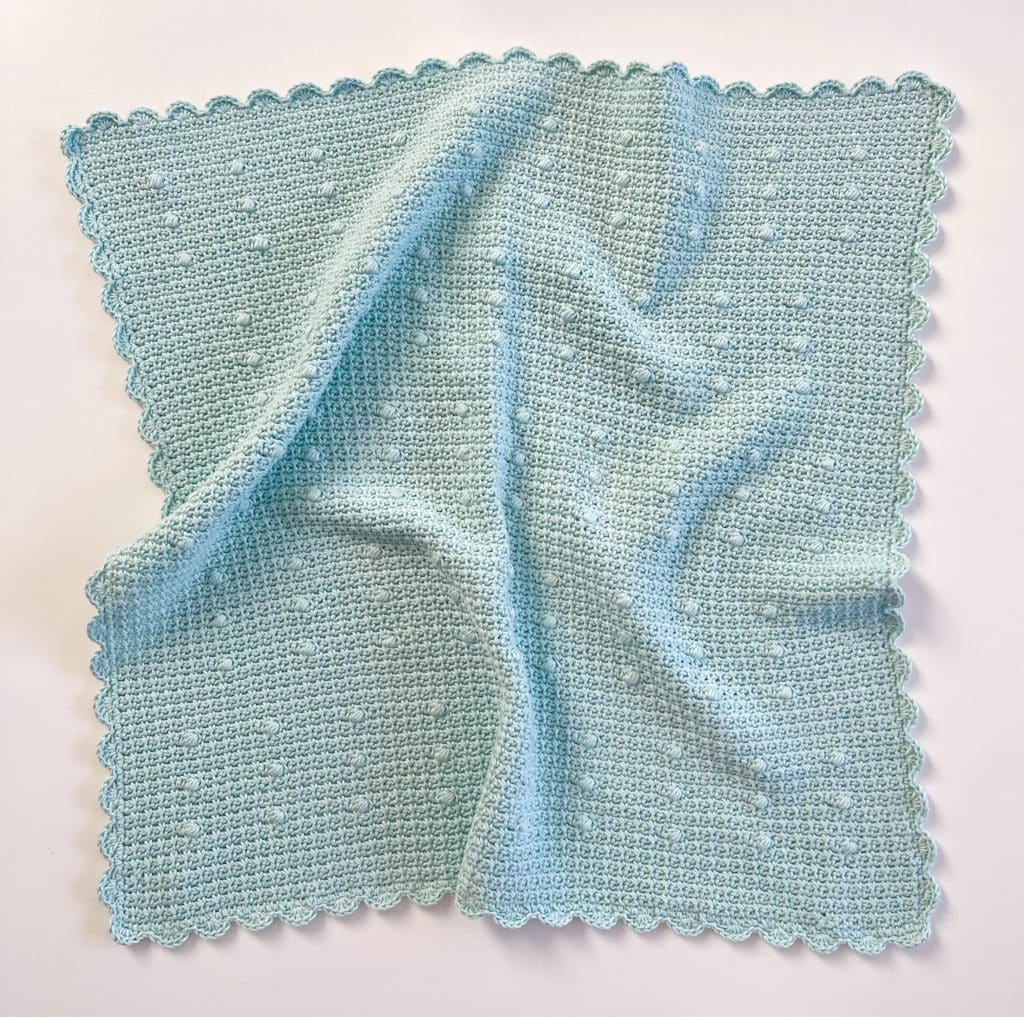
My friend wanted to have a whale-themed nursery for her baby girl, so I found some adorable sea life jammies from Caden Lane and decided to make her a little blanket with some polka dots to look like bubbles and a little seashell border.
Since my time is fairly limited these days, the blanket turned out quite small…but since having my own baby I’ve realized how nice it is to have some smaller blankets on hand that I can use on the go!
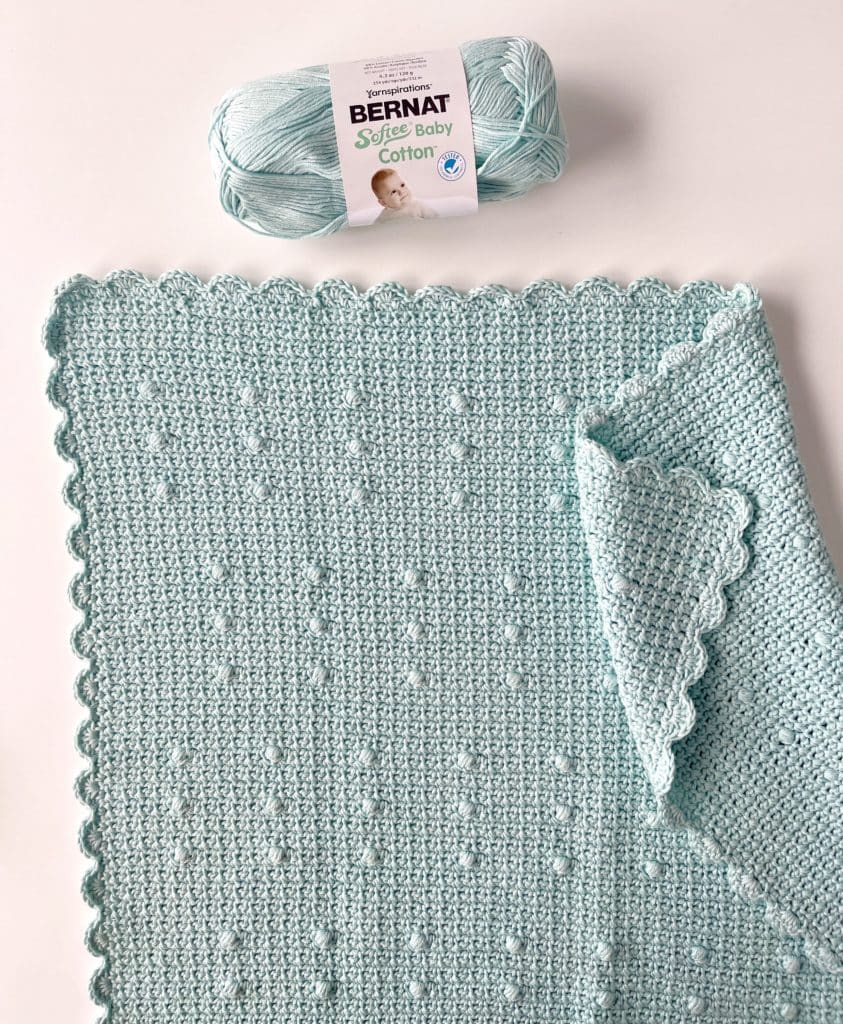
This blanket is made with Bernat Softee Baby Cotton yarn, which is a cotton acrylic blend and one of our favorite yarns to use for babies. The color I used is called Aqua Mist. You can find this yarn in more beautiful colors on Yarnspirations.com!
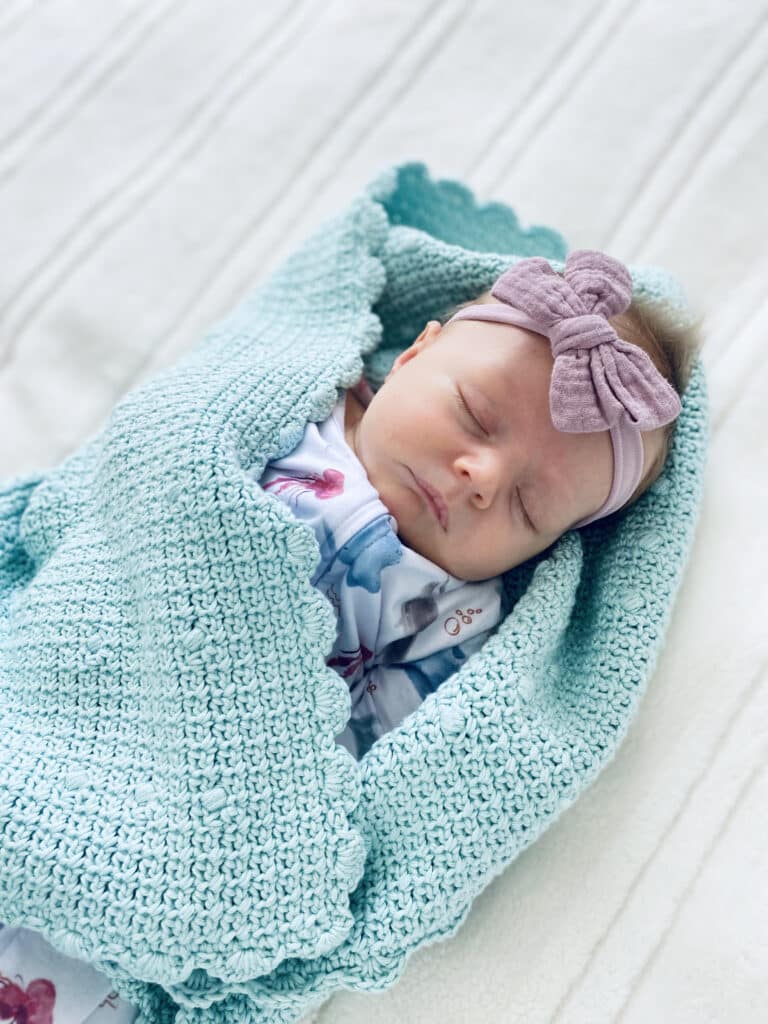
Here is a baby London wrapped in her blanket! Welcome to the world baby girl!
Materials
*Bernat Softee Baby Cotton (tap name of yarn for specifics)
6 skeins Aqua Mist
Size G/4.00mm hook, tapestry needle, scissors
Size
Finished size 24.5 in x 24.5 in
Gauge 4 in = 12 st and 22 rows mesh stitch
Stitches
Single Crochet (SC): Insert your hook, yarn over (YO) and pull up a loop, YO and pull through two loops.
Puff Stitch: *YO, insert your hook, YO and pull up a loop. Repeat from * three more times, inserting your hook into the same space. YO and pull through all loops on hook.
Slip Stitch (SL ST): Insert your hook, YO, pull up a loop and pull directly through loop on hook.
Double Crochet (DC): YO, insert your hook, YO and pull up a loop, YO and pull through two loops, YO and pull through remaining two loops.
Pattern
Chain (CH) 130. (To make larger, multiply any number x 12 then add 10)
Row 1: Starting in the 2nd chain from the hook, SC, CH 1. *Skip one chain, the SC, CH 1 in the next chain. Repeat from * across the row (mesh stitch). On the last chain, SC, CH 1 and turn.
Row 2: SC, CH 1 into the first SC of the previous row. SC, CH 1 into each SC across the row. On the last stitch, SC, CH 1, and turn.
Rows 3 – 9: Repeat row 2.
Row 10: *Work mesh stitch across each of the next 5 SCs and CH 1’s, then work 1 Puff into the SC, CH 1, Repeat from * across the row. On the last stitch, SC, CH 1, and turn.
Rows 11 – 15: Work mesh stitch (SC, CH 1, skip 1) across the row. On the last stitch, SC, CH 1, and turn.
Row 16: Repeat row 10.
Rows 17 – 21: Work mesh stitch (SC, CH 1, skip 1) across the row. On the last stitch, SC, CH 1, and turn.
Row 22: Repeat row 10.
Rows 23 – 31: Work mesh stitch (SC, CH 1, skip 1) across the row. On the last stitch, SC, CH 1, and turn.
Row 32: Work mesh stitch across each of the next 8 SCs and CH 1’s, then work 1 Puff into the SC, CH 1, *work mesh stitch across each of the next 5 SCs and CH 1’s, then work Puff into the SC, CH 1. Repeat from * across the row. On the last stitch, SC, CH 1, and turn.
Rows 33 – 37: Work mesh stitch (SC, CH 1, skip 1) across the row. On the last stitch, SC, CH 1, and turn.
Row 38: Repeat row 32.
Rows 39 – 43: Work mesh stitch (SC, CH 1, skip 1) across the row. On the last stitch, SC, CH 1, and turn.
Row 44: Repeat row 32.
Rows 45 – 53: Work mesh stitch (SC, CH 1, skip 1) across the row. On the last stitch, SC, CH 1, and turn.
Repeat rows 10 – 53 one more time, then repeat rows 10 – 31 to finish the blanket. Tie off and weave in ends.
Border
Round 1: Work 1 round of mesh stitch (SC, CH 1, Skip 1) around the blanket. At each corner, work SC, CH 2, then continue mesh stitch sequence. At starting corner, slip stitch into corner and CH 1.
Round 2: Work shell border around the blanket by starting with *5 DCs into next space, then SL ST into each of the next 2 spaces. Repeat from * around the blanket. At starting corner, slip stitch into corner and tie off.
If you need a video tutorial, my mom was able to do a swatch to show you how to work the spacing and stitches. See the video below:
Thanks so much for visiting Daisy Farm Crafts! Happy Crocheting! xo, Hannah
*Daisy Farm Crafts is a Stitch Ambassador for Yarnspirations, we earn from qualifying purchases.
Click here or image below for free pdf download.