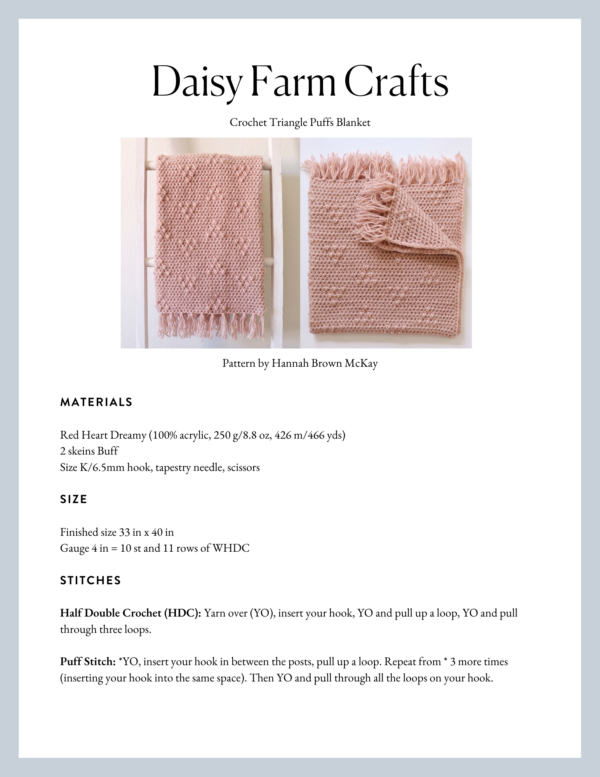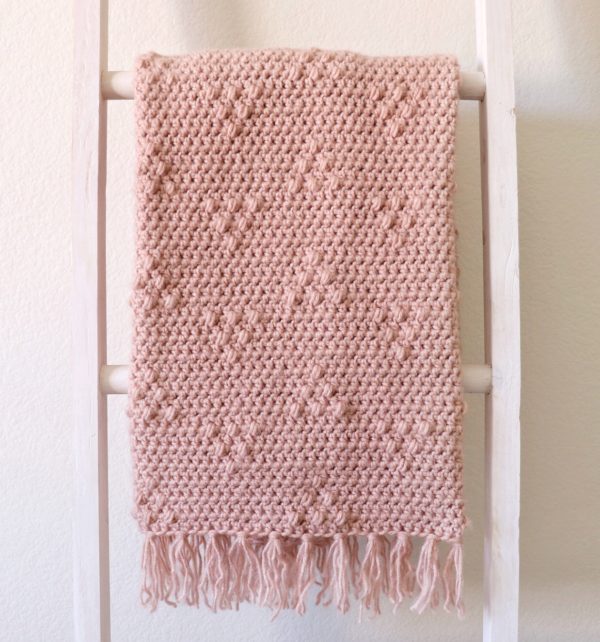
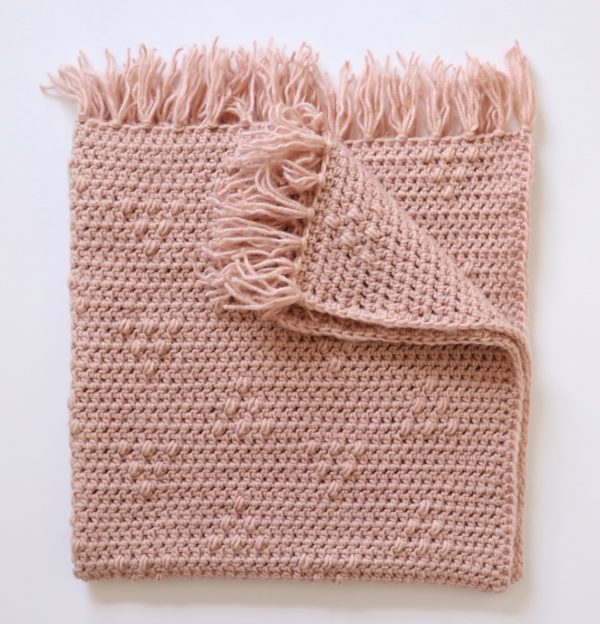
Thank you to our friends at Yarnspirations for sending us this Red Heart Dreamy yarn to try out! It’s a heavier weight acrylic yarn that reminds me of wool, but has a really soft texture. It works up to a really warm blanket, perfect for babies who live in cold places :).
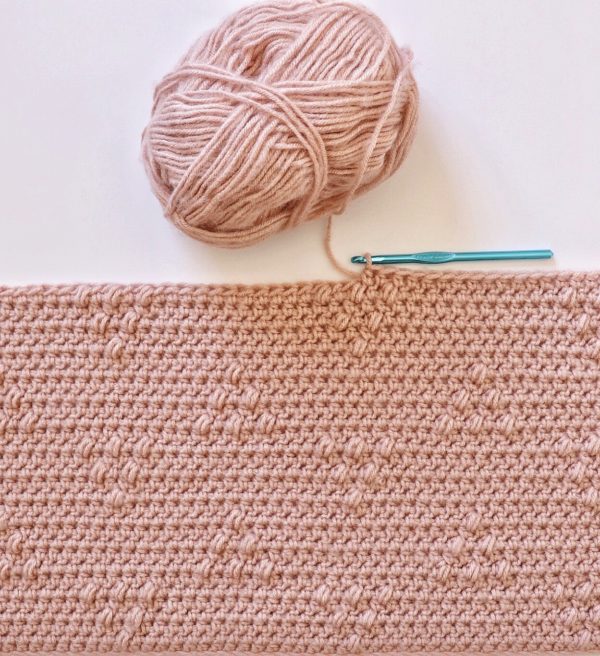
I’ve been wanting to make another version of my Diamond Berry Stitch Blanket and experiment using some different stitches, but when I started this blanket I decided to cut the diamonds in half and make triangles instead!
Materials
Red Heart Dreamy (100% acrylic, 250 g/8.8 oz, 426 m/466 yds)
2 skeins Buff
Size K/6.5mm hook, tapestry needle, scissors
Size
Finished size 33 in x 40 in
Gauge 4 in = 10 st and 11 rows of WHDC
Stitches
Half Double Crochet (HDC): Yarn over (YO), insert your hook, YO and pull up a loop, YO and pull through three loops.
Puff Stitch: *YO, insert your hook in between the posts, pull up a loop. Repeat from * 3 more times (inserting your hook into the same space). Then YO and pull through all the loops on your hook.
Wide Half Double Crochet (WHDC): YO, insert your hook between stitch posts, YO and pull up a loop, YO and pull through three loops.

Pattern
Chain 81. (To make your blanket bigger, multiply any number by 16, then add 17.)
Row 1: Starting in the 3rd chain from the hook, work 1 HDC in each chain. Chain 2 and turn.
Row 2: Work 1 WHDC in each of the first 7 spaces. Then work 1 puff stitch, still inserting your hook in between the posts. (From now on for the rest of the blanket you will always be inserting your hook in between the posts.) *Work 15 WHDCs, then 1 puff stitch. Repeat from * 3 more times. Then end the row with 7 WHDCs. Chain 2 and turn.
Row 3: Work one row of WHDC. (When you are crocheting over the puffs from the row below, insert your hook on either side of them, just like they are posts.) Chain 2 and turn.
Row 4: Work 6 WHDCs, then one puff stitch, then one WHDC, then one puff stitch. Then *work 13 WHDCs, one puff stitch, one WHDC, one puff stitch. Repeat from * 3 more times. Then end the row with 6 WHDCs. Chain 2 and turn.
Row 5: Repeat row 3.
Row 6: Work 5 WHDCs, then one puff stitch, then one WHDC, then one puff stitch, then one WHDC, then one puff stitch. Then *work 11 WHDCs, then one puff stitch, then one WHDC, then one puff stitch, then one WHDC, then one puff stitch. Repeat from *3 more times. Then end the row with 5 WHDCs. Chain 2 and turn.
Row 7: Repeat row 3.
Row 8: Work 13 WHDCs, then one puff stitch, then one WHDC, then one puff stitch, then one WHDC, then one puff stitch. Then *work 11 WHDCs, then one puff stitch, then one WHDC, then one puff stitch, then one WHDC, then one puff stitch. Repeat from * 2 more times. End the row with 13 WHDCs. Chain 2 and turn.
Row 9: Repeat row 3.
Row 10: Work 14 WHDCs, then one puff stitch, then one WHDC, then one puff stitch. Then *work 13 WHDCs, one puff stitch, one WHDC, one puff stitch. Repeat from * 2 more times. End the row with 14 WHDCs. Chain 2 and turn.
Row 11: Repeat row 3.
Row 12: *Work 15 WHDCs, then one puff stitch. Repeat from * 3 more times. End the row with 15 WHDCs. Chain 2 and turn.
Row 13: Repeat row 3.
Repeat rows 2 through 13 for the remainder of the blanket. (I ended with 15 sets of triangles)
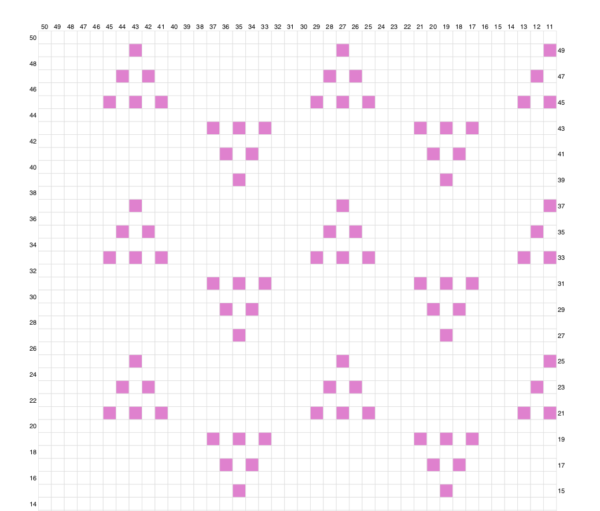
Here is a chart to help you see the counting repeats:
Tassels
Before adding tassels I worked one round of HDC around the edge of the blanket, working 3 HDCs into the corners.
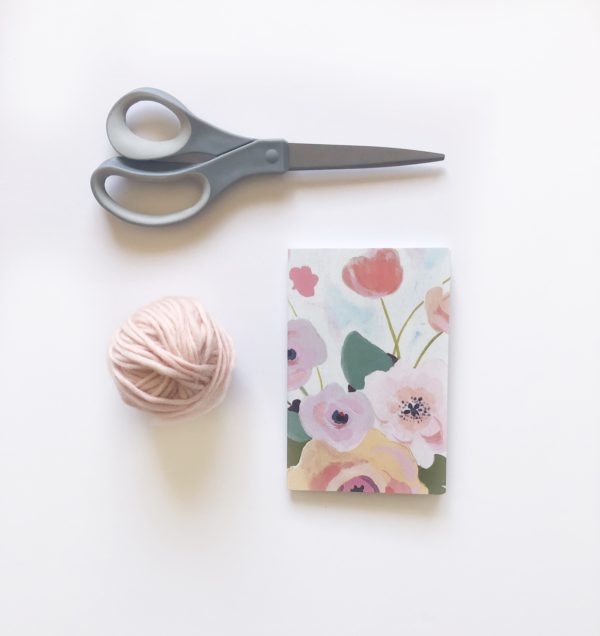
Supplies: A small notebook (the one I used is about 6 in. x 4in.), Scissors, Yarn
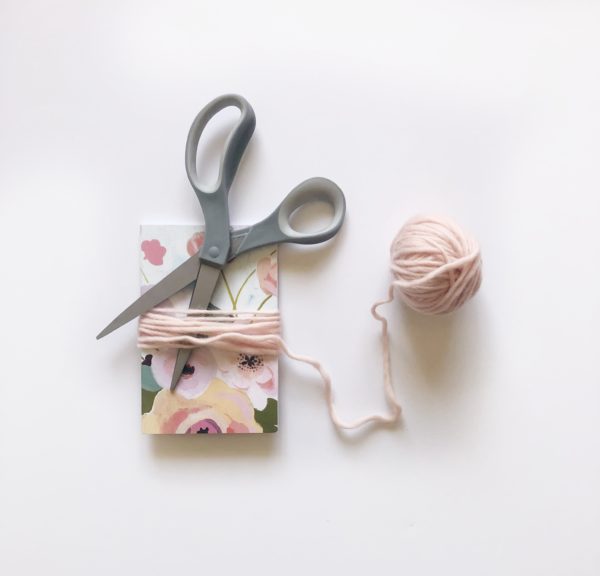
Wrap a piece of yarn around the notebook horizontally 20 times. Then cut the yarn in half.
Take two pieces of yarn and fold them in half. Insert the folded end into the chain space above the last row of single crochet.
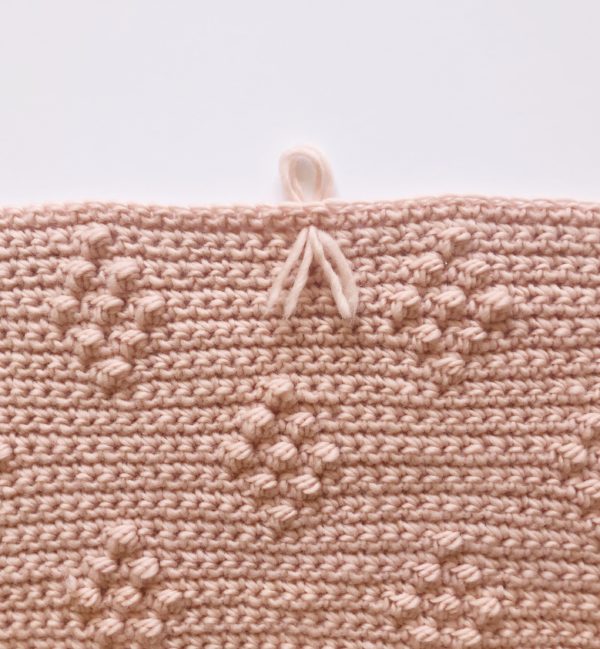
Pull the ends through the loop…
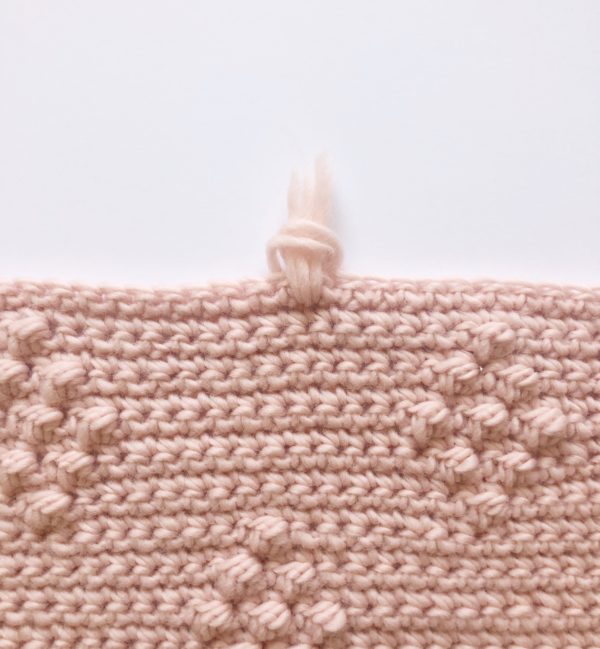
And pull tight to make a knot.
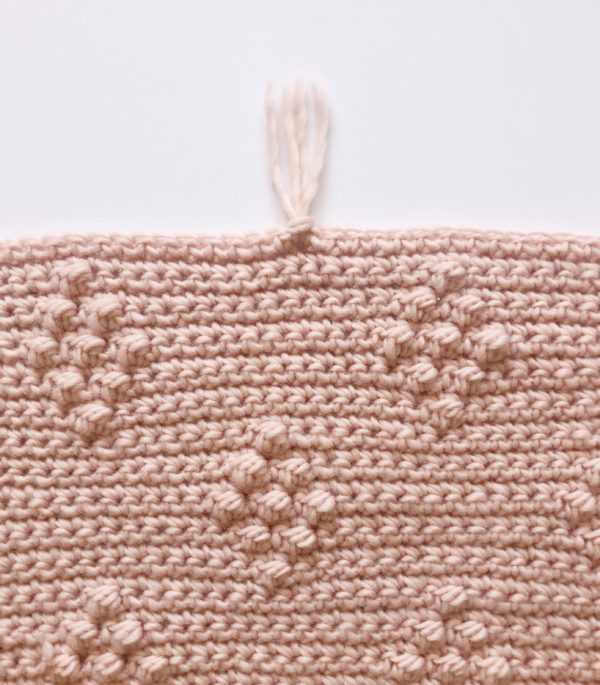
And that’s it! I put my tassels every 3 chain spaces above the last row of HDC, but you can space yours out however you desire. You can also make the tassels longer by using a bigger notebook, or trim them down if you want them to be shorter.
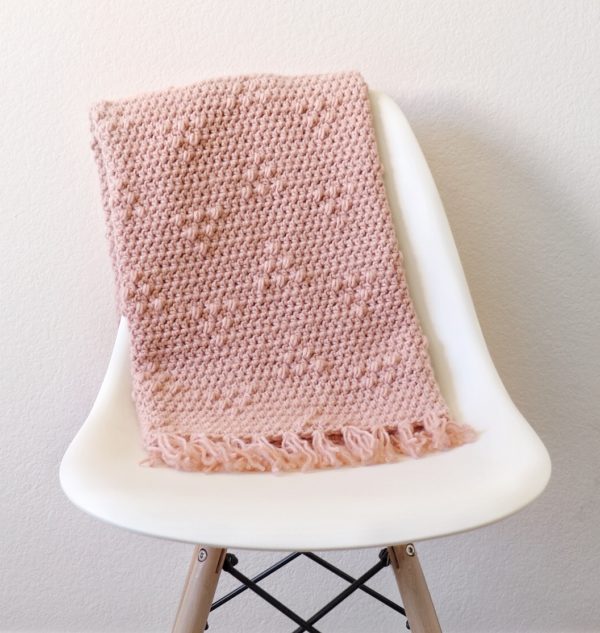
I hope you enjoy making this blanket! When you finish please came share a pattern with us on Facebook or Instagram using #daisyfarmcrafts, we’d love to see!
xo, Hannah

