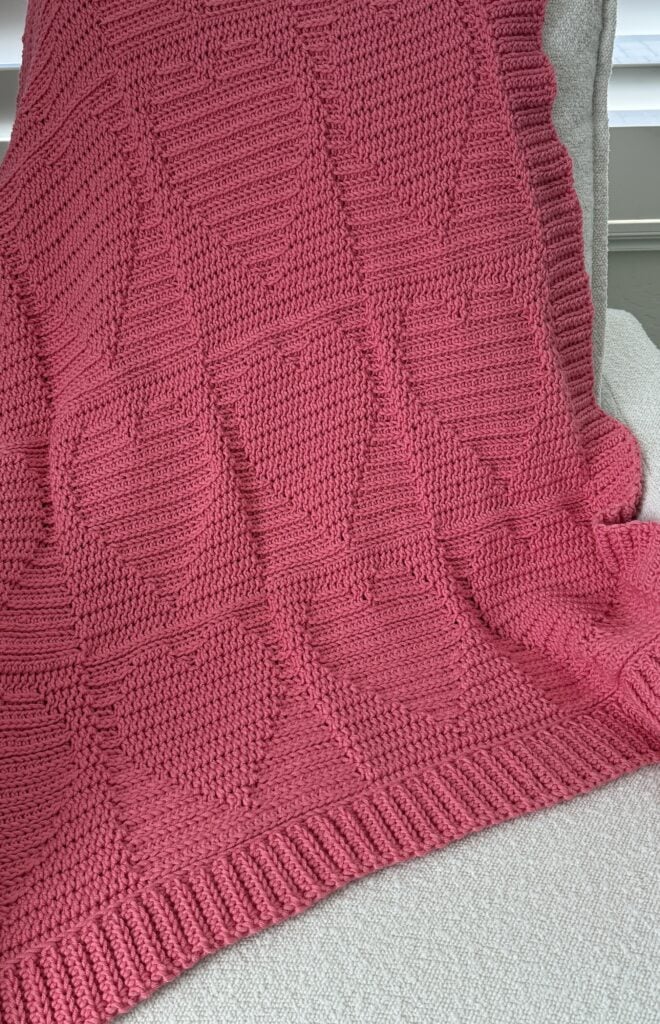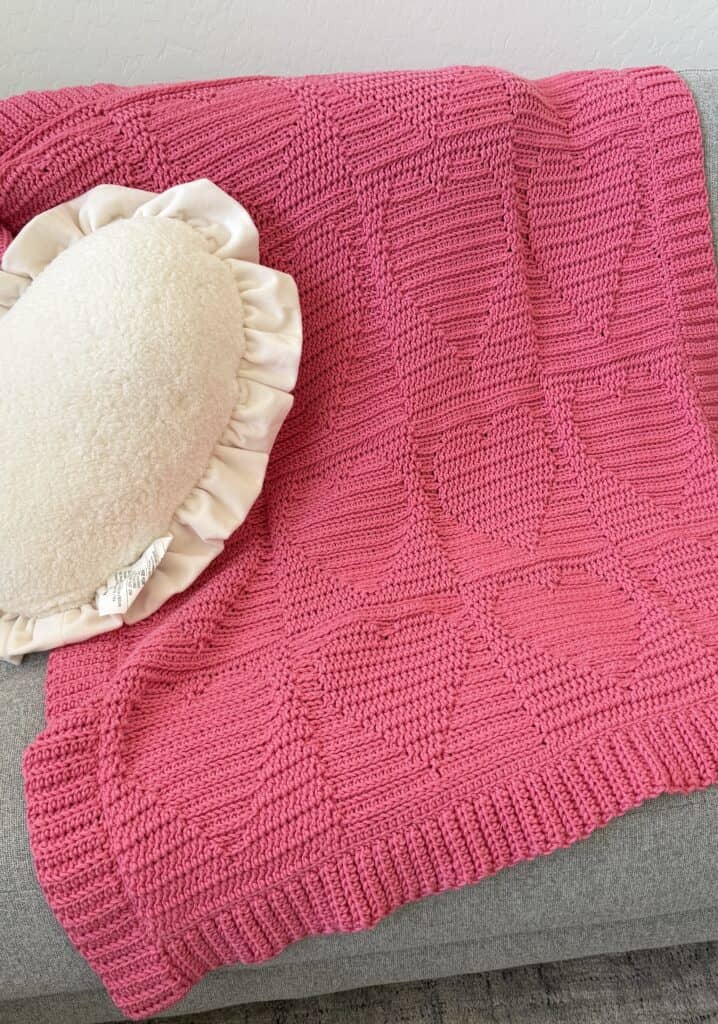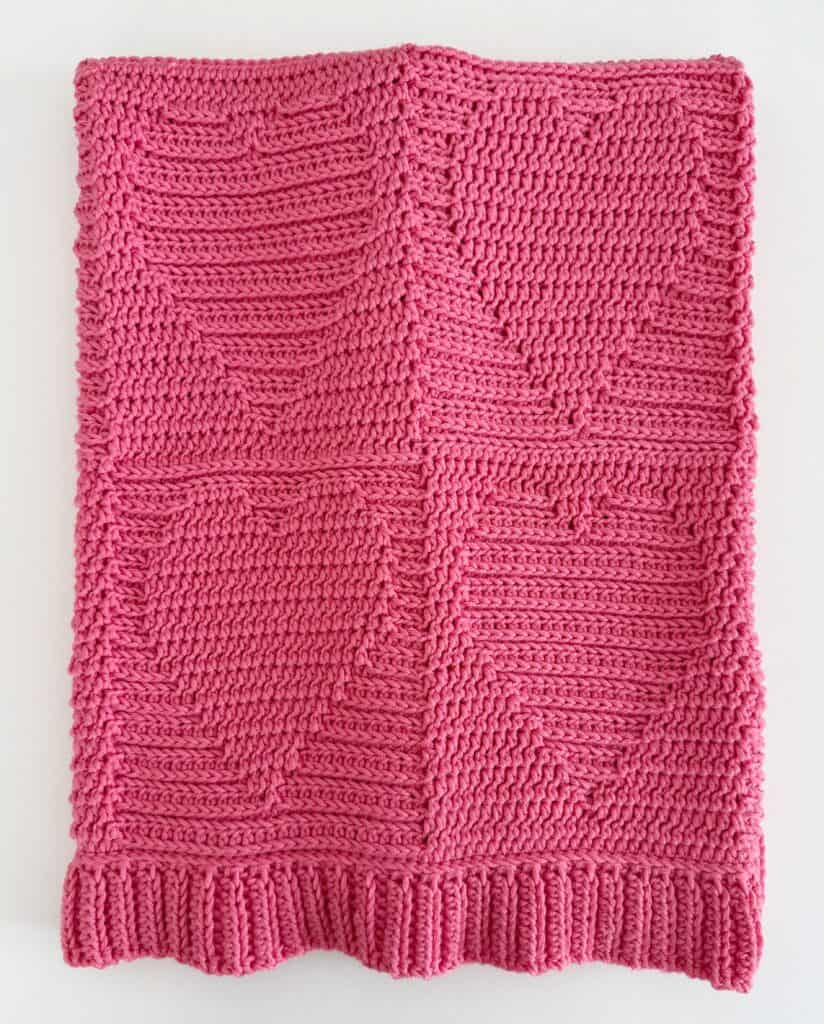
I loved the idea of switching up which half double crochet loop I worked into to create this beautiful texture! This is all half double crochet; I am alternating between working into the front bottom loop and the back loop. If you are an experienced crocheter, you’ll know that the half double crochet creates three different loops that you can use to create all sorts of looks. I am taking advantage of that feature of HDC to create the solid look for some of the stitches, and the braided look for the others.
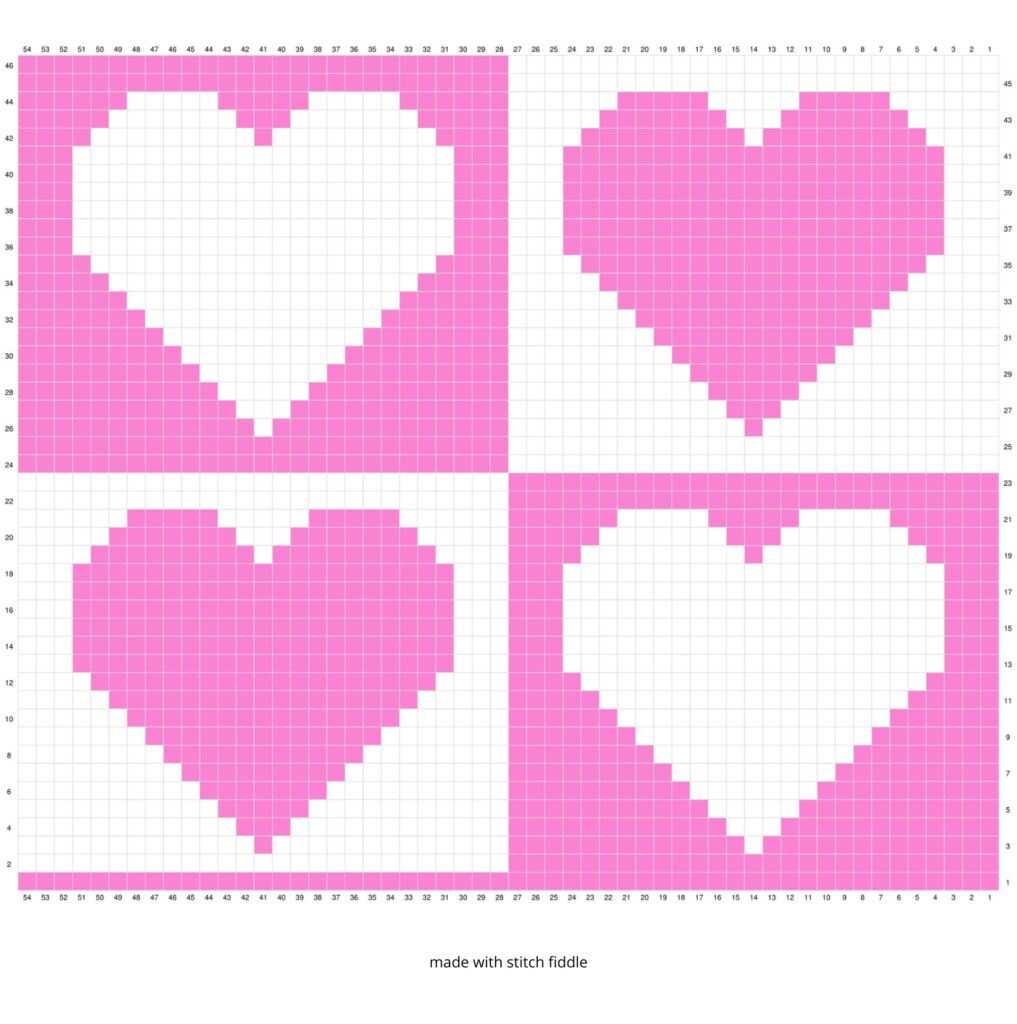
However, I have been struggling with a good way to illustrate this with a written pattern. I think the best way is to follow the graph that I have provided that will give you the counts to make the heart, but the graph has limitations in that as you make the blanket, you’ll have to make sure that you’re using the proper loop to make the texture appear on the correct side of the work.
This might be easy or difficult for you. I’m not rating this pattern as beginner-friendly, even though once you establish the second and third rows, it is easy to tell which stitch to work. It’s more complicated to write and explain it.
I’m hoping that the video tutorial can give you more of an idea of how to switch out the stitches following the graph. The issue I am having is that I can’t say just follow the colors of the graph, and say back loop hdc is all dark pink, for example, because when you turn the blanket, you’ll need to work the opposite stitch and so pink is not back loop hdc but front bottom loop. And even as I write this out I know it’s so confusing. It is better if you just work a quick sample of the graph for about 5 or 6 rows and I think it really will make sense.
So with that said, I wish you all the luck in the world that you can understand what I did to create this texture. This might be the first blanket pattern where writing the pattern is actually harder than making the blanket!
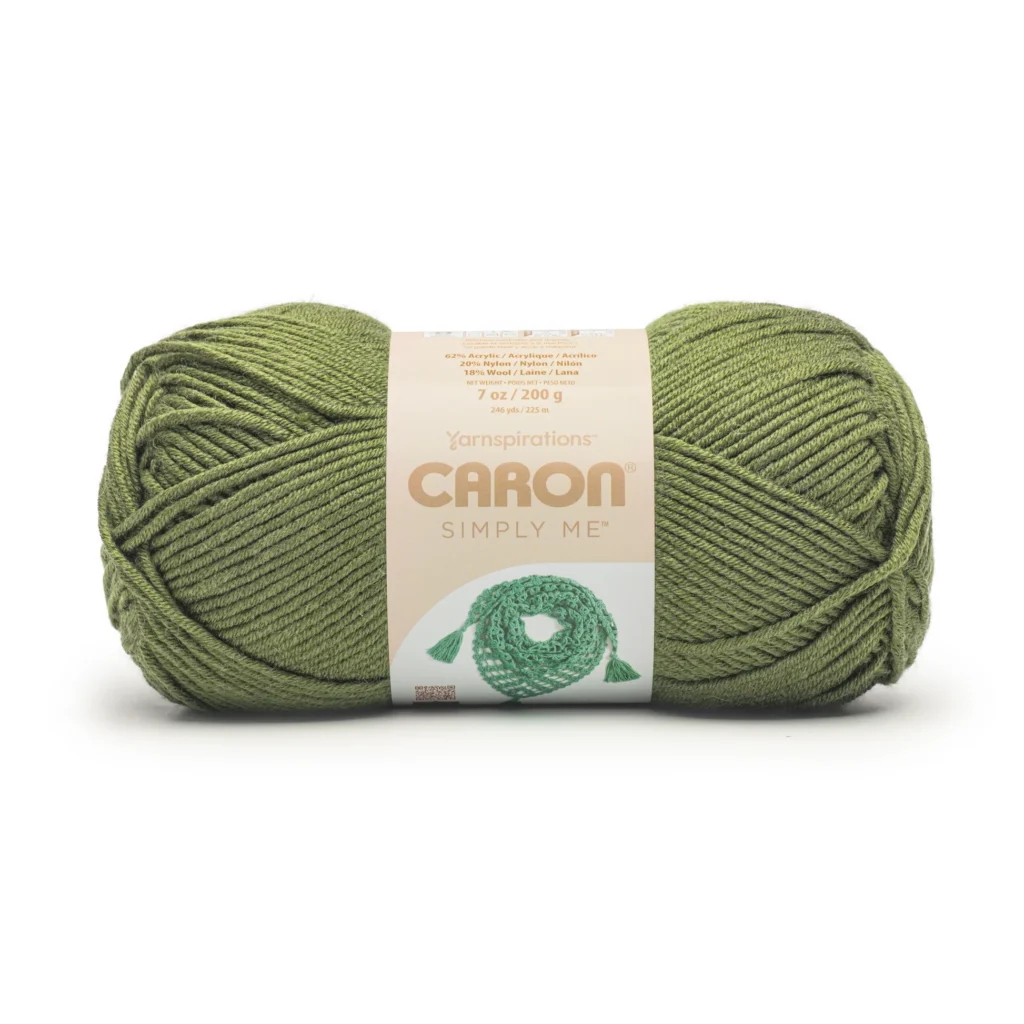
Let’s chat about this wonderful new yarn I used from Yarnspirations called Caron Simply Me. This yarn felt like working with a fine merino washable wool. It’s springy, bouncy and no pilling. The colors are so vibrant as well. This blanket feels like a nice sweater. In fact, I’m excited to try using it for a sweater for the grandbabies.
I’m working on some new hat patterns using it as well since it is so bouncy and retains its shape so well. I am excited to have this type of yarn available from Yarnspirations. It is a wool, acrylic, and nylon blend.
Materials
For a blanket size approximately 37 x 56 inches
gauge: 7 hdc and 7 rows = 2 inches
Caron Simply Me (62% Acrylic, 20% Nylon, 18% Wool 200g/7oz, 225 meters/246 yards)
7 skeins Pretty in Pink
Size J-6mm hook
scissors, tapestry needle
Stitches
Half Double Crochet (HDC): YO, insert your hook, YO and pull up a loop, YO and pull through all three loops on hook
Front Bottom Loop HDC (FBL-HDC): YO, insert hook into front bottom loop of HDC in previous row, YO and pull up a loop, YO and pull through all three loops on hook.
Back Loop HDC (BL-HDC):YO, insert hook into back loop of HDC in previous row, YO and pull up a loop, YO and pull through all three loops on hook.
Pattern
Print graph by clicking image below or highlighted words.
Click here or image below to download chart.
Chain 109
ROW 1: Begin in second chain from the hook with HDC. HDC into each chain across the row. (108)
Tip: the first row of the graph is all pink only for the first row of the blanket, as the blanket grows and you are repeating the graph for the second time, switch stitches every 27 sts as in row 2.
ROW 2: *FBL-HDC in each of the next 27 sts. BL-HDC in each of the next 27 sts. Repeat once more from * across the row. CH 1 and turn.
Begin following graph to switch between Front Loop HDC and Back Loop HDC.
Tip: each “block” is 27 stitches, when you work each section, it’s helpful to know the number of stitches on each side of the heart and how many for the heart. Those numbers always equal 27.
Row 3: 13, 1, 13
Row 4: 12, 3, 12
Row 5: 11, 5, 11
Row 6: 10, 7, 10
Row 7: 9, 9, 9
Row 8: 8, 11, 8
Row 9: 7, 13, 7
Row 10: 6, 15, 6
Row 11: 5, 17, 5
Row 12: 4, 19, 4
Row 13 through 18: 3, 21, 3
Row 19: 4, 9, 1, 9, 4
Row 20: 5, 7, 3, 7, 5
Row 21: 6, 5, 5, 5, 6
Row 22-23: 27
Repeat graph one more time across and one more time upward. The blanket is 4 hearts wide and 4 hearts tall. If you wish to make it larger, add 27 chains for each heart section.
Border
After last stitch, work one round of SC into each stitch and work SC evenly along the sides, and 3 SC into each corner. Join with a slip stitch to starting SC, chain 9.
First side: Work HDC into each of the next 8 chains, *SL ST to the SC on the edge of the blanket. SL ST into the next SC, turn and work BL-HDC into each of the 8 HDC. CH 1 and turn. HDC into first HDC, BL-HDC into next 7 HDC. Repeat from * to the end of the side.
Second side: CH 9.Work HDC into each of the next 8 chains, *SL ST to the edge of the blanket. SL ST into the next st, turn and work BL-HDC into each of the 8 HDC. CH 1 and turn. HDC into first HDC, BL-HDC into next 7 HDC. Repeat from * to the end of the side.
Repeat first and second side until the border is complete. Tie off and weave in all the ends.
(Tip: Please watch the end of the video to see a demonstration of how to make each corner.)
Thank you so much for stopping by! I hope this is just the winter/Valentine’s Day project that you will love to see grow. I was excited to work on it every day and watch the hearts take shape.
If the switching of stitches doesn’t work out for you, you can always use the graph with colors instead. In fact, that is coming next! I already have one going, and it is working beautifully.
XOXO, Tiffany
