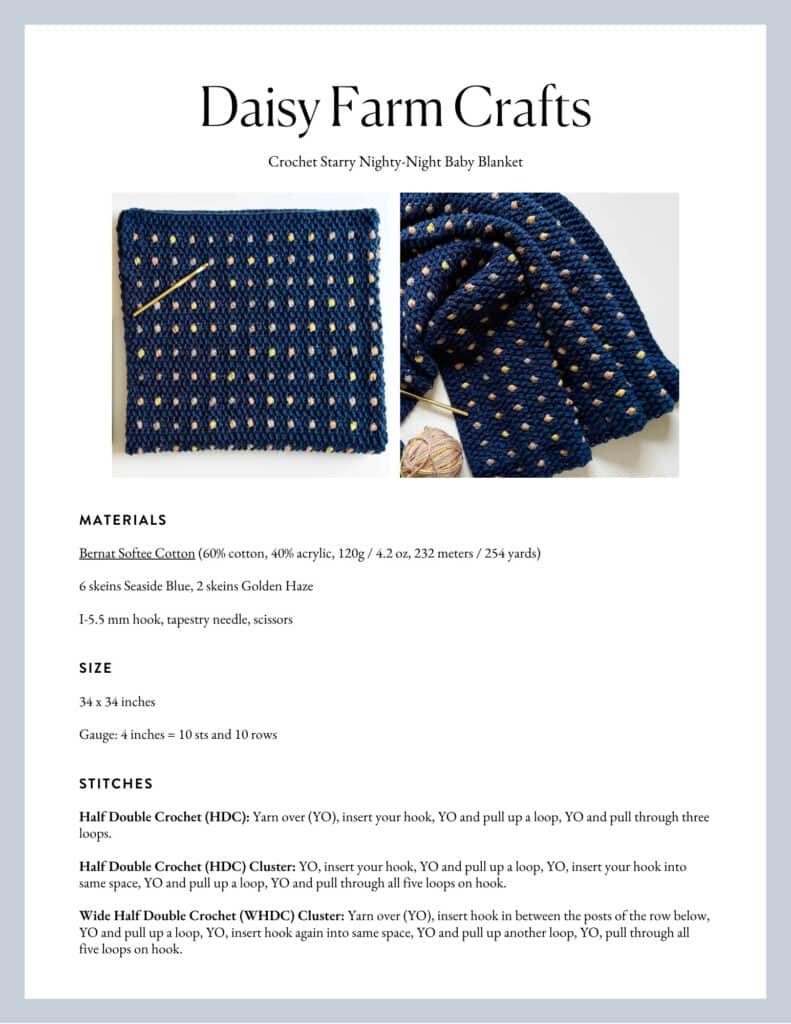
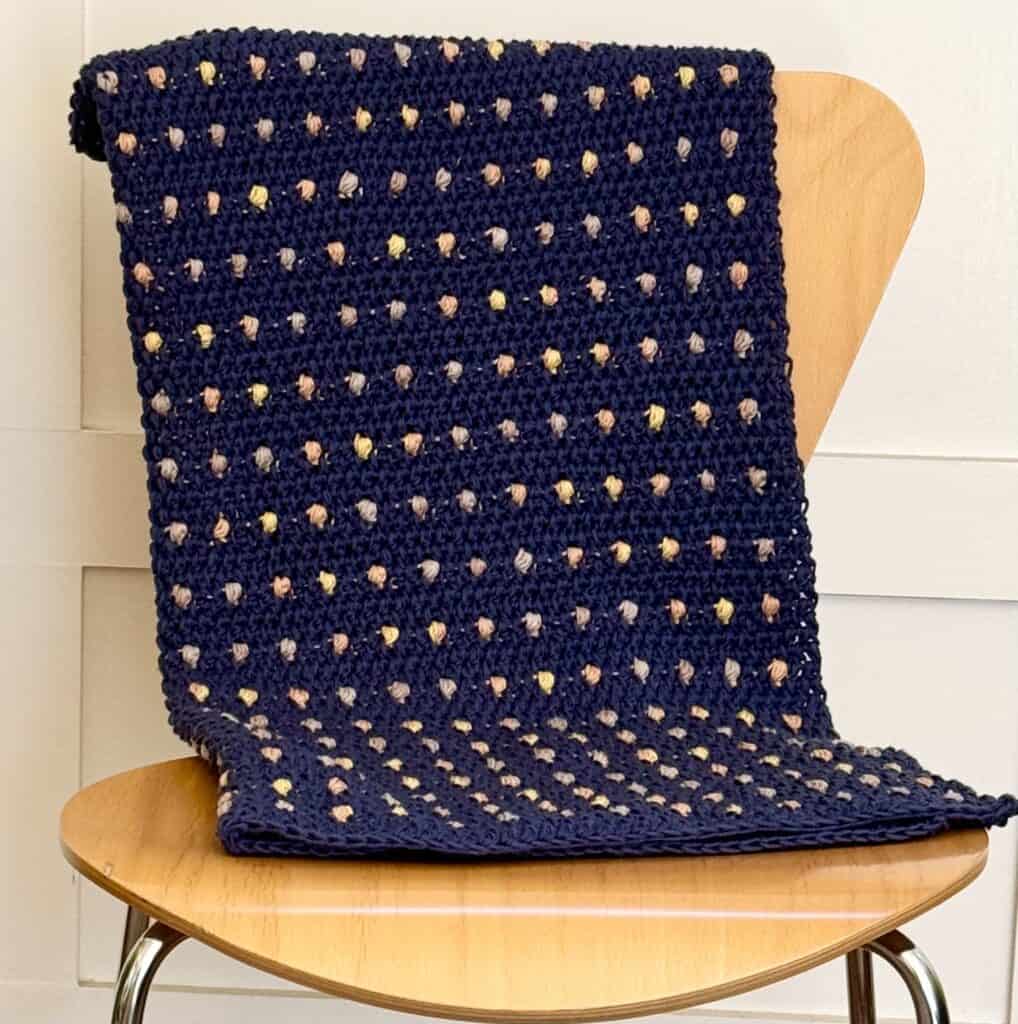
When both parents-to-be are rocket scientists, you need a baby blanket for the stars! Cyndi, aka Sugar Joye has a new great nephew on the way and she came up with this darling blanket that she named Starry Nighty-Night baby blanket. It turned out so incredibly cute!
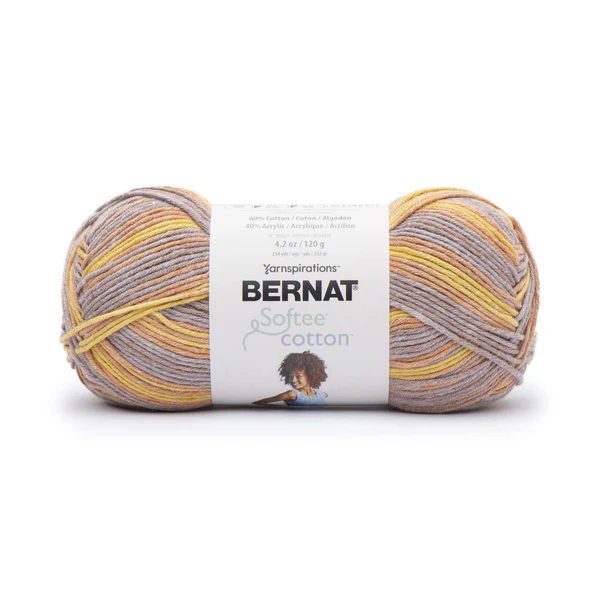
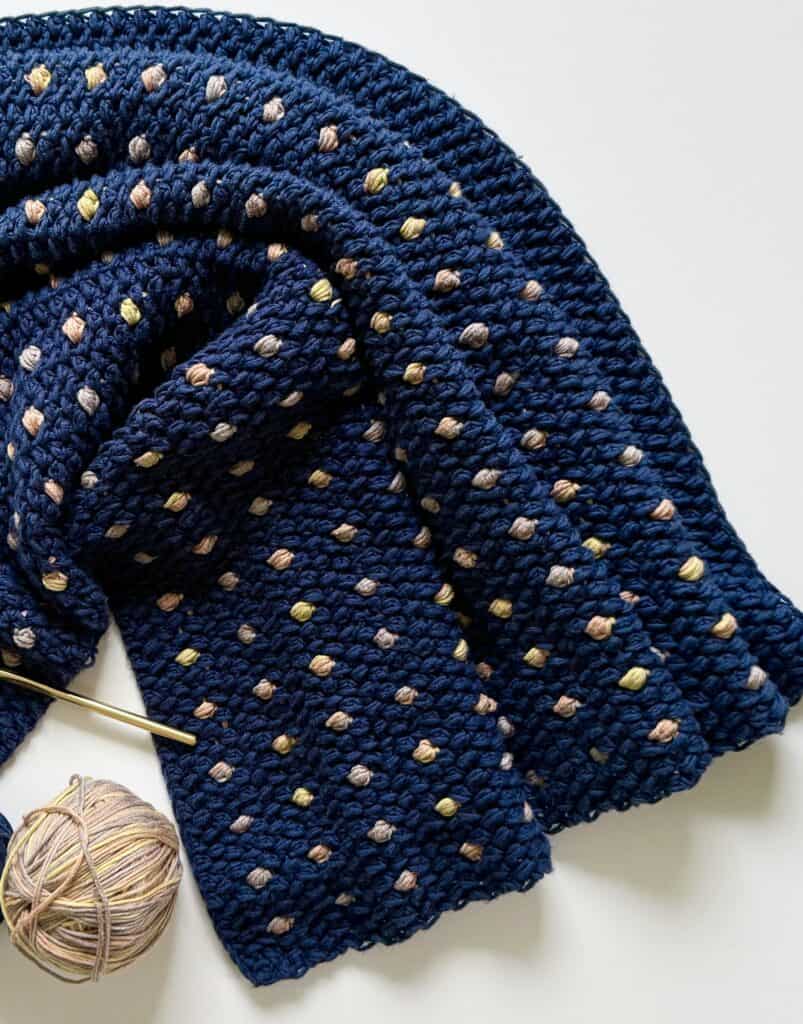
I absolutely love how she used Bernat Softee Cotton in Golden Haze, a variegated yarn, as the perfect base for multi-colored stars. The little flecks of color work perfectly against the dark blue background.
Here is a photo of Bernat Softee Cotton in Golden Haze :
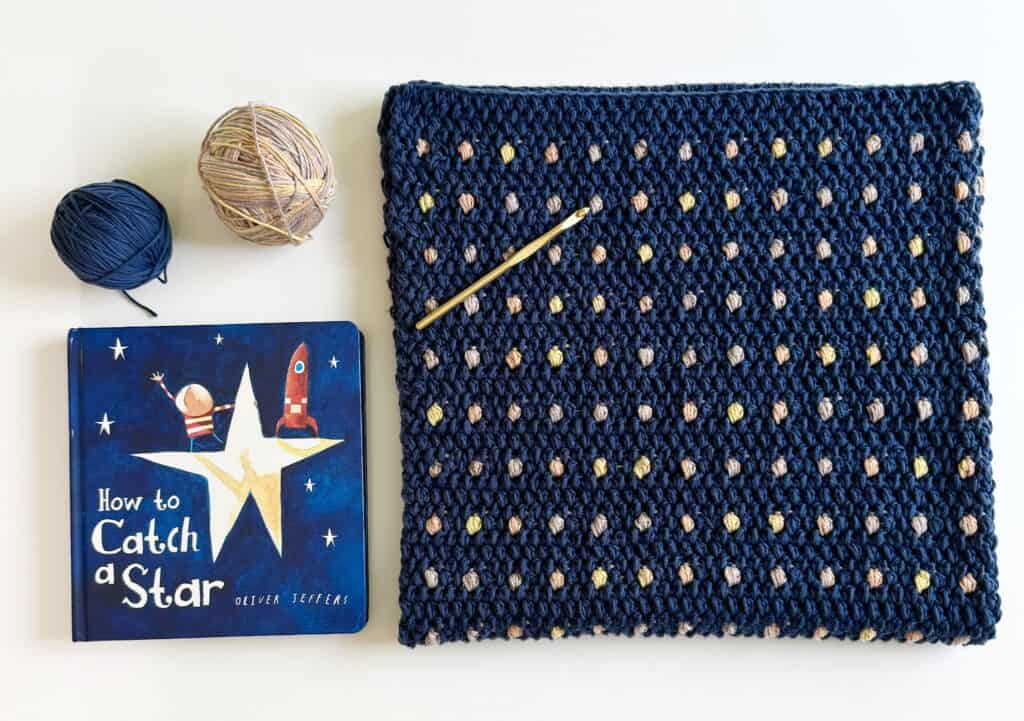
Hannah has an eye for the perfect picture *books to go with blankets and she found HOW TO CATCH A STAR to add to the shower gift. This gift has been a real team effort! We love when the perfect blanket design can accompany the perfect little picture book.
(*as an Amazon Associate, we may earn on qualifying purchases)
This blanket is based on Hannah’s Bundle Up Candy Dots Baby Blanket she made with Bernat Bundle Up several years ago. It is one of our most popular blanket patterns and is so fun to make.
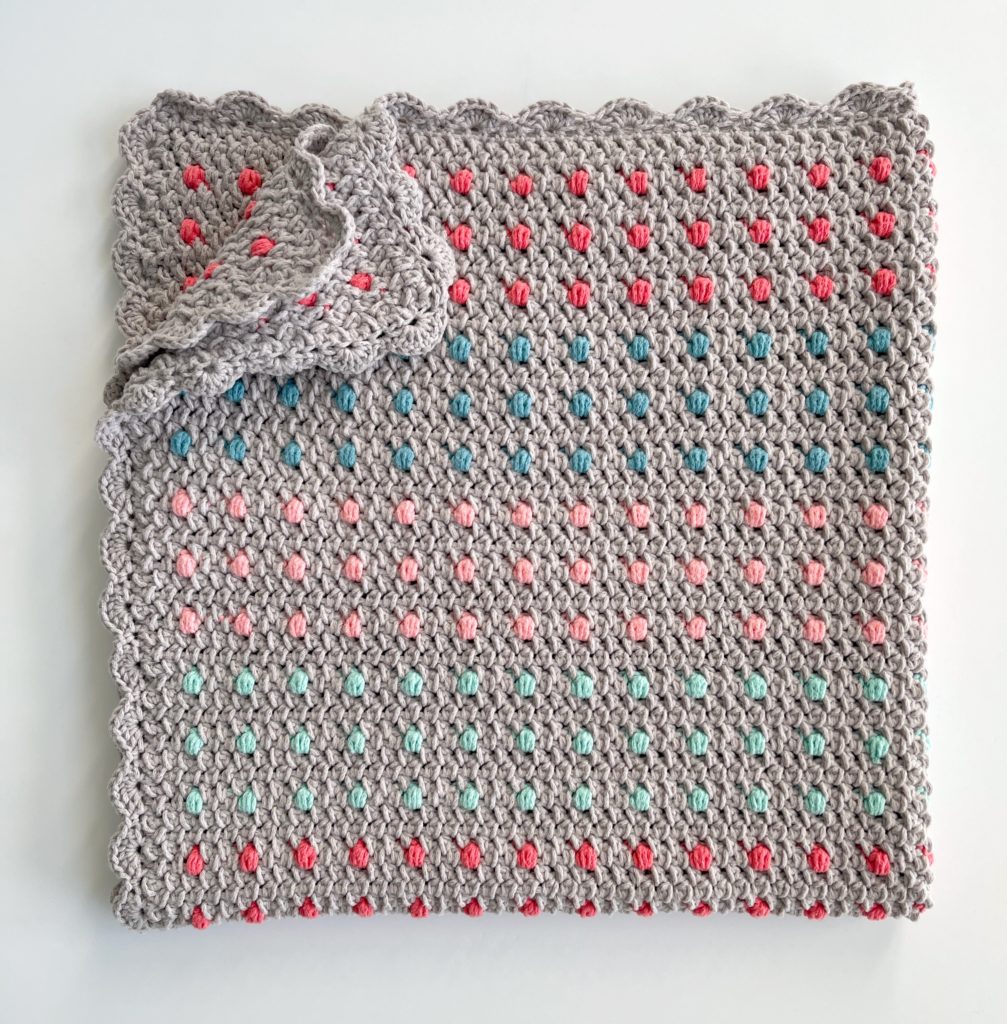
Cyndi has been eying it as a project to try and I’m so glad she did! You can see us chat about about her progress and experience making it on this episode of Crochet Sister Chat. It’s so beautiful in real life!
Materials
Blanket size 34 x 34 inches, Gauge: 4 inches = 10 sts and 10 rows
Bernat Softee Cotton (60% cotton, 40% acrylic, 120g / 4.2 oz, 232 meters / 254 yards)
6 skeins Seaside Blue, 2 skeins Golden Haze
I-5.5 mm hook, tapestry needle, scissors
Stitches
Half DOUBLE CROCHET (HDC): Yarn over (YO), insert your hook, YO and pull up a loop, YO and pull through three loops.
HALF DOUBLE CROCHET (HDC) CLUSTER: YO, insert your hook, YO and pull up a loop, YO, insert your hook into same space, YO and pull up a loop, YO and pull through all five loops on hook.
WIDE HALF DOUBLE CROCHET (WHDC) CLUSTER: Yarn over (YO), insert hook in between the posts of the row below, YO and pull up a loop, YO, insert hook again into same space, YO and pull up another loop, YO, pull through all five loops on hook.
PUFF STITCH:*Yarn over (YO), insert hook, YO and pull up a loop, YO, insert hook again into same space, YO and pull up another loop. Repeat from * two more times. YO and pull through all loops on hook.
Pattern
Tips to know before you start:
Pull through with the new color on the last step of the stitch.
Lay whichever color you aren’t using along the top of your work and crochet over it as you go.
To avoid your yarn getting twisted as you carry it along your work, it helps to always keep one color to the front and one color to the back each time you switch colors.
To better cover up yarn that is being carried through, always insert your hook underneath the yarn that was carried across the previous row.
With blue, chain 85 (to make your blanket a different size, chain a multiple of 3, then add 4.)
ROW 1: Starting in the 3rd chain from the hook, work HDC cluster into each chain. Chain 2 and turn.
ROWS 2 – 3: Work WHDC cluster into each space across the row. (Be sure not to miss the last stitch between the last post and the turning chain.) Chain 2 and turn.
ROW 4: Work WHDC cluster into each of the first two spaces with blue, then work 1 puff stitch into the next space with golden haze (still inserting your hook in between the posts). *Work WHDC into each of the next two spaces with blue, then work 1 puff stitch into the next space with golden haze. Repeat from * to the end of the row. Chain 2 and turn. Cut golden haze yarn, leaving a tail to weave into blanket later.
ROWS 5 – 7: With blue, work WHDC cluster into each space across the row. (On row 5, be sure to insert your hook underneath the golden haze yarn that was carried through on the previous row to better hide the yarn.) Chain 2 and turn.
Repeat rows 4 through 7 for the remainder of the blanket.
Please see the video tutorial for the Bundle Up Candy Dots blanket for help:
Cyndi chose to make this blanket super simple without a border. It looked great and finished. Using the wide HDC stitch gives a nice edge. This is perfect for beginners who haven’t learned how to add a border.
Thank you so much for stopping by and seeing what we are making for friends and family! We love creating crochet gifts and are so happy you share that love with us!
XO, Tiffany

