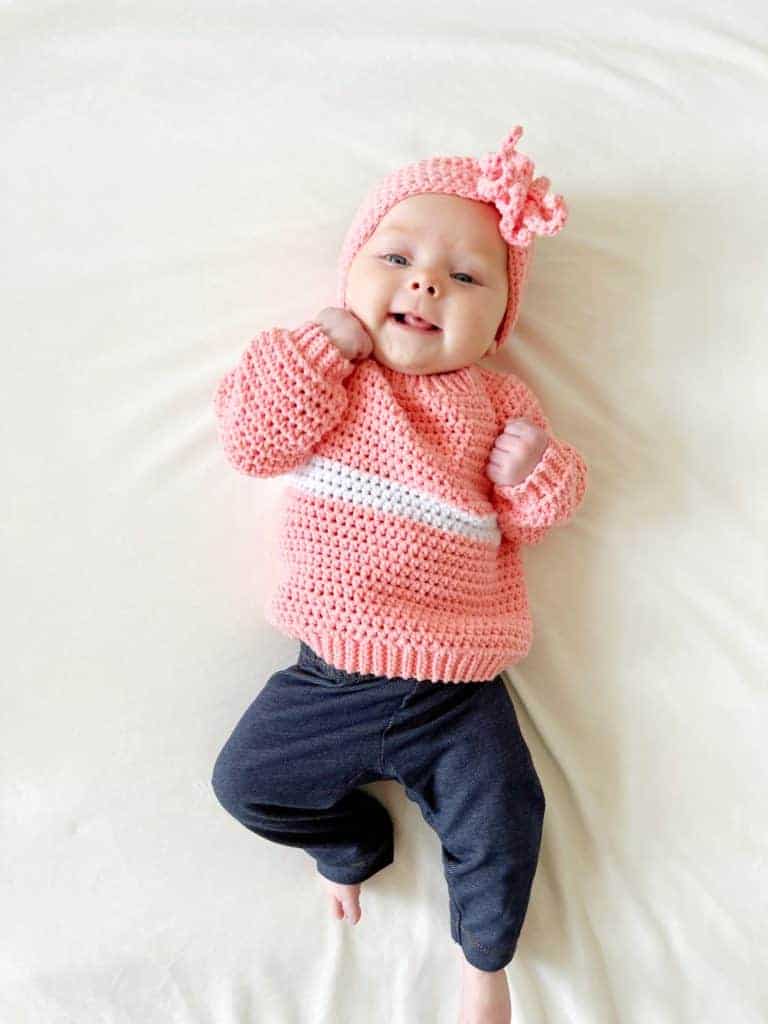
Oh how I love making baby sweaters for the babies! Especially simple crochet sweaters.
I have three grand babies to crochet for now and I’m feeling so blessed.
My goal was to make the three grandbabies (Jack 2 years old, James 5 months old, Kate 3 months old) these matching simple stripe pullover sweaters and take a picture of all three of them together just after the holidays since they were all in town.

However, the babies were never awake at the same time, and then the holidays were over and James had to go home.
James is my daughter Hannah’s baby and they live in Denver and not by me.
Jack and Kate are my son and daughter-in-law’s babies and I am so lucky to have them close.
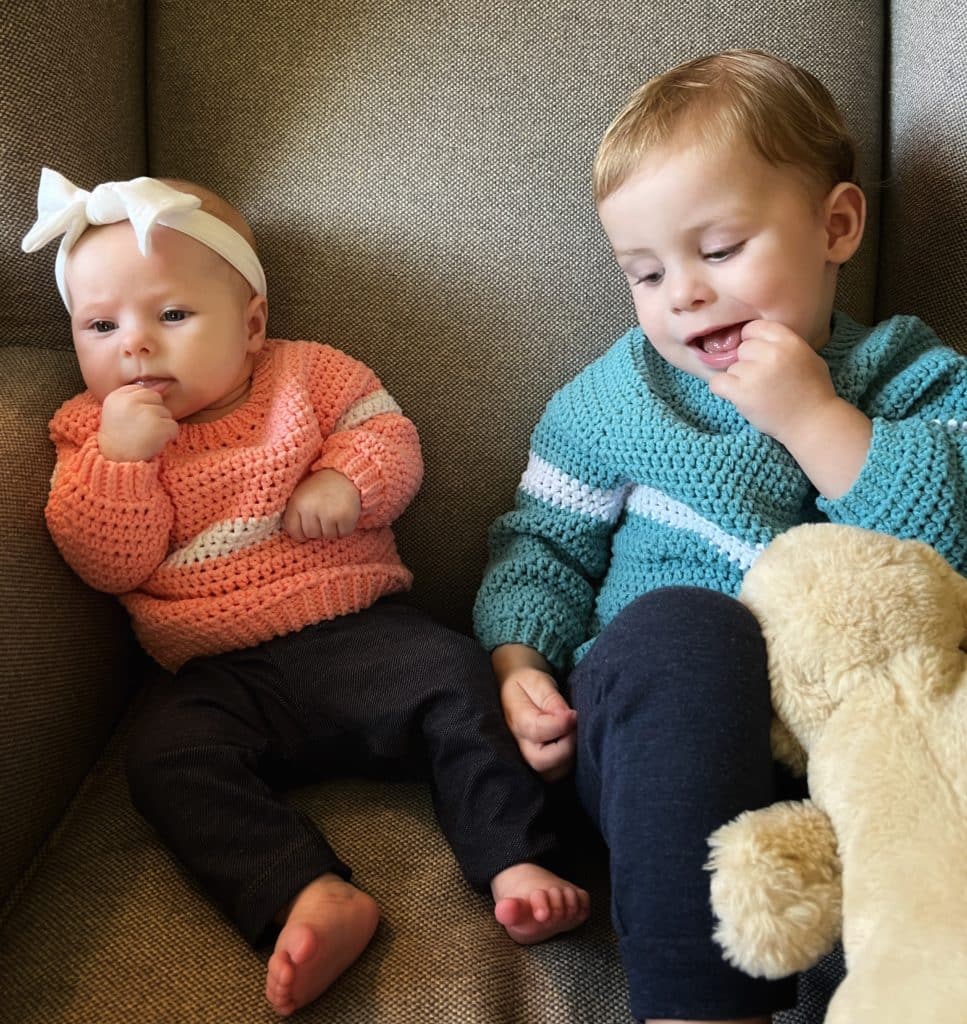
I changed my goal to get a cute picture of Jack and Kate and Jack gave me exactly two seconds to accomplish that goal before he was off and running!
Jack is now 2 years old and so curious about everything.
Although he still will let me try sweaters on him!
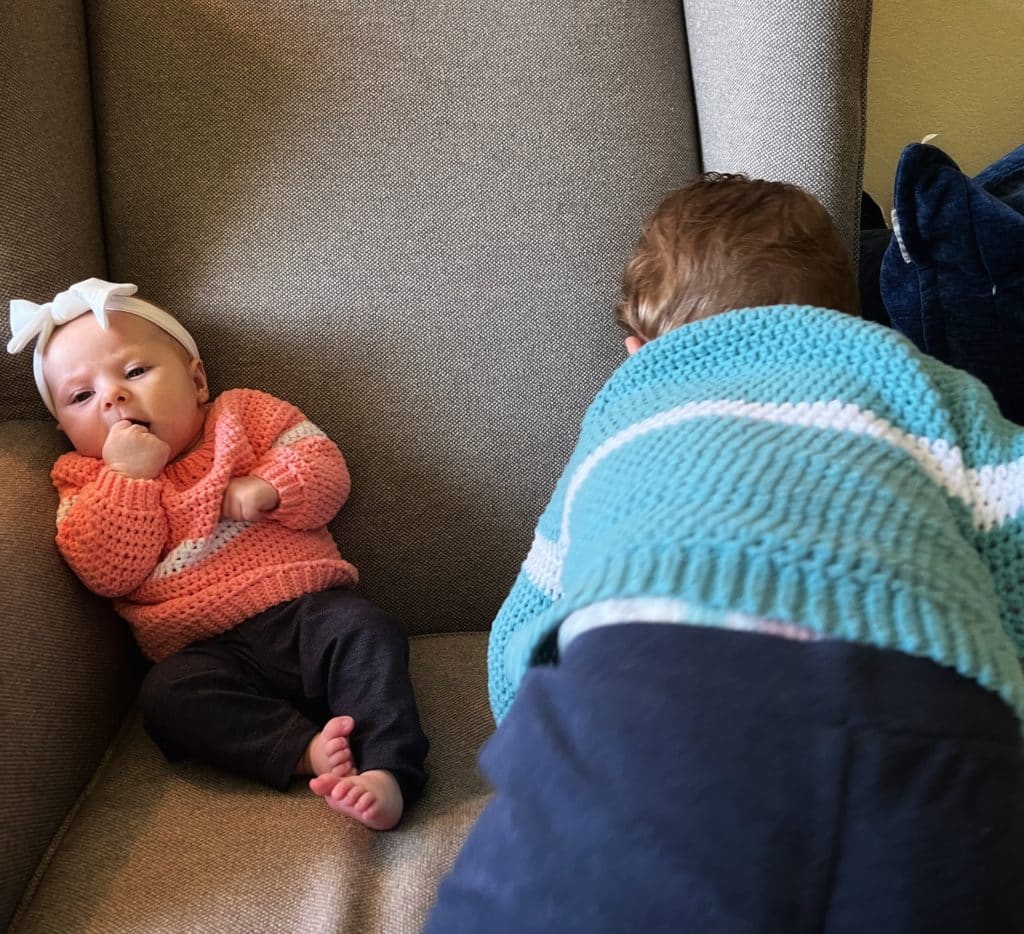
I’ve got to move so fast with my camera to catch him these days.
He did an okay job though and I love the action shots anyway.
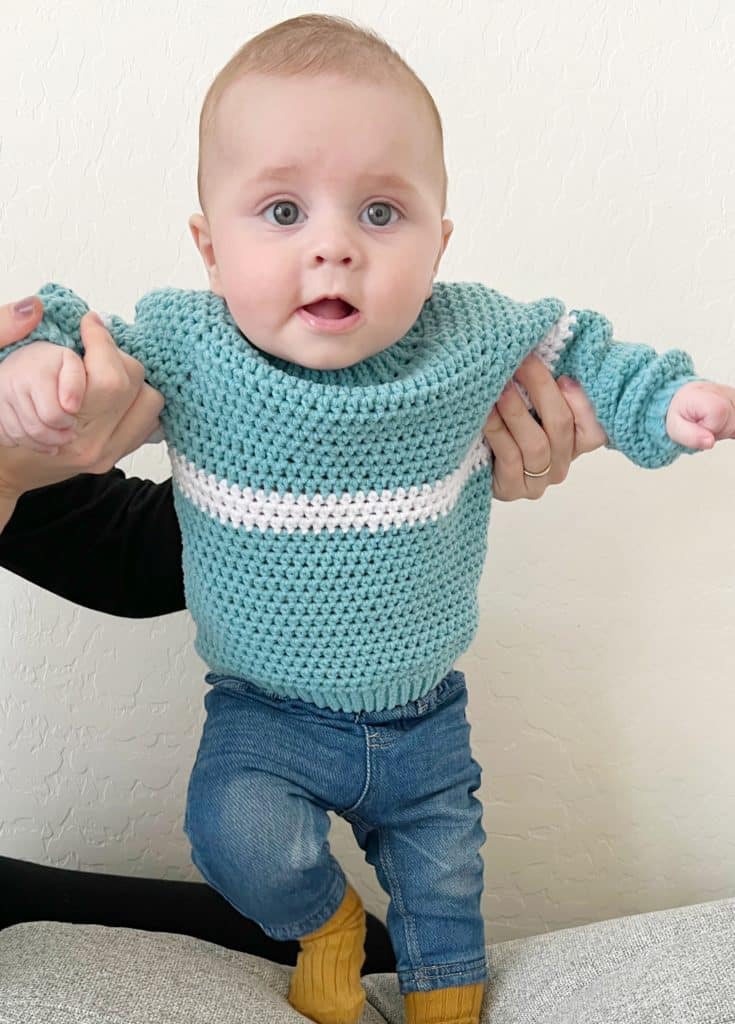
Little Kate just sat so patiently.
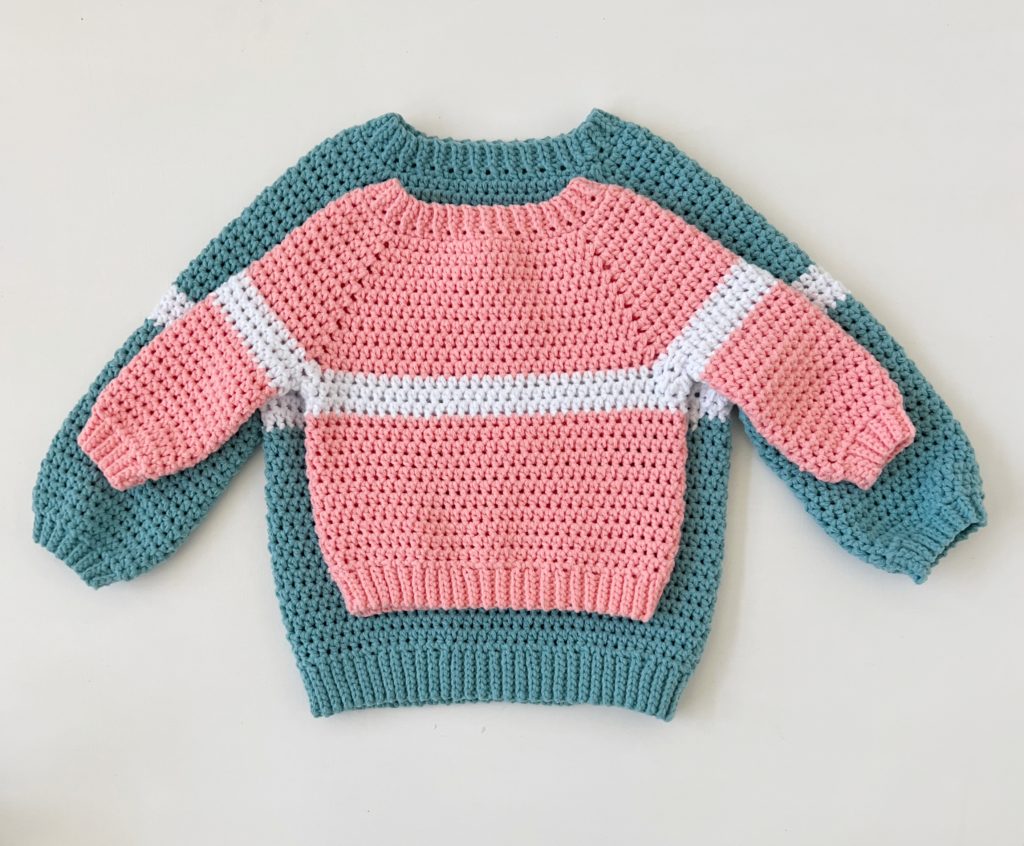
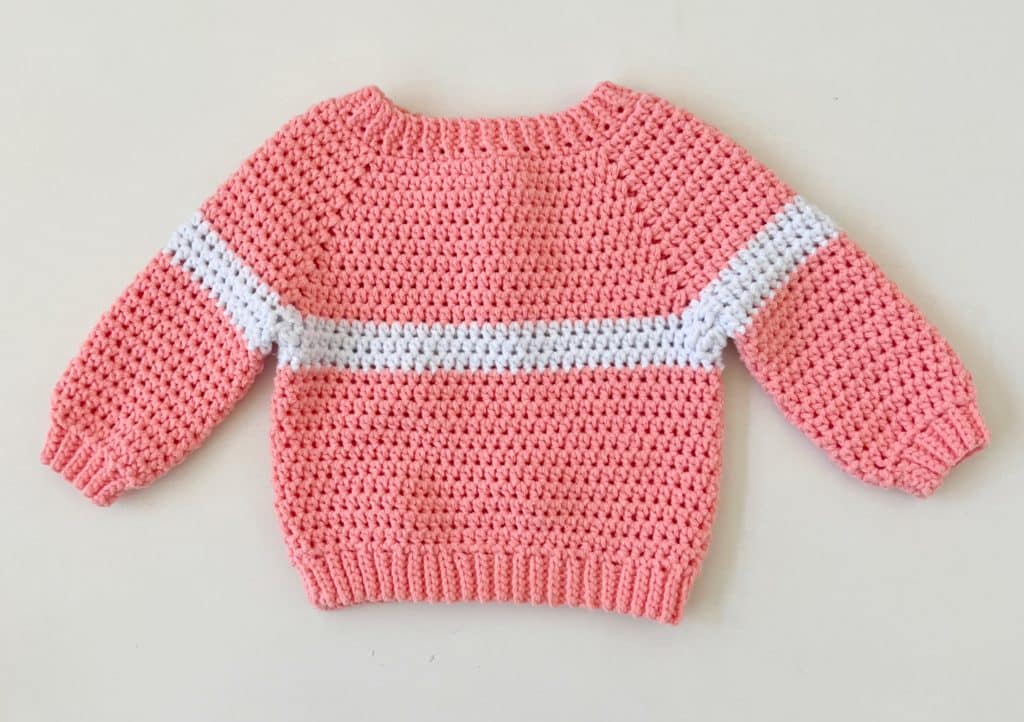
But at least the sweaters turned out so darling!
Even my older girls loved them too and want me to make more of them in different colors and patterns, but we will have to see about that.
I told them the other day that they probably have enough skills they can make them for themselves.
But let’s talk about the yarn I’m using for these sweaters.
I highly recommend that you use Bernat Bundle Up for the sweaters because it is soft and stretchy.
It also washes up so well.
Tap here to buy Bernat Bundle Up on Yarnspirations.com
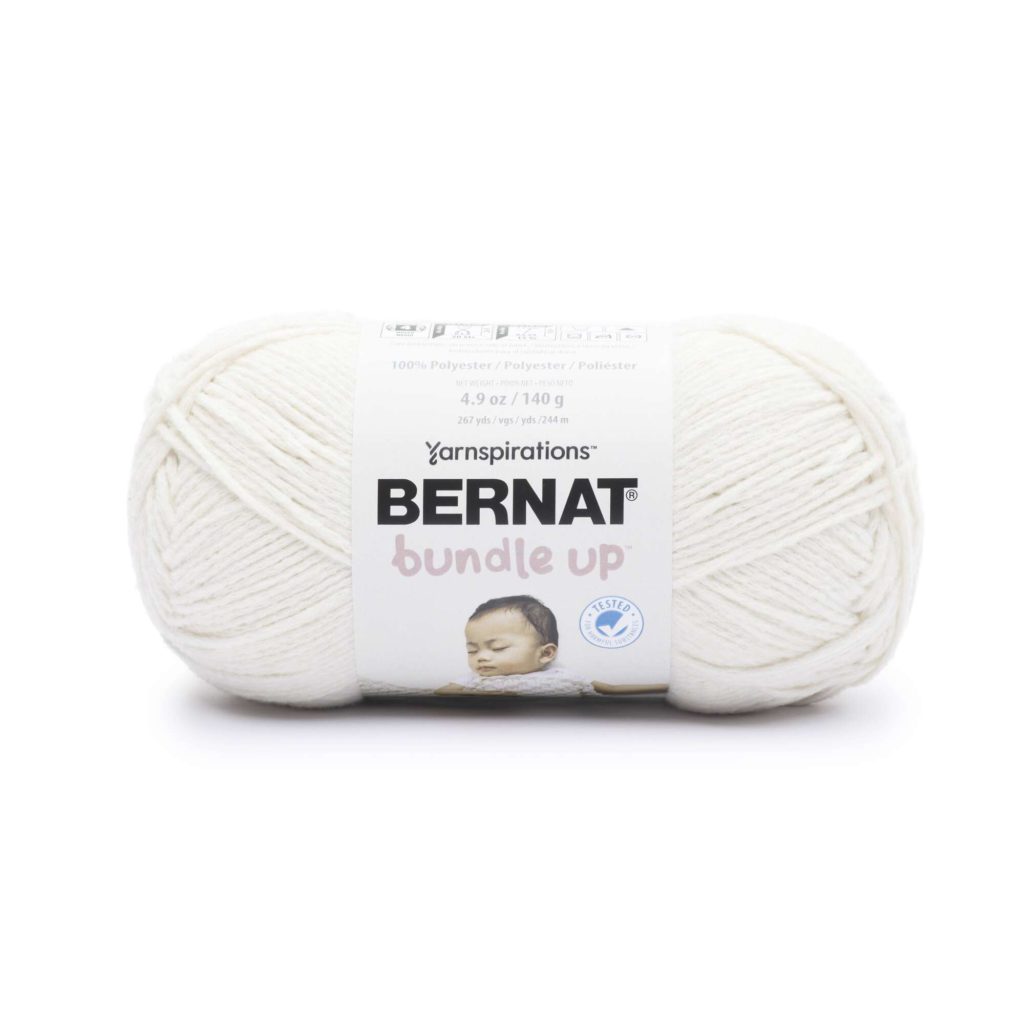
Bernat Bundle Up is quickly becoming our favorite yarn for baby projects.
Now, here is a note about how the pattern is worked.
The sweaters are worked from the top down, and you can adjust for the size from Newborn up to 24 months with the same starting neckline.
All you have to worry about is joining for the armholes for the size you need.
And, if you need a video tutorial, we have that to help you out.
Be sure and scroll to the end of the post for the free printable PDF and the video tutorial.
Materials
Bernat Bundle Up Small Ball (100% polyester, Ball Size: 140 g/4.9 oz, 244 m/267 yds)
Tap name of yarn to buy on Yarnspirations.com
2 balls of any color, 1 ball of white
Size H, 5.0mm size hook, tapestry needle, stitch markers, scissors.
Stitches
Slip Stitch: Insert your hook, yarn over and pull a loop back through and through loop on hook.
Half Double Crochet: YO, insert your hook, YO and pull up a loop, YO and pull through all three loops on hook.
Size
Gauge: 2 inches = 7 rows and 8 HDC taken from sweater
You can make this sweater from Newborn to size 24 Months.
The sizes in the chart are for average size babies. The best is to take measurements of the child you are making this for or even better is to measure it against a purchased sweater in the size you need.

Pattern
Neck Ribbing
Chain 5
Row 1: Begin in the second chain from the hook with SL ST. Work 1 SL ST into each remaining ch. CH 1 and turn. (4)
Row 2: Work 1 SL ST into the back loop of each st across the row. CH 1 and turn. (4)
Row 3: repeat row 2 until you have 64 rows. Place a stitch marker in last stitch while you sew.
Sew with a tapestry needle the starting chain bottom edge to the last row of stitches to form a circle.
Bodice
Work all rounds in the same direction, do not turn work.
Round 1: Remove stitch marker, working on the outside edge of the neck, work 2 SC at the end of every other row. Join with a SL ST to first st of the round. (64)
Mark stitch #12, #32, #44. (The join is stitch #1)
Round 2: CH 2. Work 2 HDC into the same st as join. HDC into each st, [HDC, CH 2, HDC] into each marked st. Join with a SL ST to the space created by the starting ch 2. (Count the HDC’s between each ch 2 spaces, you should have 13 over the shoulders and 21 for the back and front, total 68.)
Round 3: CH 2. Work 1 HDC into the same st as join. HDC into each st, [HDC, CH 2, HDC] around each ch 2 space. Join with a SL ST to the starting ch 2 space. ( You should have 14 over the shoulders and 22 for the front and back, total 72)
Tip: Going forward, each round increases by 4 stitches.
Round 4 to the size needed: As round 3.
Sizes: Newborn: 8 rounds, 3-6 months, 10 rounds, 6 -9 month, 12 rounds, 12-18 months 14 rounds, 24 months, 16 rounds.
Joining for Armholes
In the last stitch of the round, pull through with White, SL ST to CH 2 space. CH 1 and HDC into same space as join.
Round 1: CH 4 (or 6 if you need more width), SKIP over all the stitches to the next ch 2 space. Work HDC around the chain 2 space. HDC into each stitch to the next ch 2 space. CH 4 (or the number you did for the last one) SKIP over all the stitches to the next ch 2 and HDC around the ch 2 space. HDC into each st up to the first HDC of the round. Do not join.
Round 2: Work 1 HDC into each st and work the same number of HDC’s around the chains for under the arms. (For Example, if you worked 4 chains, work 4 HDC.)
Round 3: Work 1 HDC into each st around, change color at the end of the round.
Remaining Bodice:
Work in continuous rounds to the size needed.
Newborn: 10 more rounds, 3-6, 12 more rounds, 6-9, 13 more rounds, 12-18, 14 more rounds, 24 months, 16 more rounds.
Ribbing:
After making the last HDC of the round, SL ST to the next stitch, chain 8 and turn. Work SL ST into each ch. SL ST across the next 2 sts on the base of the sweater. Turn and work back loop SL ST to the edge of the ribbing. CH 1 and turn. Work back loop SL ST to the base of the sweater. SL ST 1 time to the next stitch. Work in this manner around the base of the sweater.
(Tip: you are easing the ribbing around the bottom, alternate slip stitching either one or 2 times when you return to the base of the sweater.)
When you complete the round, tie off and sew the beginning edge to the final stitches in the same way you sewed the neck.
Arms:
With White.
Round 1: Pull up a loop in between the stitches in the armhole (where you chained across). CH 1 and HDC into the same space. Work HDC2tog across and in between the next two stitches. HDC2tog across the next and the space before the first stitch of the round. HDC into each stitch around. HDC2tog across the space and first stitch, HDC2tog the next 2 stitches.
Round 2: Join and ch 1,(only time you will join) continue in the same direction, HDC into the first st of the round, and each st around.
Round 3: HDC into each st of the round, on last st, pull through with new color.
Round 4: until you have the length you need: HDC into each st of the rounds.
Ribbing around the wrist:
After making the last HDC of the round, SL ST to the next stitch, chain 5 and turn. Work SL ST into each ch. *SL ST across the next 2 sts on the base of the arm. Turn and work back loop SL ST to the edge of the ribbing. CH 1 and turn. Work back loop SL ST to the base of the sweater. Repeat from * around the wrist.
When you complete the round, tie off and sew the beginning edge to the final stitches in the same way you sewed the neck.
See the video tutorial below for more help or to clarify what is written in the pattern.
Also scroll to the end of the post for the printable pdf.
Thanks so much as always for stopping by! If you are new here, welcome!
I hope you have a look around, we are sharing what we are making for friends and family and trying to explain how we are crocheting each pattern.
Happy Crocheting!
XO, Tiffany
Click here or the image below for a free pdf download.
![]()