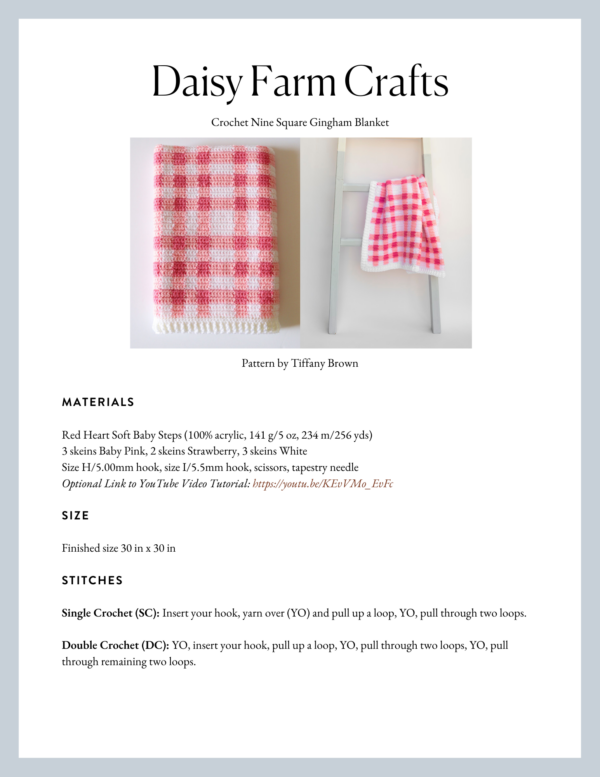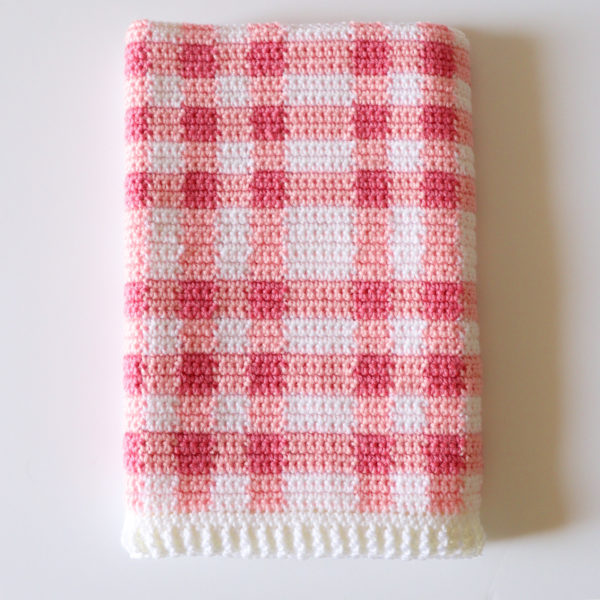
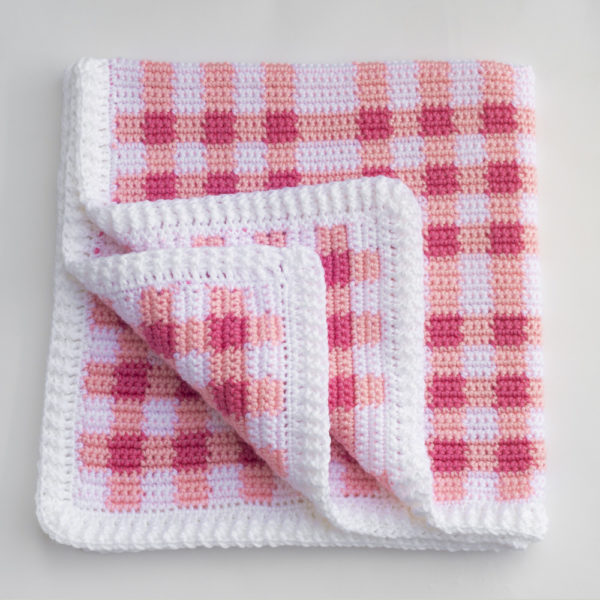
After making approximately 20 gingham blankets, I needed to change up the pattern just a bit. I separated out the squares a little and came up with what I’m calling the Nine Square Gingham blanket.
When I’m working on a new design, I needed to keep it simple with the stitch, so I used all single crochet, but now that I have the pattern and spacing all worked out, I’m developing other blankets with different stitches.
Here’s a video you can watch before you get started!
Materials
Red Heart Soft Baby Steps (100% acrylic, 141 g/5 oz, 234 m/256 yds)
3 skeins Baby Pink, 2 skeins Strawberry, 3 skeins White
Size H/5.00mm hook, size I/5.5mm hook, scissors, tapestry needle
Size
Finished size 30 in x 30 in
Stitches
Single Crochet (SC): Insert your hook, yarn over (YO) and pull up a loop, YO, pull through two loops.
Double Crochet (DC): YO, insert your hook, pull up a loop, YO, pull through two loops, YO, pull through remaining two loops.
Front and Back Post Double Crochet (FPDC & BPDC): A front post double crochet means you insert your hook from front to back around the post of the next DC and work a DC. A back post double crochet means you insert your hook from back to front around the post of the next DC and work a DC.
Pattern
Chain 113 with White using the H/5.00mm hook.
Rows 1 – 4: *With White, single crochet (SC) in the second chain from the hook and in each of the next 3 chains stopping in the 4th SC to pull through with Pink. SC with Pink into each of the next 4 chains, working over the White yarn and bringing it along with you. Repeat from * 2 more times and until you have worked 24 chains. SC with White in each of the next 8 chains.** Repeat again from * to ** 3 more times. CH 1 and turn at the end of each row.
Rows 5 – 8: On the last stitch of row 4, pull through with Pink, CH 1 and turn. Leave the White, don’t cut. (See Tip below) *SC in each of the next 4 stitches pulling through with Strawberry on the 4th stitch. SC in each of the next 4 stitches. Repeat from * 2 more times. SC with Pink in each of the next 8 stitches.** Repeat from * to ** 3 more times. CH 1 and turn.
Rows 9 – 12: Repeat rows 1 – 4
Rows 13 – 16: Repeat rows 5 – 8
Rows 17 – 24: Repeat row 1 – 8
Rows 25 – 32: Repeat rows 1 – 4 (Note you are working this section for 8 rows)
Rows 33 – 112: Repeat rows 1 – 32.
Tip: to make this blanket easier, you may carry the yarn up the sides of the blanket. This does mean that the Strawberry color will peek through a tiny bit as you cover with the border. If you’d prefer to weave in the ends, then cut the yarn when you change colors. If not, save time and carry all the yarn up the sides. The pink and the white don’t show through as much as the Strawberry. It’s up to you.
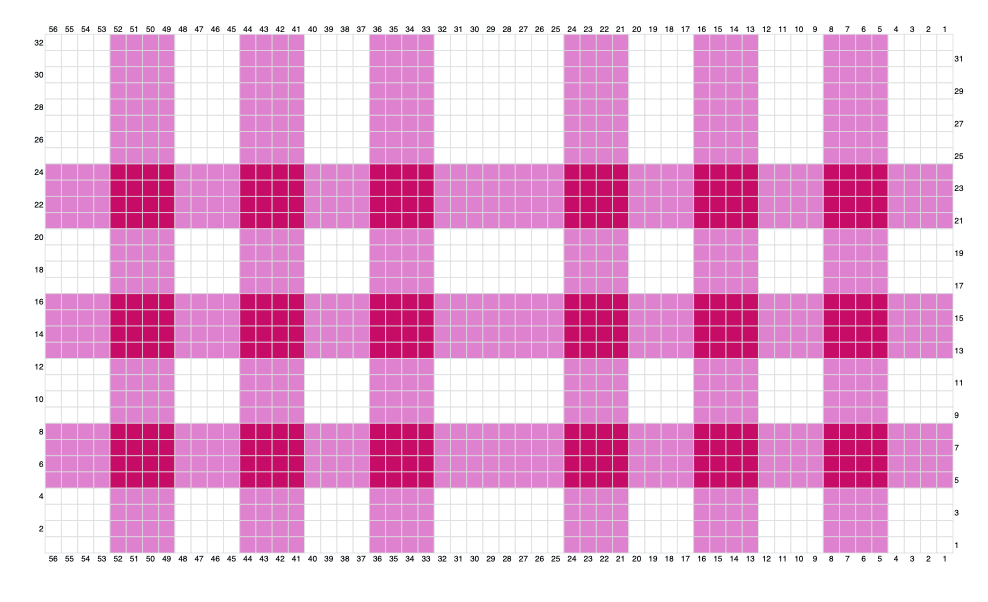
Click here or click the picture below for a printable graph PDF:
Border
Weave in any ends before starting the border.
Tip: if you were using a larger hook for the main part of the blanket, switch to a smaller size to work the border. Especially if you see that the blanket is fanning out or ruffling on the sides.
ROUND 1: Pull up a loop in any corner. CH 1. Work 1 SC into each stitch and into each end of the row up the sides. (4 SC per color block.) SC 3 times in each corner. When returning to the starting corner, work 2 more SC, the starting CH 1 acts as a SC. Join with a slip stitch in the starting chain and chain 2.
ROUND 2: Continue on in the same directions working DC into each stitch. DC 3 times into the middle stitch on each corner. Join with a slip stitch to the starting CH 2.
ROUND 3: Chain 2 and continue in the same direction this time alternating front and back post double crochet. When you get to the corners of this row, you will want to continue the pattern of alternating front and back post double crochet, but you will work three stitches around the corner post.
So, for example, if you get to the corner post and you are supposed to work a front post DC, then work a front post DC, a back post DC, and a front post DC all around that corner post. Then in the next stitch you would continue the alternating pattern, working the opposite of whichever stitch you just used (in this example, you would work a back post DC). Just remember that you are always alternating front and back post double crochet around the whole blanket, you just happen to be working three of those stitches around the same post when you are working the corners.
ROUNDS 4 and 5: Continue working in the same direction and working the posts in the same manner as the row below. This will create a ribbing look. If it is a FPDC in the row below, work a FPDC to keep the stitch popping on the same side of the blanket. Work the corners in the same manner as Round 3.
When the 5th round is complete, join with a slip stitch and weave in all ends.
Thank you for coming by! If you want to see all the other Gingham Blankets I have made, click here.
We also have created a Daisy Farm Crafter Group on Facebook. It’s a great place to show your Daisy Farm project or ask questions about any of our patterns. We’d love to have you!
Have a wonderful crochet day!
xo, Tiffany
Click here or on image below for printable pattern