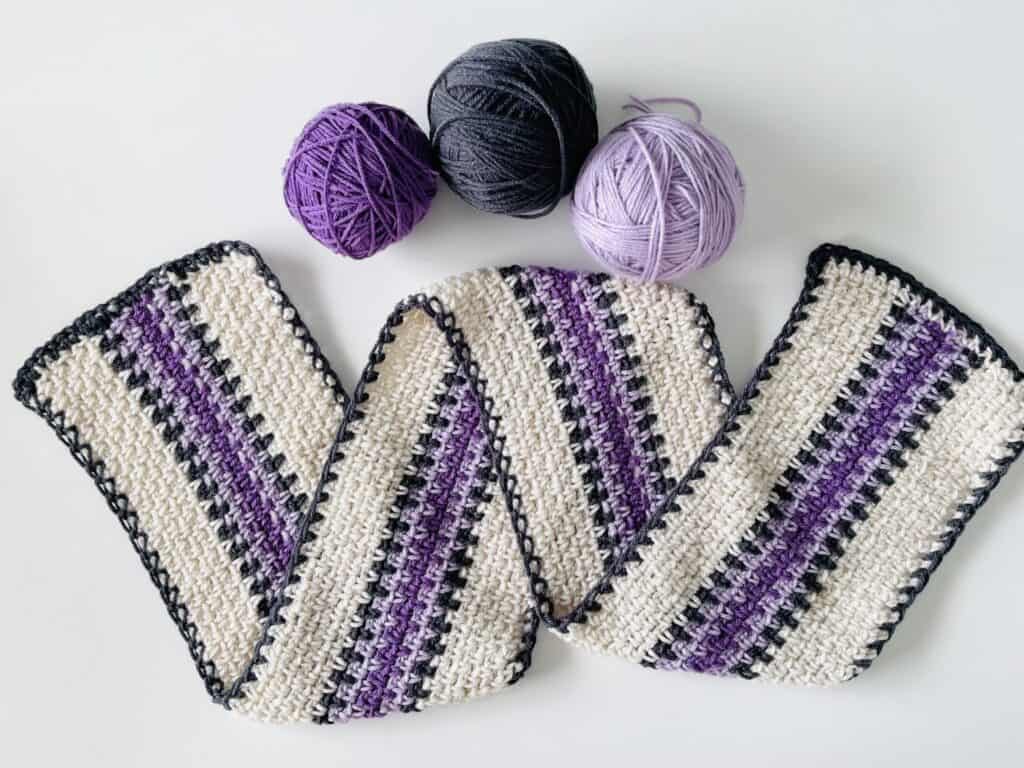
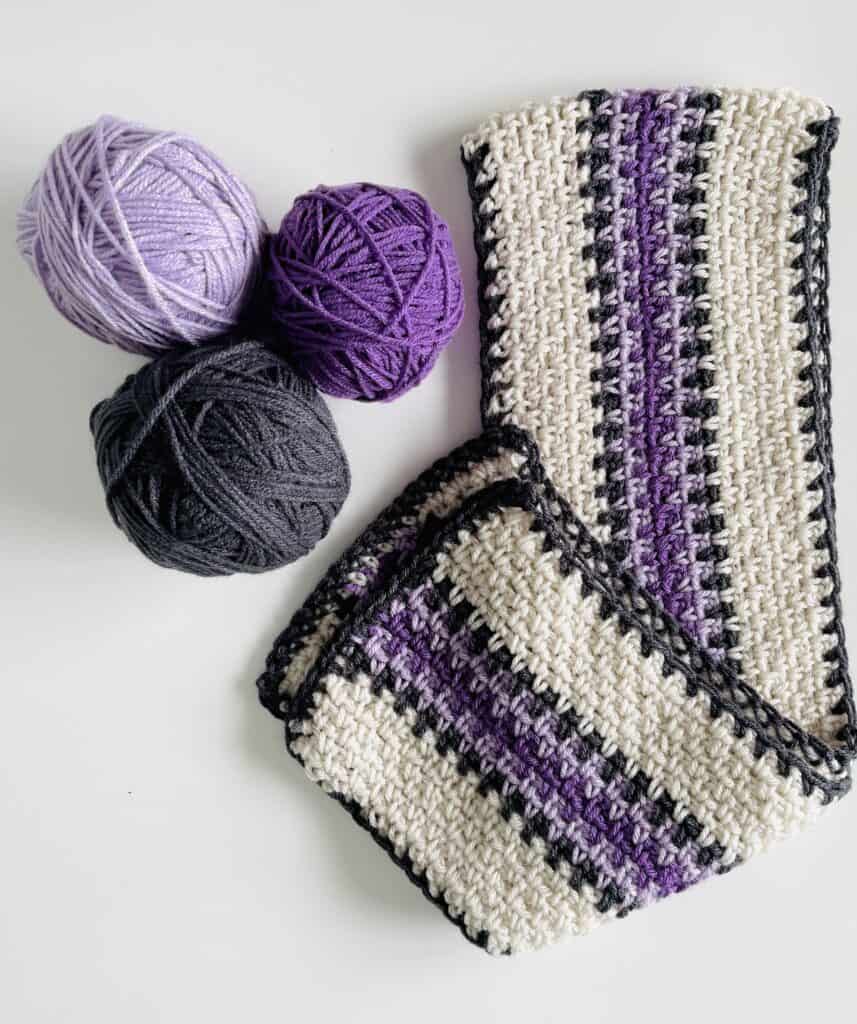
Hello and thank you for stopping by for the pattern to the Moss Stitch Zipper Scarf! We love designing with the moss stitch and wanted to share another idea with you using shades of purple paired with black and cream. We think using just a row of black made it look like the teeth of a zipper, so that is why we are calling this one the Zipper Scarf.
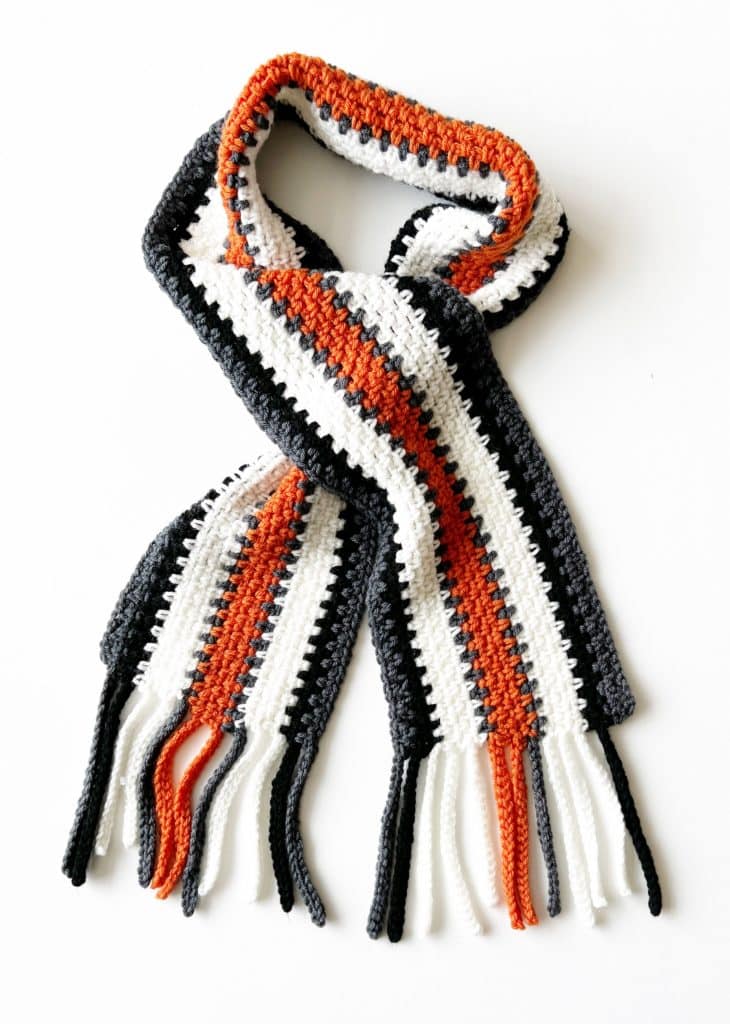
You can easily substitute two shades of any color and still pair it with cream and black to achieve this look. This could be a fun scarf to make for the holidays. For Halloween, use shades of orange, for Thanksgiving, shades of brown and tan, and for Christmas, either shades of green or red. The ideas are endless.
We have a version of this scarf called the School Spirit Scarf, which is a fun one to make for attending sporting events. It includes our fun fringe as a finishing touch.
We also love recommending the moss stitch to learn as a beginner. It has you inserting your hook into chain spaces, instead of into the top of a stitch, which can really help when you are first learning how to crochet. Also, you only use the basic single crochet stitch and chain stitch. Those two stitches are the basic ones to learn.
And, working the scarf length-wise allows for a lot of practice before you have to chain and turn. We’ve also made sure that you are working your last stitch just before the chain stitches so your sides will always be straight. But also, no worries if none of this makes sense, we have a Moss Stitch video tutorial that can help you visually and walk you through each step.

For beginners, we recommend using any acrylic yarn, but Red Heart Super Saver is a great choice since it is affordable, easily accessible, and has so many colors to choose from. You can see all the color selections on Yarnspirations.com or check out your local Wal-mart, Joann’s, or Michael’s.
If you do choose to make your scarf with Red Heart Super Saver, we have found that the best finishing touch is to toss it into the dryer with a dryer sheet and a wet washcloth. Run the dryer for about 20 minutes and your scarf will come out very soft.
Enjoy the pattern! And, if you’d like to see other scarves we have designed, be sure and check out the menu heading Crochet Patterns/Scarves.
Or, if you would rather design your own, be sure and see our Crochet Stitches menu heading for over 50 stitch variations all with a quick video demonstration.
Scroll to the end of this post for the free printable pattern and the video tutorial.
Materials
Red Heart Super Saver (198 g/7 oz, 333 meters/364 yards, 4 weight)
1 skein each
Aran, Gray Heather, Orchid, Med Purple (you will have plenty to make several scarves)
6.5 mm hook, scissors, tapestry needle
Stitches
Single Crochet (SC): Insert your hook, YO and pull up a loop, YO and pull through two loops on hook.
Chain (CH): YO (yarn over) and pull through loop on hook.
Pattern
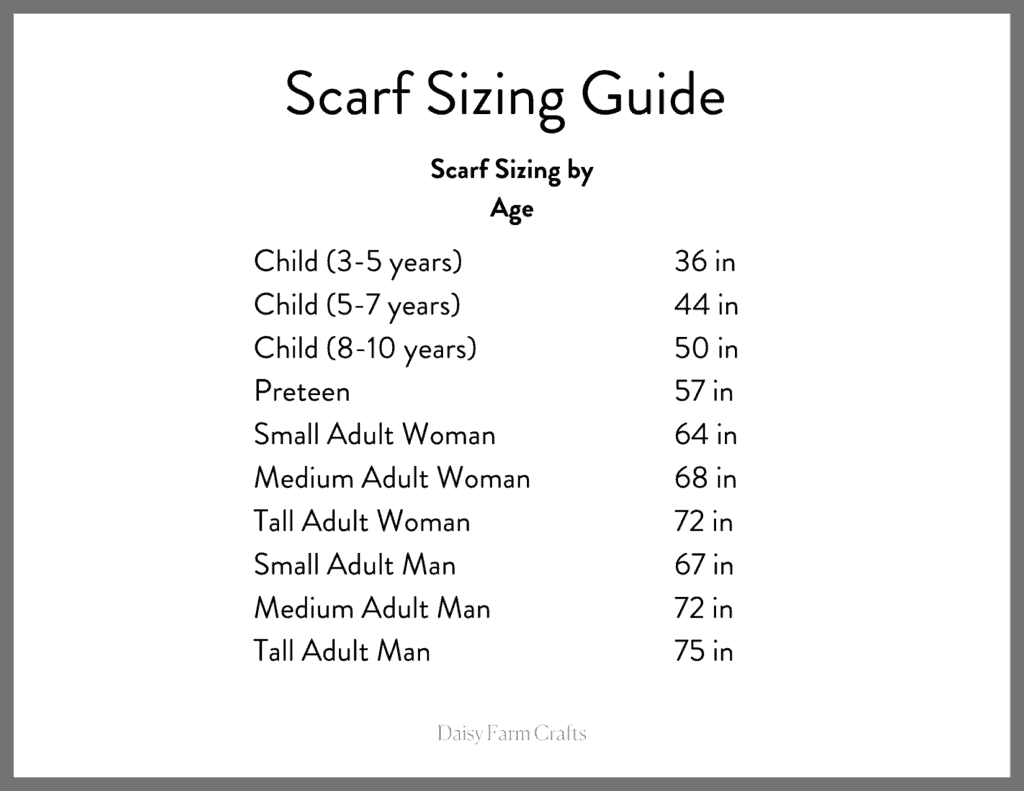
With Aran, chain 130 or any even number to the length you desire, see size chart suggestions above.
ROW 1: Starting in the 4th chain from hook, work 1 SC. *CH 1. Skip one chain, SC in next chain. Repeat from * across the row, ending with 1 SC into the last CH. CH 2 and turn.
ROW 2: Starting in the first CH 1 space from the previous row, work 1 SC. *CH 1, skip 1 SC, SC in next CH 1 space, repeat from * across the row, ending with 1 SC worked into the space between the final SC and CH 2 turning chain from the previous row. CH 2 and turn.
Repeat ROW 2 instructions for the entire scarf, making the color changes as follows:
7 rows Aran
1 row Gray Heather
2 rows Orchid
2 rows Medium Purple
2 rows Orchid
2 rows Medium Purple
1 row Gray Heather
7 rows Aran
Tip: To change color, pull through on the last step of the last SC on the row with the new color. Cut old color leaving a long tail to weave in later.
After finishing the scarf and weaving in all the ends, work one round of SC around the entire scarf. Begin by pulling up a loop in any corner and chaining one. Then work SC into that same space and work SC as evenly as possible around the edges. Work 3 SC into each corner space. Join with a slip stitch to the first SC of the round and then tie off and weave in the end.
See video below for a tutorial of the Moss Stitch
Click here or image below for free printable pdf.
![]()