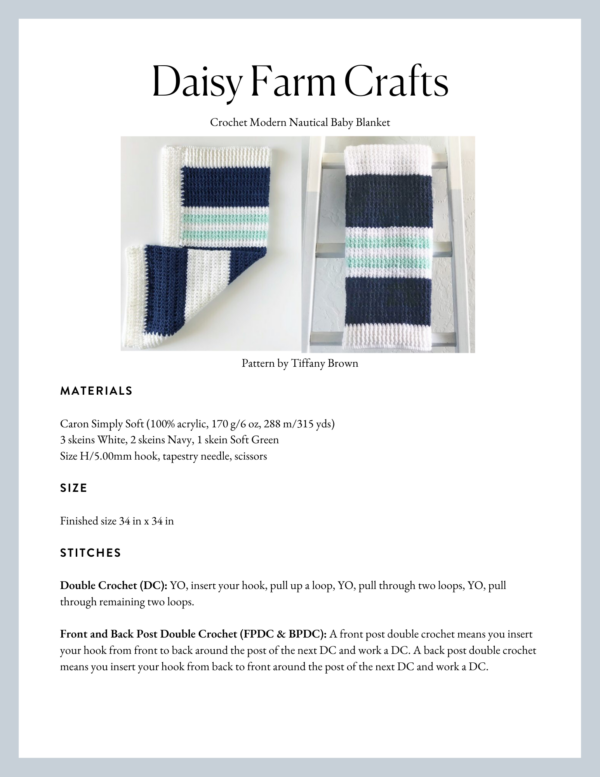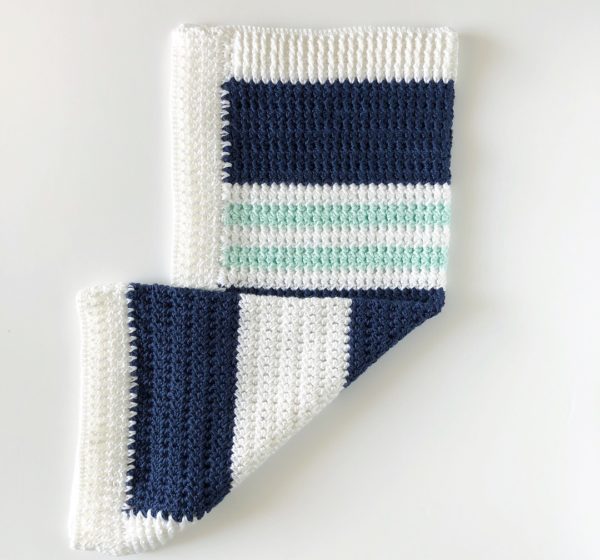
My niece is getting ready to welcome her first baby boy into the world and is decorating with a nautical theme. So naturally, I wanted to make a blanket with a nautical theme but modernize the look. All my blankets have to pass the “would you actually let your baby be seen in public with this blanket?” test. I always ask young moms and this crochet modern nautical baby blanket look was a thumbs up!
I also had so much fun using the modified daisy stitch to make this blanket! Okay, I know that sounds so crazy to think a crochet stitch is fun, but there was something about the rhythm that developed with this stitch as I kept working the yarn overs and found the right spaces to work into. I couldn’t help but admire the stitches as I finished each row!
I’m sad I finished this blanket up and won’t be working with the stitch anymore. Unless, maybe I should make a girl version…..?
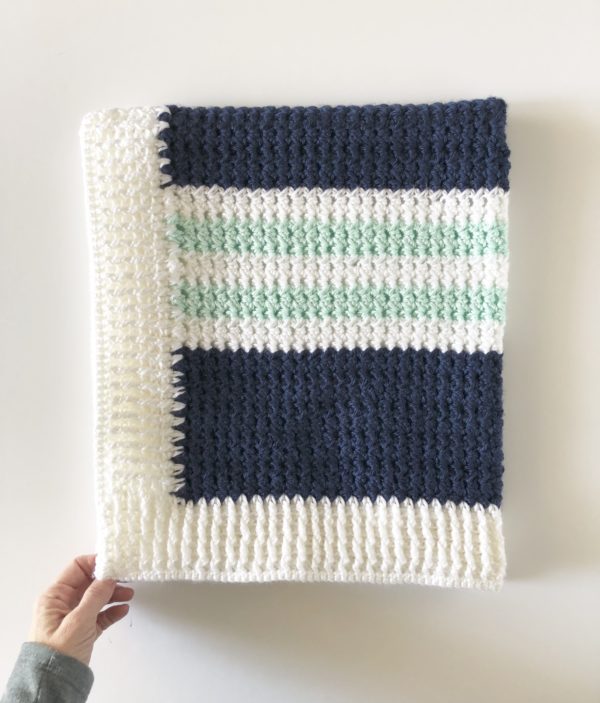
Okay, enough talk, you need to learn the stitch.
Here is the stitch instruction in this video clip:
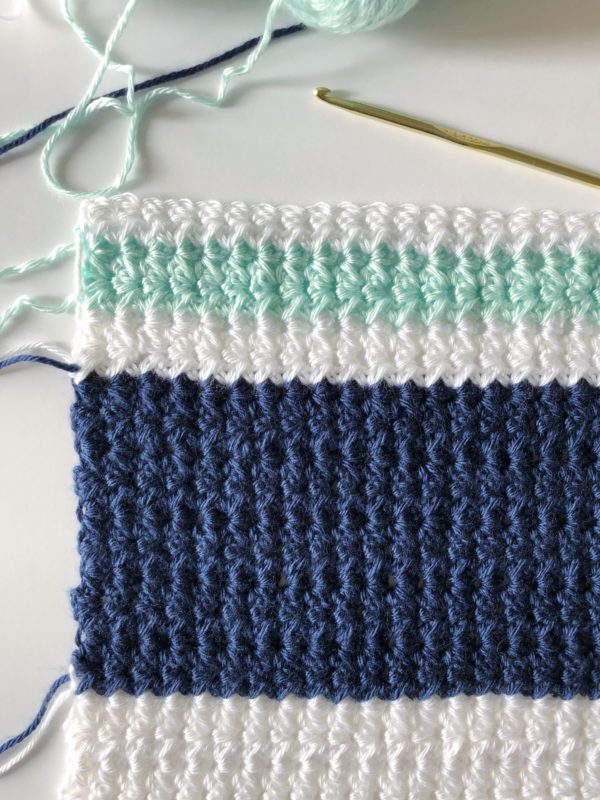
I loved that the stitch created these long vertical rows, very similar to a look you would get with front post double crochet, but much less bulky. The stitch is the same on either side. Since the stitch did look like ribbing to me, I decided to use a ribbed border, but I’ll explain that after we get to the pattern.
Materials
Caron Simply Soft (100% acrylic, 170 g/6 oz, 288 m/315 yds)
3 skeins White, 2 skeins Navy, 1 skein Soft Green
Size H/5.00mm hook, tapestry needle, scissors
Size
Finished size 34 in x 34 in
Stitches
Modified Daisy:
Row 1: Yarn over (YO) and pull up a loop in the second chain from the hook, YO and pull up a loop in the third chain from the hook, YO and skip over the next chain and insert your hook into the next chain and pull up a loop. YO and pull through all seven loops on your hook. CH 1.
*YO and insert your hook into the chain one space and pull up a loop, YO and insert your hook into the last chain space you worked into and pull up a loop, YO and skip over the next chain and insert your hook into the next space and pull up a loop. YO and pull through all seven loops. CH 1. Repeat from * to the end of the row. CH 3 and turn. (The first of these chains is the one that closes the loops.)
Row 2: YO and work into the second chain from the hook and pull up a loop, insert your hook into the next chain and pull up a loop, skip the next stitch, YO and pull up a loop in the next space. YO and pull through all the loops. CH 1.
*YO and insert your hook into the chain space and pull up a loop, YO and insert your hook into the next space and pull up a loop, skip over one stitch, YO and insert your hook into the next space and pull up a loop. YO and pull through all loops on your hook. Repeat from * to the end of the row, CH 3 and turn. Repeat row 2.
Double Crochet (DC): YO, insert your hook, pull up a loop, YO, pull through two loops, YO, pull through remaining two loops.
Front and Back Post Double Crochet (FPDC & BPDC): A front post double crochet means you insert your hook from front to back around the post of the next DC and work a DC. A back post double crochet means you insert your hook from back to front around the post of the next DC and work a DC.
Pattern
Chain 101 with Navy (or any odd number.)
Work the Modified Daisy Stitch across the row. Chain 3 and turn. (Always remember that the chain that closes up the last stitch counts as the first of the chain 3 turning chains.)
Work 10 rows in Navy
Work 10 rows in White
Work 10 rows in Navy
Work 2 rows in White
Work 2 rows in Soft Green
Work 2 rows in White
Work 2 rows in Soft Green
Work 2 rows in White
Work 10 rows of Navy
Tie off and weave in all ends before you start the border.
Border
With white, pull up a loop in a corner where you will work down a side, not the end, of the blanket and chain 3. Work 2 DC into and around the post of each stitch. (They are thick, but the hole should be easy to find, also, if you are having trouble, count the holes and there should be ten for each color, and 2 for the white/mint section.)
End with 1 DC in the very corner, Chain 3 and turn. Alternate FPDC (front post double crochet) and BPDC (back post double crochet) around each DC stitch across the entire row. Work your very last DC into the top of the chain 3 turning chain. (I cheat and go under the chain 3 turning chain and give you permission to do the same. It’s faster!)
Chain 3 and turn. Work back across the row you just made with another row of FPDC and BPDC making sure you are keeping the posts popping out in the same direction. You want to create rows of ribbing.
If you have never seen how this is done, here is a video clip helping you see what it looks like to work around the post of a double crochet stitch.
Work back and forth, creating ribbing on one side of the blanket for 7 rows. On the 7th row, when you get to the end, instead of working a DC into the last turning chain, SLST (slip stitch) and chain 3 and turn the blanket, not over, but in the direction to work across the end of the blanket. Work 2 DC around the sides of each stitch (2 DC per each post of DC) of the ribbing and then work 2 DC into each hole created by the modified daisy stitch.
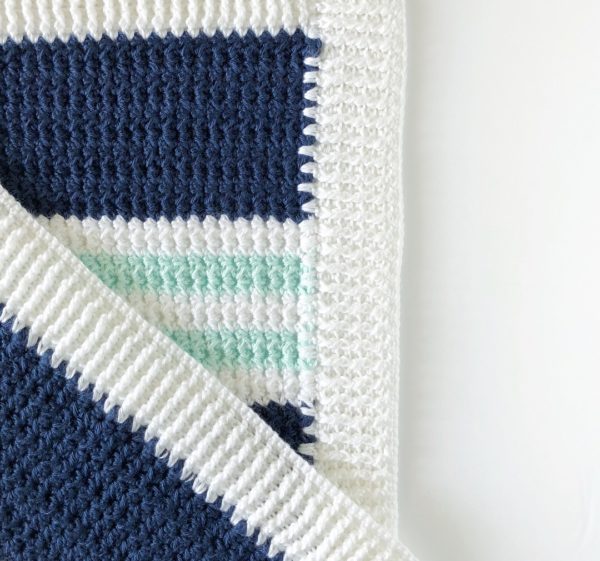
Below is a video clip demonstrating how this is done if you are more of a visual learner.
After you finish all four sides of the blanket, CH (chain) 1 and turn and work a SC (single crochet) into the top of each DC around then entire blanket, working 3 SC into each corner space. Weave in all the ends.
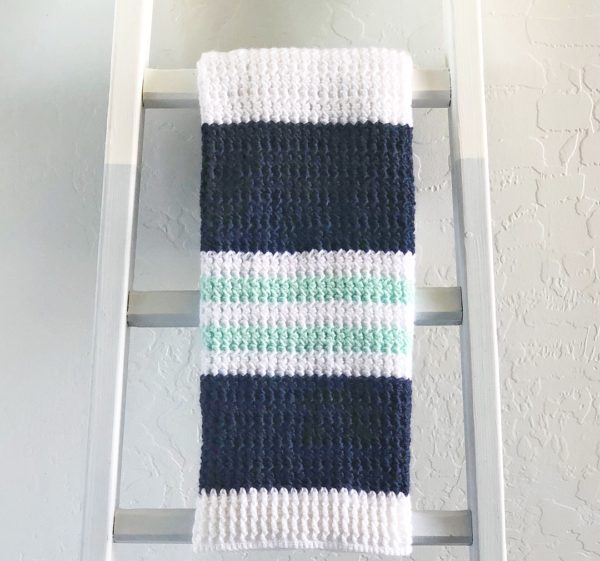
And then you are finished with your crochet modern nautical baby blanket! And are you like me and now a little sad this project is finished? It was fun working that stitch wasn’t it? Maybe you’ll be able to use it on a project of your own. I bet it would look really good used in a scarf or hat.
Whatever you choose, come and find me on Instagram or Facebook and share a picture with me of your completed project. There are a lot of fellow Daisy Farm Crafters that would love to see! I think we have close to 9 thousand on Facebook as of today, and almost 45 thousand on Instagram! I love to share your completed project!
Let’s be crochet friends!
Tiffany

