POST UPDATE: I’ve made this sweater again for Baby Jack for Christmas!
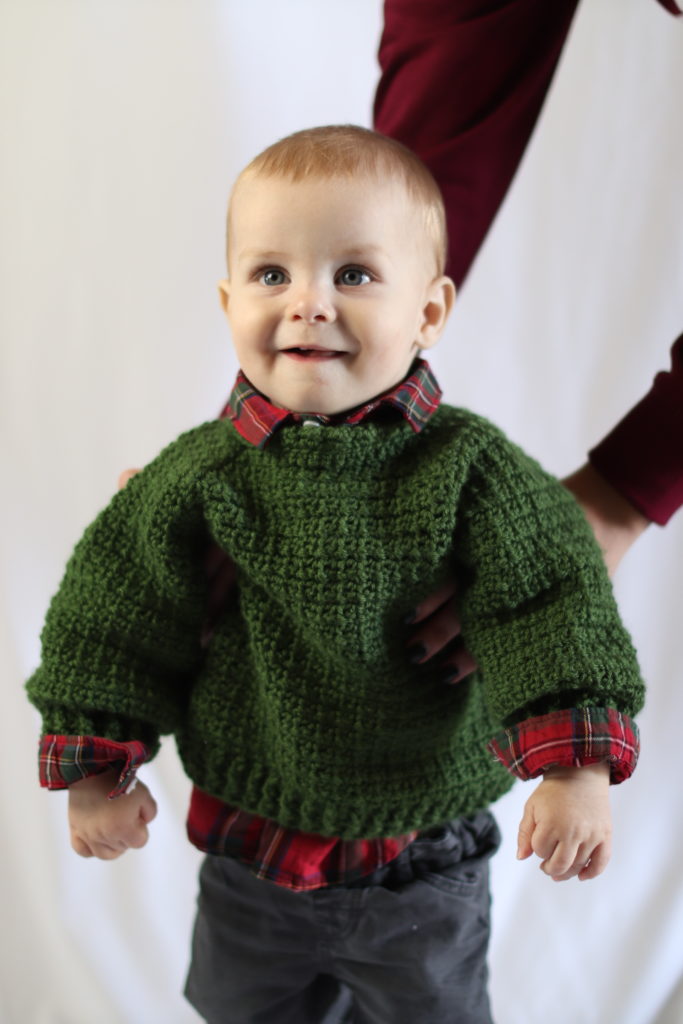
For this new version I used Patons Canadiana because I had it on hand, however unfortunately, it is a discontinued yarn. But, I think you’ll get a very similar result with Caron Simply Soft in Dark Sage. Both are 4 weight acrylic.
Read through this post for more details on how I made the sweater larger. More details at the very end about the green sweater.
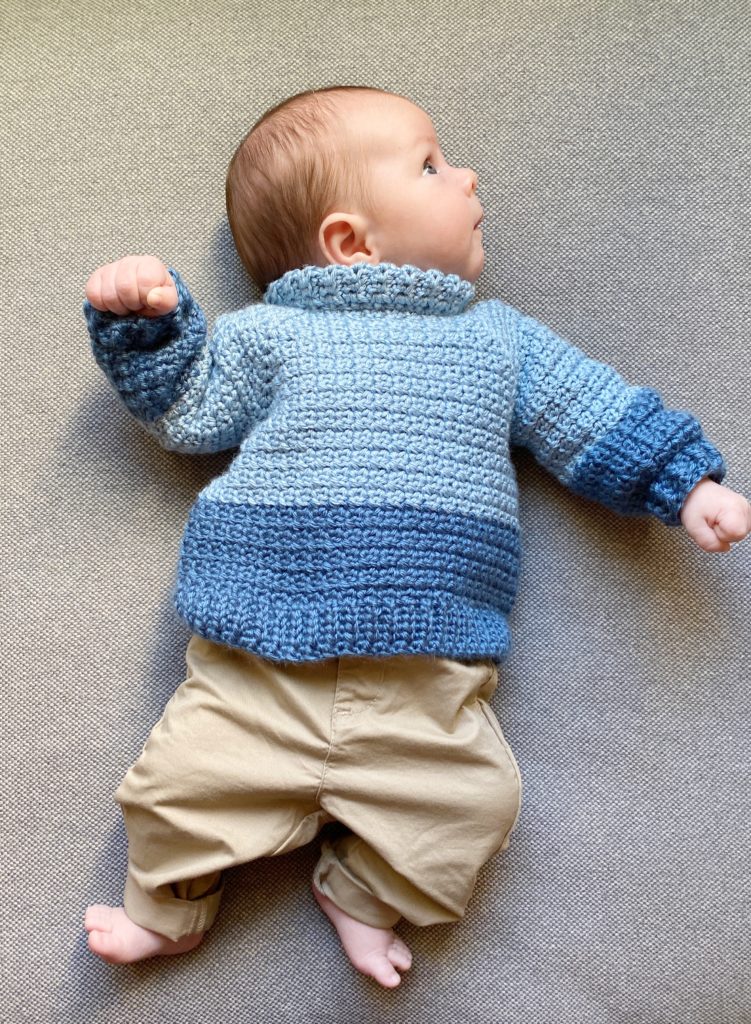
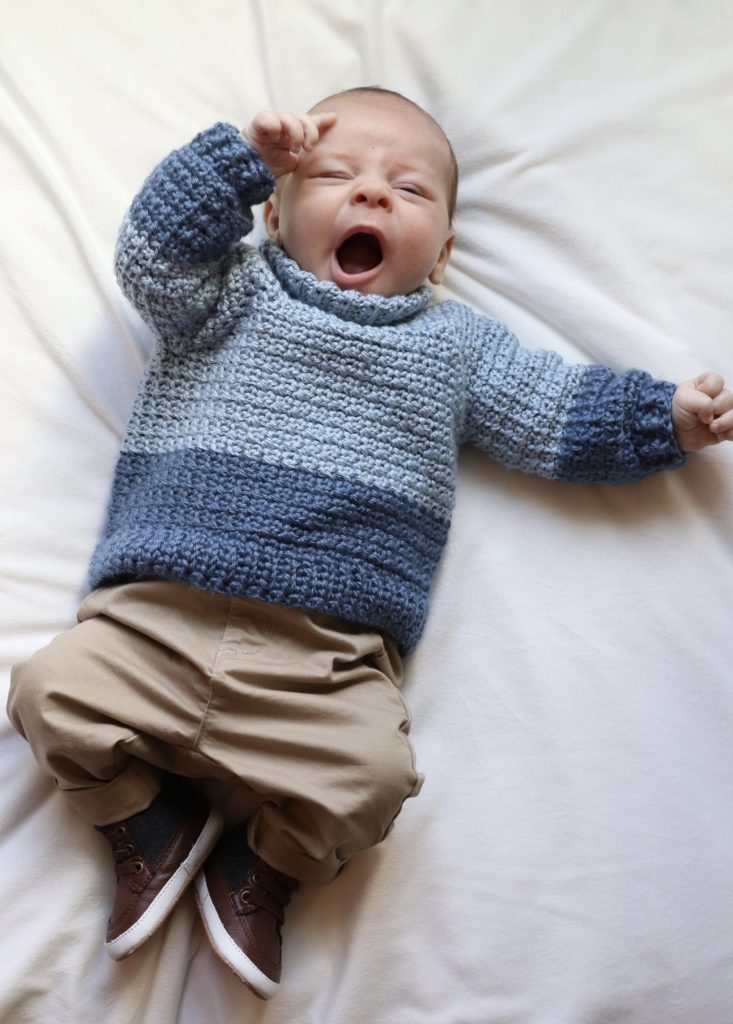
This is going to be so fun dressing baby Jack! I’ve made this sweater for his 2 month photoshoot! Can you believe he’s going to be 2 months already? Gosh, he just is the sweetest baby too. He’s been only a wee bit fussy in the evenings, but for the most part, he is so cuddly and loves to be held.
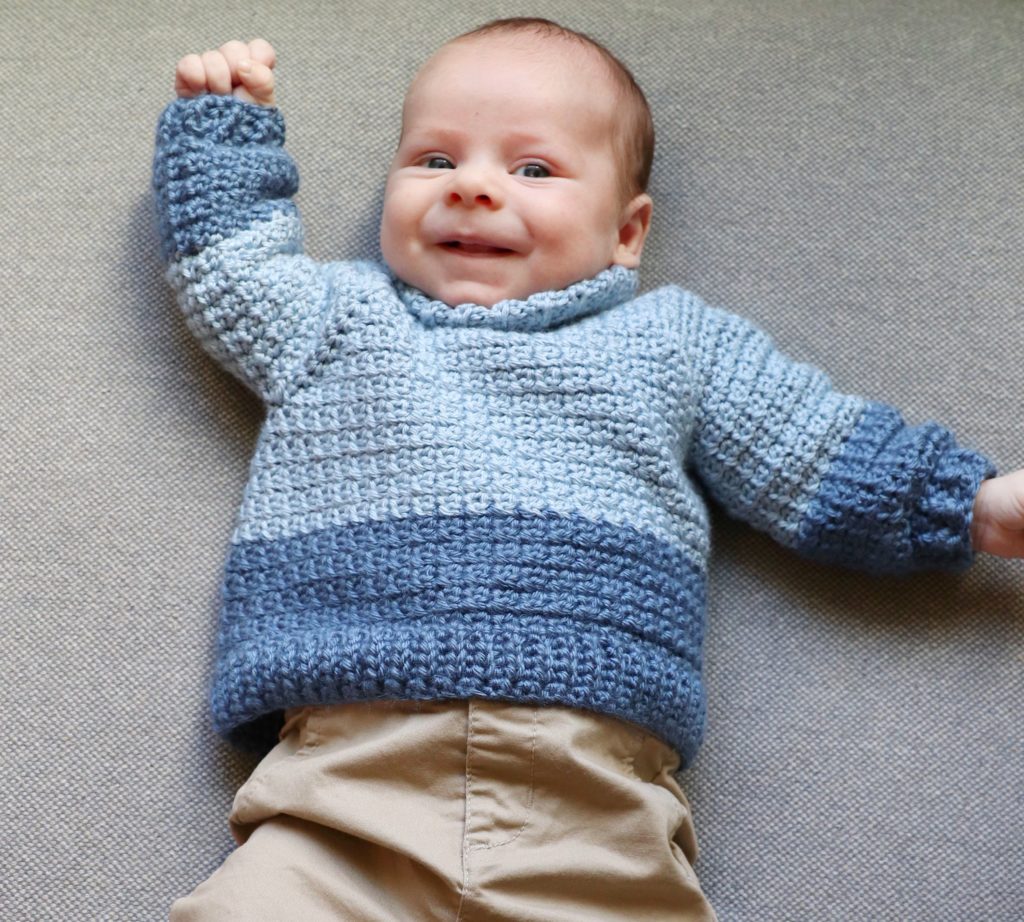
Look at his cute smile! He’s just starting to be aware of this giant world.
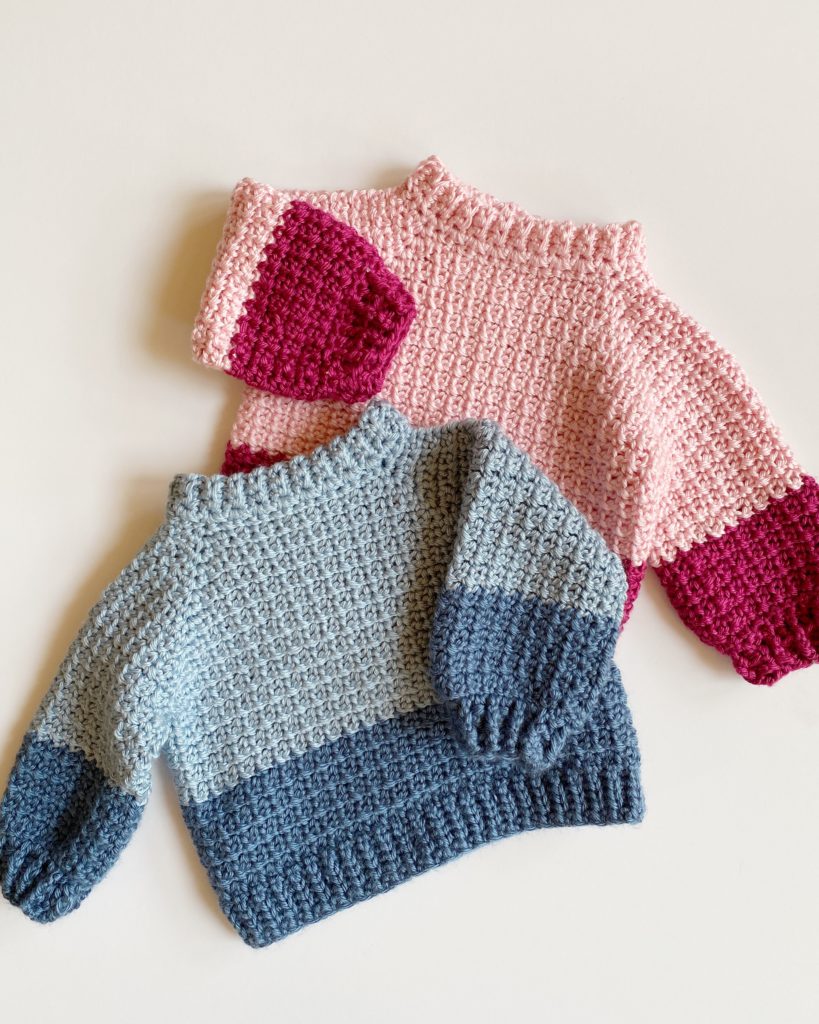
I’ve made this sweater in a different color for the video tutorial to also give you an idea of what it would look like. I think it is super cute in any color!
Let me talk about the size, however. I made the band to fit over Jack’s head. Currently, he is almost 15-inch circumference. Look at the head size chart below it’s in the 3 to 6 month range. So you could make this a bit larger just by joining the armholes a few rows later than indicated in the pattern, or make it smaller by joining a row or two earlier. And then you can easily add or subtract length to the sleeves and overall sweater.
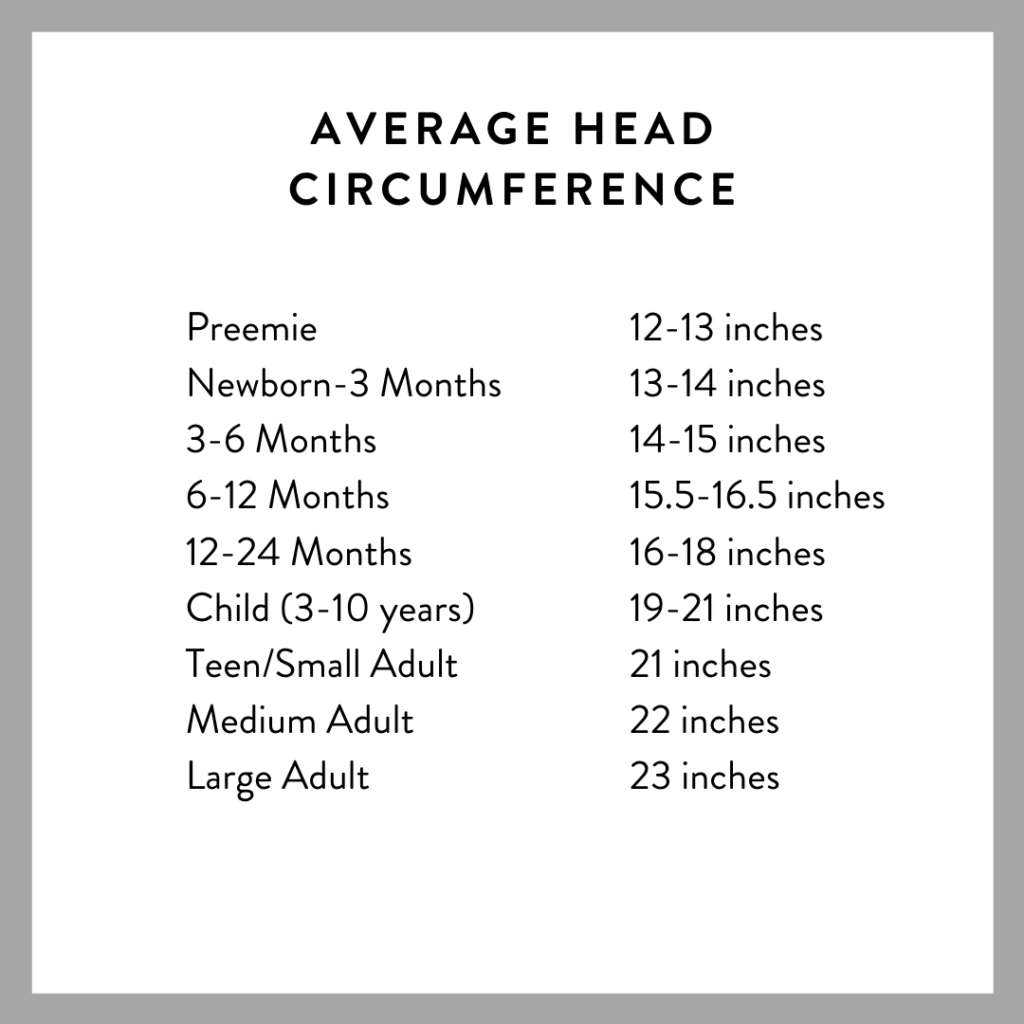
The sizes really do change a lot depending on the size of your baby. I highly encourage you to get the head circumference measurement of the baby you are making this for and then the rest of the pattern can be adjusted easily for length if you need it a bigger size.
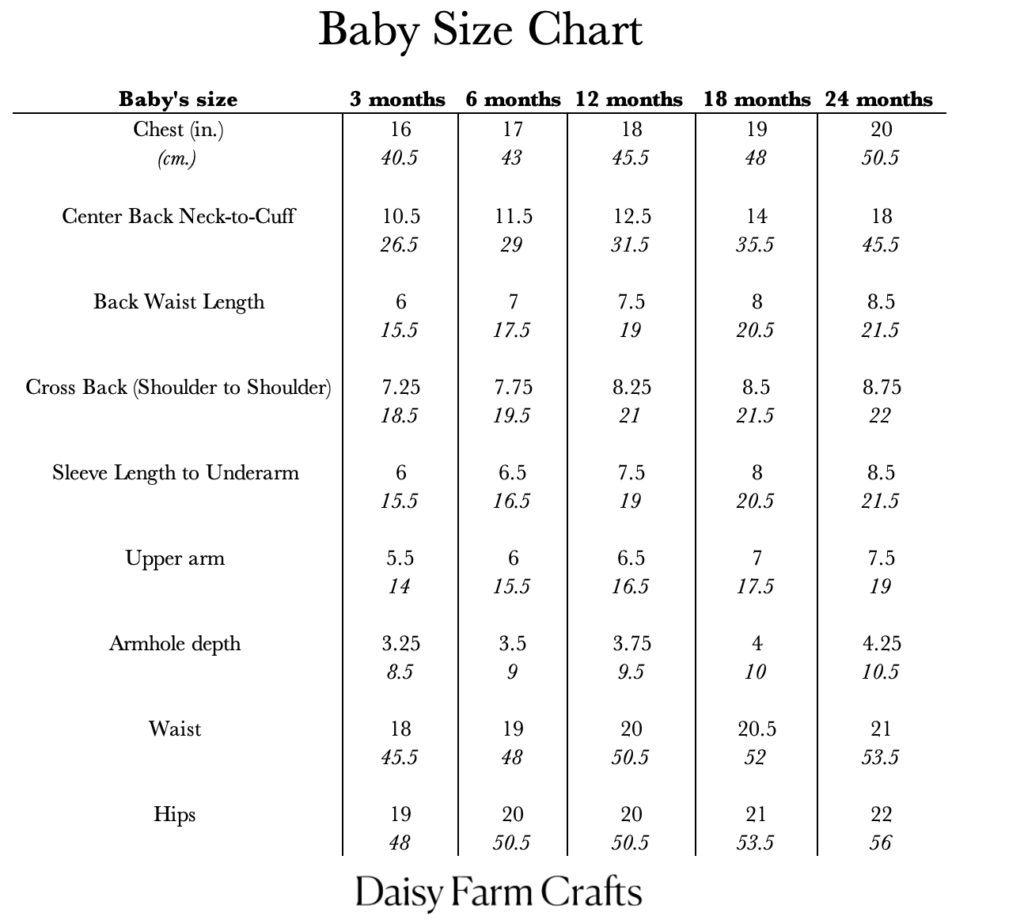
I have found that another good measurement to go by when making the sweater is the armhole depth measurement. I increase the sweater until I have met that measurement. (I show you in the YouTube tutorial how to measure.)
If you choose to use a different yarn than I do, you might be able to make this larger by using different 4 weight acrylic. Caron Simply Soft is sort of flat and not as bouncy as say, Red Heart Super Saver or Caron One Pound. There are so many variables when it comes to sizing.
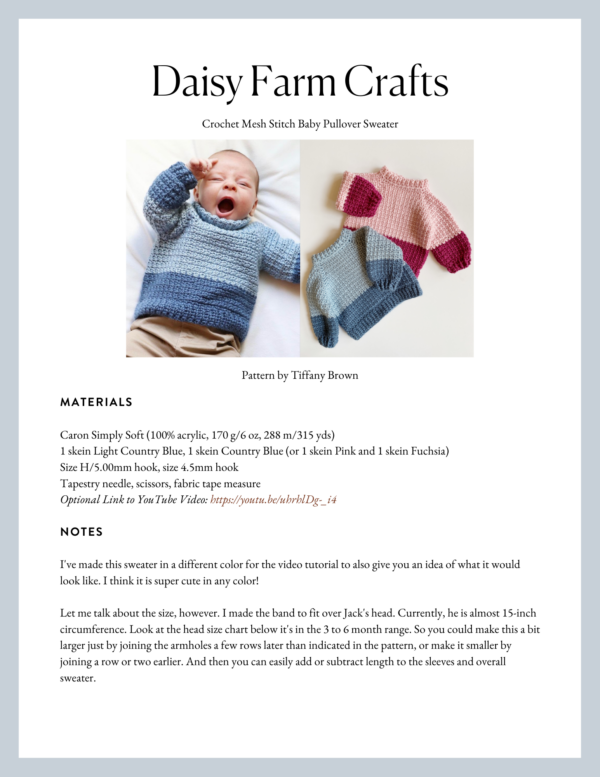
Materials
Caron Simply Soft (100% acrylic, 170 g/6 oz, 288 m/315 yds)
1 skein Light Country Blue, 1 skein Country Blue (or 1 skein Pink and 1 skein Fuchsia)
Size H/5.00mm hook, size 4.5mm hook
Tapestry needle, scissors, fabric tape measure
Size
Gauge 4 in = 18 st and 18 rows of pattern
Stitches
Single Crochet (SC): Insert hook, yarn over (YO) and pull up a loop, YO and pull through two loops.
Double Crochet (DC): YO, insert hook, YO and pull up a loop, YO and pull through two loops, YO and pull through two remaining loops.
Yarn Over Slip Stitch (yoSLST): YO, insert hook, YO and pull up a loop and pull directly through two loops on hook.
Front Post DC (FPDC): Work DC around the post of a stitch popping it forward.
Back Post DC (BPDC): Work DC around the post of a stitch popping it to the back of the work.
Slip Stitch (SL ST): Insert hook, YO and pull up a loop and pull directly through loop on hook.
Pattern
With Light Country Blue, CH 8.
Row 1: SC in the second chain from the hook. SC in each ch, CH 1 and turn. (7)
Row 2: SC in first st, SC in back loop only of each of the next 5 sts. SC in final st, CH 1 and turn.
Rows 3-45: Repeat row 2.
CH 1. Make a circle with the band bringing the starting row to the ending row. Work SC in the back loop of the last row of sc and under the bottom side of the starting chain. SC into each stitch until is is “sewed” together with SC.
Now, fold circle in half lengthwise, *work 2 SC at the end of one row, skip a row, repeat * around. Work 1 extra SC before joining to first sc with a SL ST, CH 1 and turn. 47 sc.
Place a stitch marker in the 9th stitch, 16th, 33rd, 40th sts. (These are the sts you will work a corner stitch into. There should be 6 stitches in between the markers for the shoulders, and 16 across the front of the sweater.)
Round 1: *SC, CH 1, SK 1, repeat from * across the next 7 stitches, (Going forward this will be called Mesh Stitch.) SC into next stitch. [SC, CH 2, SC] into the next marked st. Mesh Stitch across the next 5 sts. SC into the next st. [SC, CH2, SC] into the next marked st. Mesh Stitch across the next 15 sts, SC into the next, [SC, CH2, SC] into the next marked st. Mesh Stitch across the next 5 sts. SC into the next st. [SC, CH2, SC] into the next marked st. Mesh Stitch to the end of the round, ending with SC. Join with a slip stitch to the first stitch of the round, CH 1 and turn.
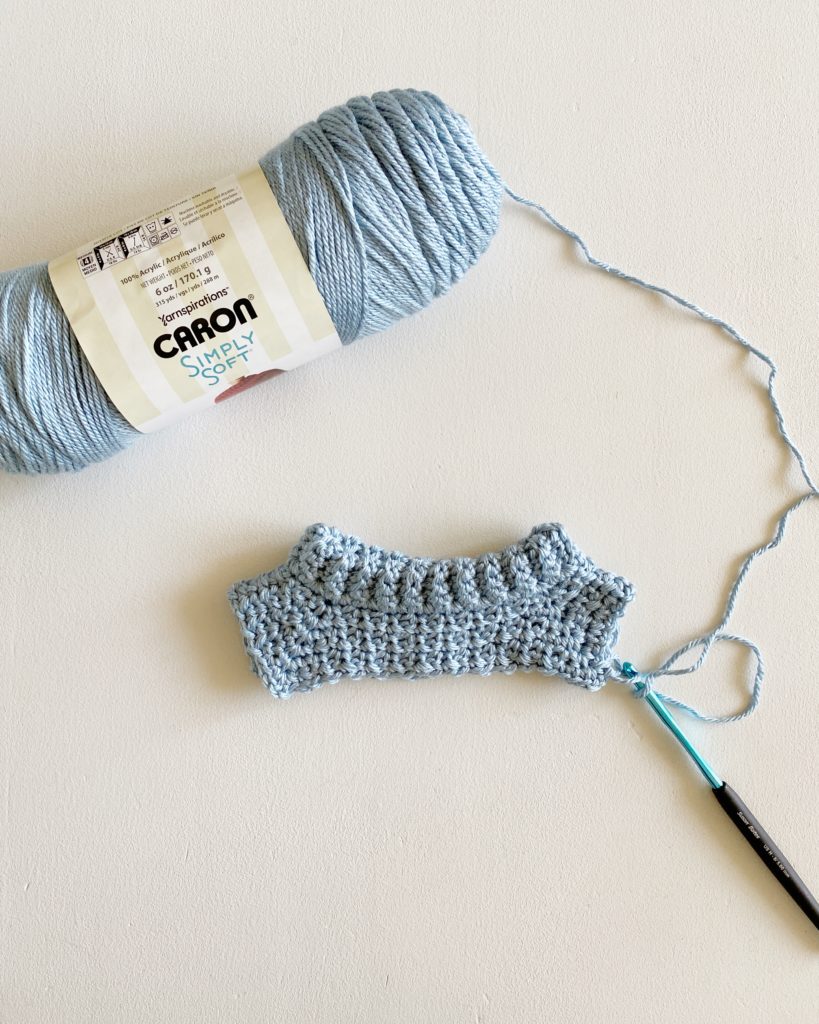
Increase rounds: *Work Mesh Stitch, beginning with a SC, to the first SC of the corner stitch, work SC into that SC, then [SC, CH 2, SC] into the ch 2 corner spaces. Repeat from * around. End round with SC into the last SC of the round, join with a slip stitch, CH 1 and turn.
Increase for 14 rounds or until you have the armhole depth of 3.25 inches.
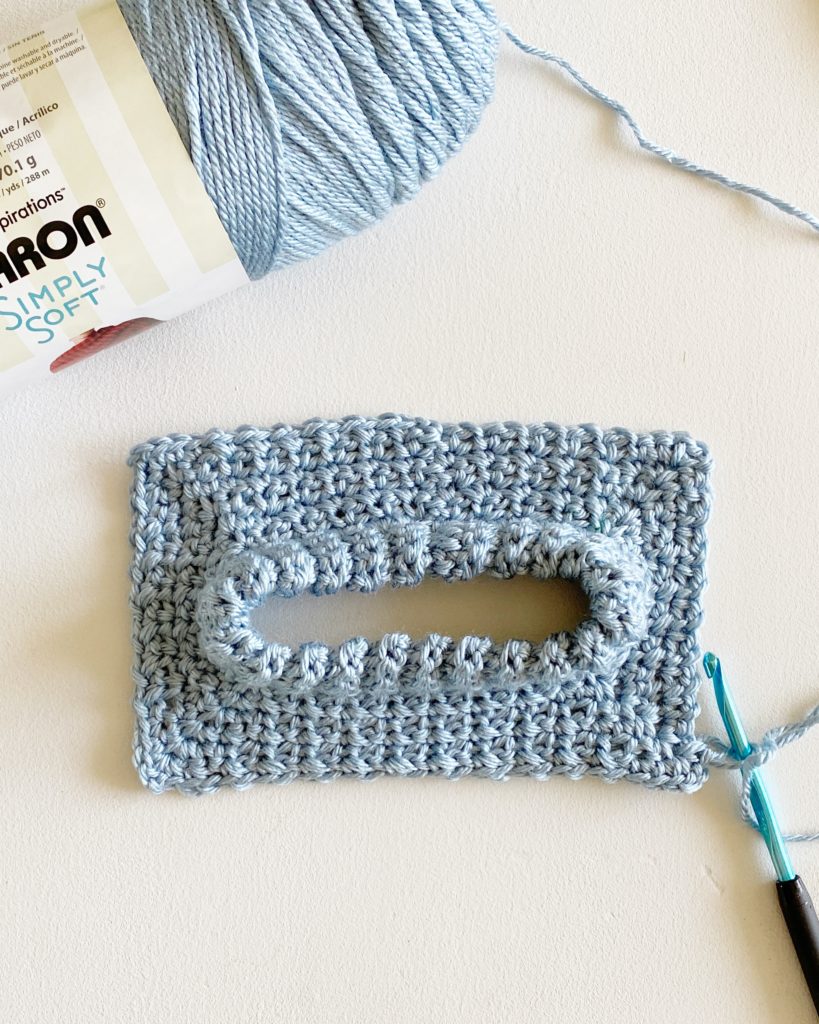
Joining for armholes: *Mesh stitch to ch 2 space, (working ch 1 across the first sc of the corner st.) SC, CH 1, into ch 2 space, skip across all stitches and work SC, CH 1 into the next ch 2 space. Repeat from * beginning the mesh stitch in first SC after ch 2. Join with a slip stitch, ch 1 and turn.
Bodice: Work 10 rounds of Mesh Stitch in Light Country Blue, change to Country Blue for 9 rounds. In the 10th round, work SC into each SC (omit ch 1’s.) Join with slip stitch.
Change to a G 4.0 mm size hook for the band.
Band: Ch 6, yarn over slip stitch (YoSLST) into second chain from the hook. YoSLST into each st toward the bottom of the sweater. SL ST into the next st on the sweater, turn. *Work YoSLST into the back loop of each of the next 4. YoSLST under both loops of the last st. CH 1 and turn. YoSLST into each of the back loops, SL ST to the next st on the sweater, turn and repeat from * around the bottom of the sweater. Finish by sewing with your tapestry needle to back loop of the last row with the bottom of the starting chain, weave in the end.
Sleeves: Pull up loop in center of the armpit, CH 1 and SC into the same space. CH 1 and begin the mesh stitch. Work the mesh stitch around, (working SC into SC and CH 1 across ch 1, sometimes you might CH 1 across a SC to make the pattern work.) Join with a sl st to the first SC of the round. (Make sure your last stitch is a SC.) Ch 1 and turn.
Work Mesh Stitch in the Light Country Blue for ten rows, switch to Country Blue for nine more rows.
Work one round of SC into each SC skipping the ch 1 spaces. Join with a slip st, ch 2 and turn.
Work DC into each SC around. Slip stitch to starting ch 2, ch 2 and turn.
Work alternating FPDC and BPDC around each DC to form ribbing. Join. Ch 2 and work one more round of ribbing. Tie off and weave in all ends.
I can’t wait to see your babies in the Mesh Stitch Pullover Sweater! Come and show us by tagging your photos on Instagram with #daisyfarmcrafts.
Happy Crocheting!
XO, Tiffany
Here’s the Youtube Tutorial:
P.S. Just one more shot of baby Jack, we wore him out with all the photos…
Here are a few things I did differently for Jack’s Christmas Sweater:

First, I made the starting chain 4 instead of 8 as I wanted the width of the collar more narrow since I was layering it over a plaid shirt.
I bought the shirt in his size and made the length of the sweater arms and bodice to match the shirt. Then I knew for sure it would fit him.
I kept working the increase rounds until I had enough armpit depth measurement to 3.75 inches as indicated in the size chart for 12 month size. I wanted to have the sweater pretty roomy and baggy as that’s the style my daughter in law requested. If you want it more narrow, omit the extra chains on the row where you join for the armholes.
Everything else was the same.
xo, Tiffany
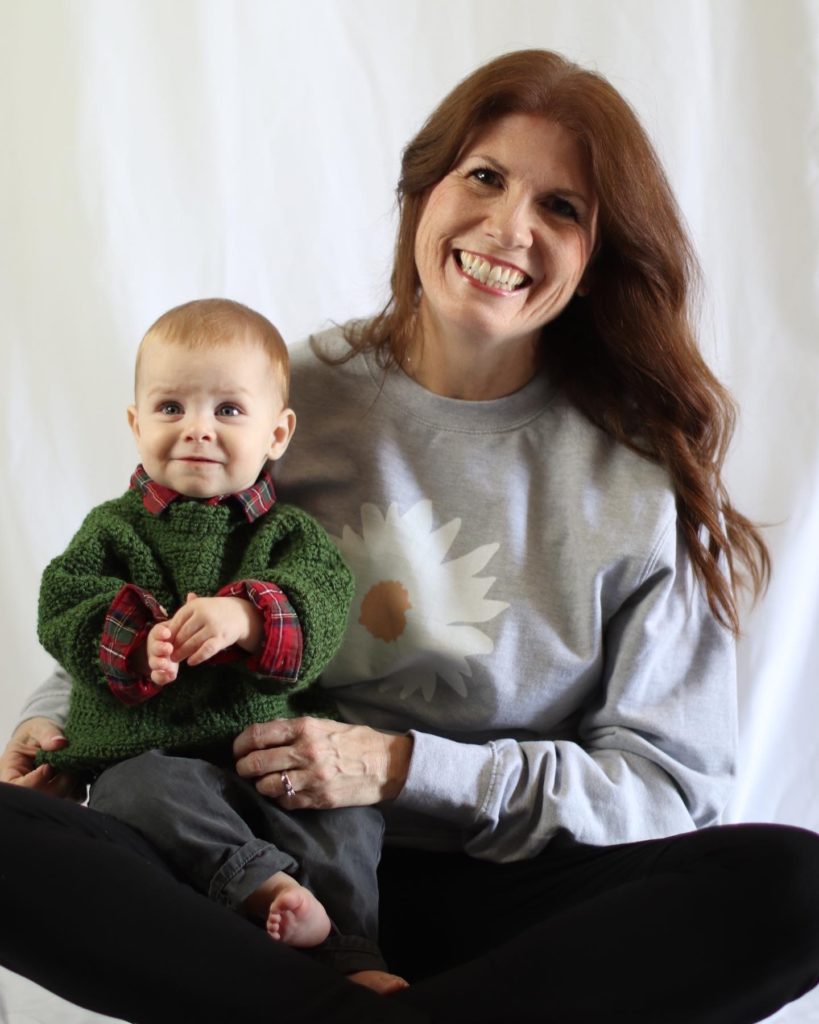
P.S. We had a tricky time getting Jack to hold still for the photoshoot so I popped in and had the girls take a photo of me. Gosh I love this little guy so much!
Click here or on image below for printable pattern

