
Hannah here, with some new holiday hot pads! I have my sister-in-law for Christmas this year, and she loves baking, so I thought I would make her some hot pads to go along with a few gifts from the Hearth & Hand holiday collection at Target and I can’t wait to give them to her!
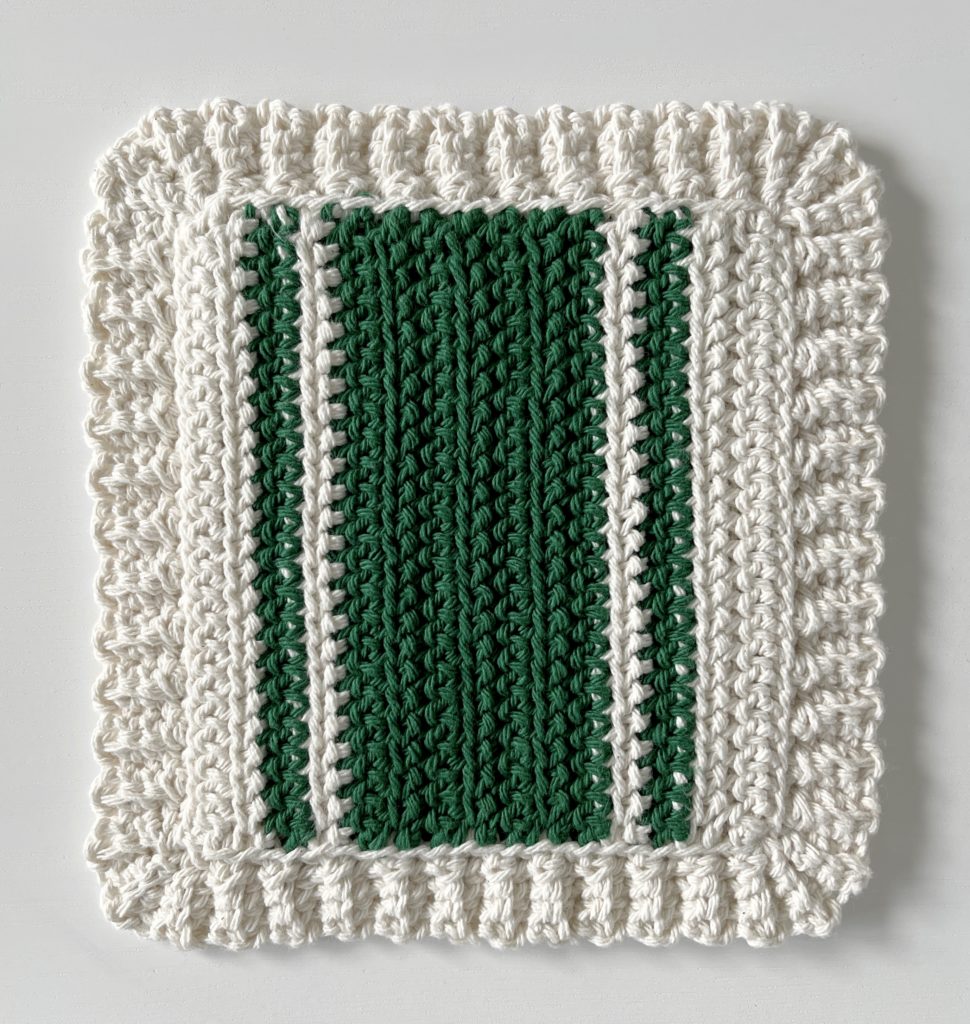
These hot pad/potholders are made by making two squares and stitching them together with a ribbed border. I was able to make these in a couple of days, so there is still plenty of time if you want to make some for Christmas! In the materials listed below I have amounts listed for the smaller sized balls of Lily Sugar ‘n Cream yarn, but you can also use one of the larger 4oz sized balls of the Ecru color and you should have enough to make two hot pads.
Materials
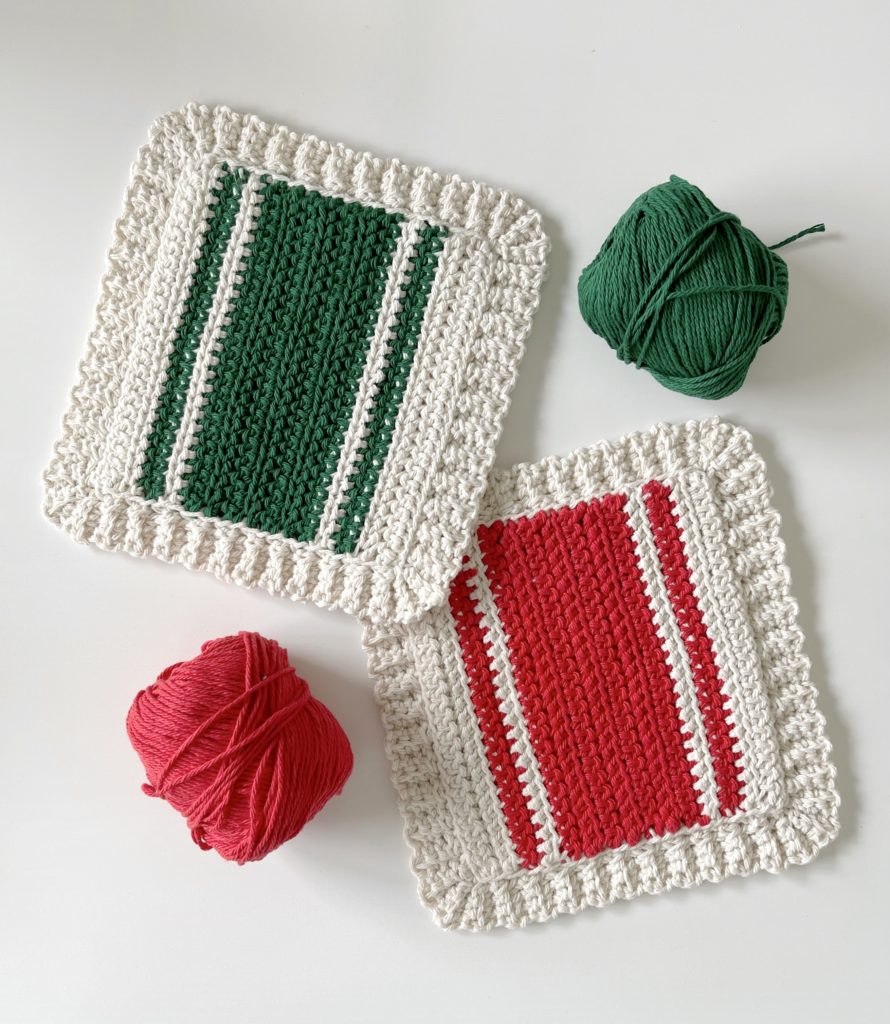
Lily Sugar ‘n Cream* (100% cotton, 71g / 2.5 oz, 109 meters / 120 yards)
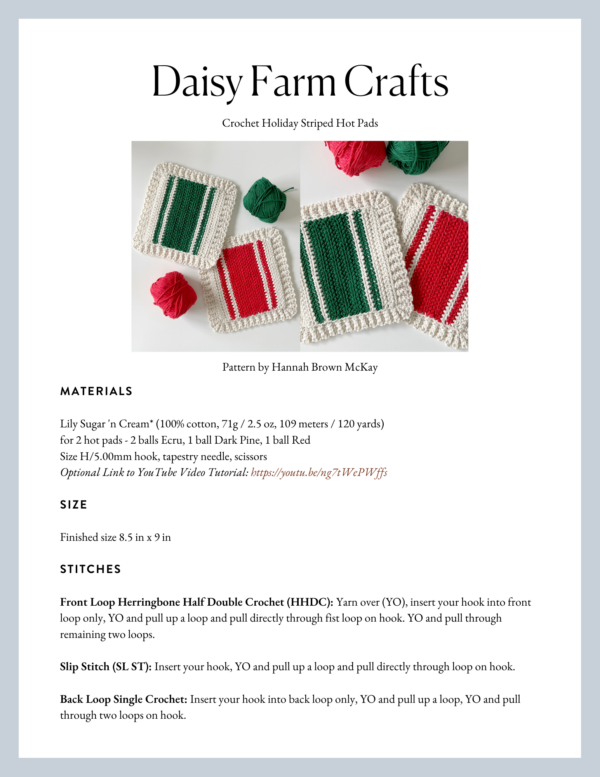
for 2 hot pads – 2 balls Ecru, 1 ball Dark Pine, 1 ball Red
Size H/5.00mm hook, tapestry needle, scissors
Size
Finished size 8.5 in x 9 in
Stitches
Front Loop Herringbone Half Double Crochet (HHDC): Yarn over (YO), insert your hook into front loop only, YO and pull up a loop and pull directly through fist loop on hook. YO and pull through remaining two loops.
Slip Stitch (SL ST): Insert your hook, YO and pull up a loop and pull directly through loop on hook.
Back Loop Single Crochet: Insert your hook into back loop only, YO and pull up a loop, YO and pull through two loops on hook.
Pattern
Chain 25 with Ecru.
ROW 1: Starting in the 2nd chain from the hook, work a HHDC into each chain. CH 1 and turn. (turning chain does not count as stitch)
ROW 2: Work a HHDC into the front loop only of each stitch across the row. On the last stitch, pull through with Red just before you finish the stitch. CH 1 and turn. (When switching colors you can either cut the yarn and leave a tail to weave in later or carry it along the next row and crochet over it as you work.)
ROW 3: With Red, work a HHDC into the front loop only of each stitch across the row. On the last stitch, pull through with Ecru. CH 1 and turn.
ROW 4: With Ecru, work a HHDC into the front loop only of each stitch across the row. On the last stitch, pull through with Red. CH 1 and turn.
ROWS 5 – 11: With Red, work a HHDC into the front loop only of each stitch across the row. On the last stitch of row 11, pull through with Ecru. CH 1 and turn.
ROW 12: With Ecru, work a HHDC into the front loop only of each stitch across the row. On the last stitch, pull through with Red. CH 1 and turn.
ROW 13: With Red, work a HHDC into the front loop only of each stitch across the row. On the last stitch, pull through with Ecru. CH 1 and turn.
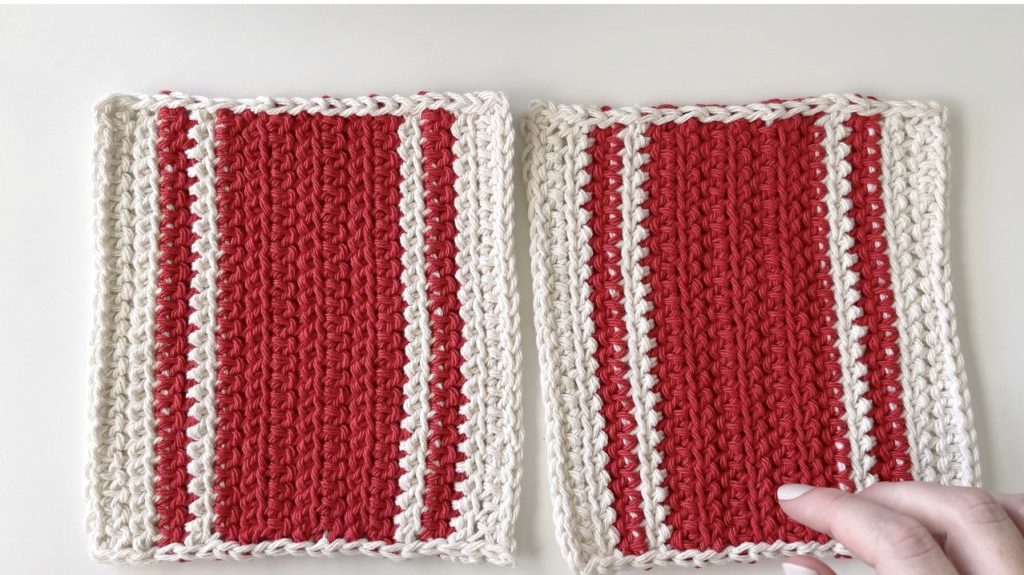
ROWS 14 – 15: With Ecru, work a HHDC into the front loop only of each stitch across the row. When you finish row 15, chain 1, but do not tie off. Weave in ends with a tapestry needle, then work 1 round of slip stitch around the square, making sure that the side of the square you want to be shown on your finished hot pad is facing toward you. Work 1 slip stitch into each stitch on the top and bottom of the square and work 21 slip stitches on each side. CH 1 when you get to each corner. When you reach the starting corner, slip stitch into the starting stitch and tie off.
Repeat rows 1 – 15 to make another square.
Combining Squares: Place squares together with slip stitch sides facing outward. Pull up a loop in any corner and chain 4. Starting in the second chain from the hook, work SC in each of the 3 chains back toward the edge of the squares. *Slip stitch into the next space, and in the next space (inserting your hook into the tops of the slip stitches from each square). Turn and work in the back loops of each of the 3 SC you just made. CH 1 and turn. Work back down the SC in the back loops only. (Be careful not to miss the 3rd stitch, it sometimes pulls tight and is hard to see.) Repeat from across * each side.
Corners: When you reach the corner space, only slip stitch once if needed, before turning and working the SC back up to the edge. Return and slip stitch into the corner space. Turn and work the SC back up to the edge. When you return to the corner space, slip stitch again into the same corner space, then work the SC up to the edge. Work SC back down to the edge of the squares, then resume slip stitching into each of the next two stitches and working across the side. (If your corner isn’t looking rounded enough, you can slip stitch an additional time into the corner and work up and down an extra time with SC.)
When you reach the starting corner, work the corner the same way as previous corners. Stop when you get to the top of the border and tie off, then use a tapestry needle to sew corner together.
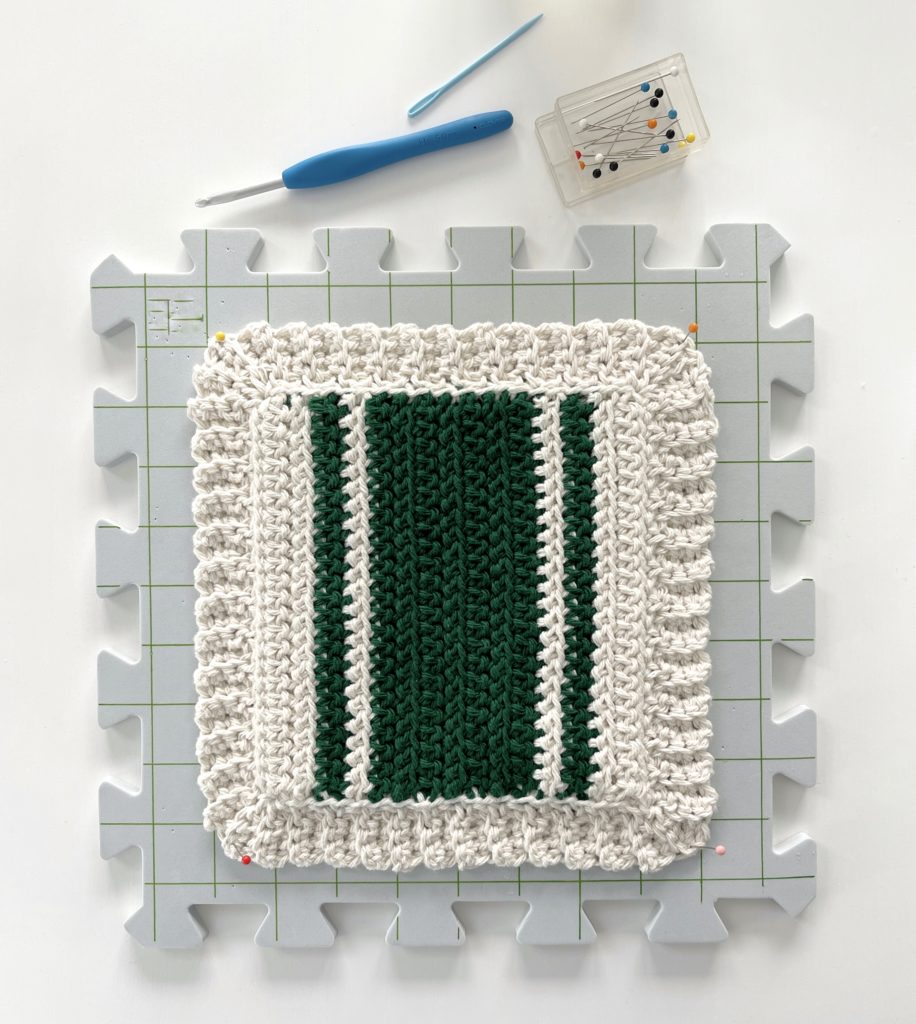
If you’d like to add finishing touches to your hot pad, lay it out flat on a towel or foam blocking boards if you have them. Use a spray bottle with water to dampen the blanket. Press the blanket into straight lines, massaging the stitches and adjusting your tension. Pin with straight pins and let it dry.
Thank you so much for visiting Daisy Farm Crafts! We hope you enjoy our patterns! If you finish a project, please come share a picture with us on Facebook or Instagram using #daisyfarmcrafts, we would love to see! xo, Hannah
Click here or on image below for printable pattern
*Daisy Farm Crafts is sponsored in 2021 by Yarnspirations