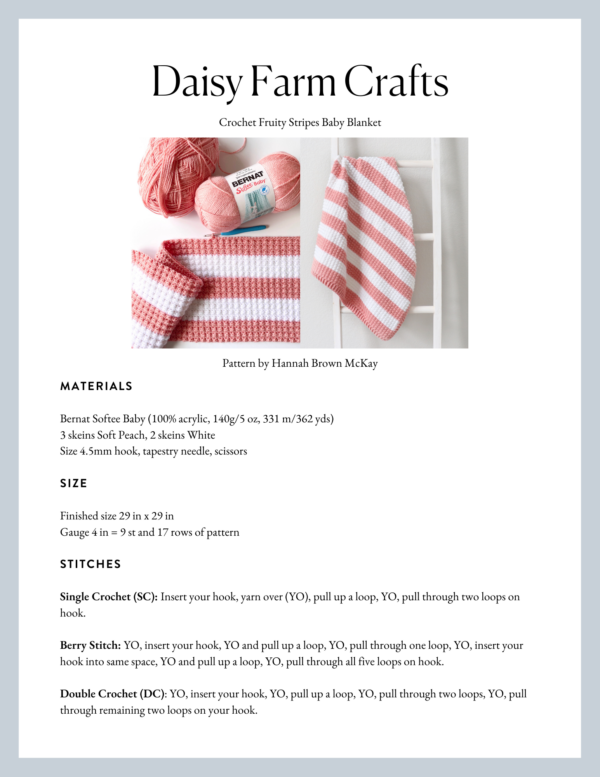
This crochet pattern is now available as a free PDF download from Yarnspirations – click here to see!
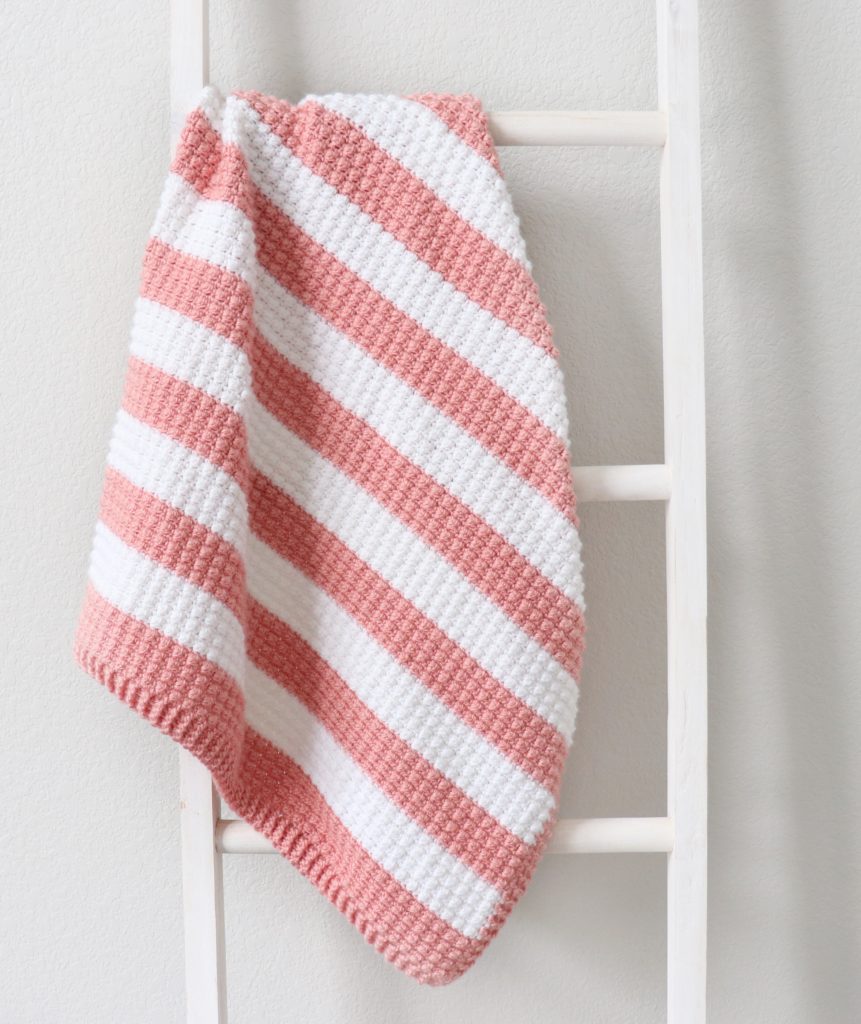
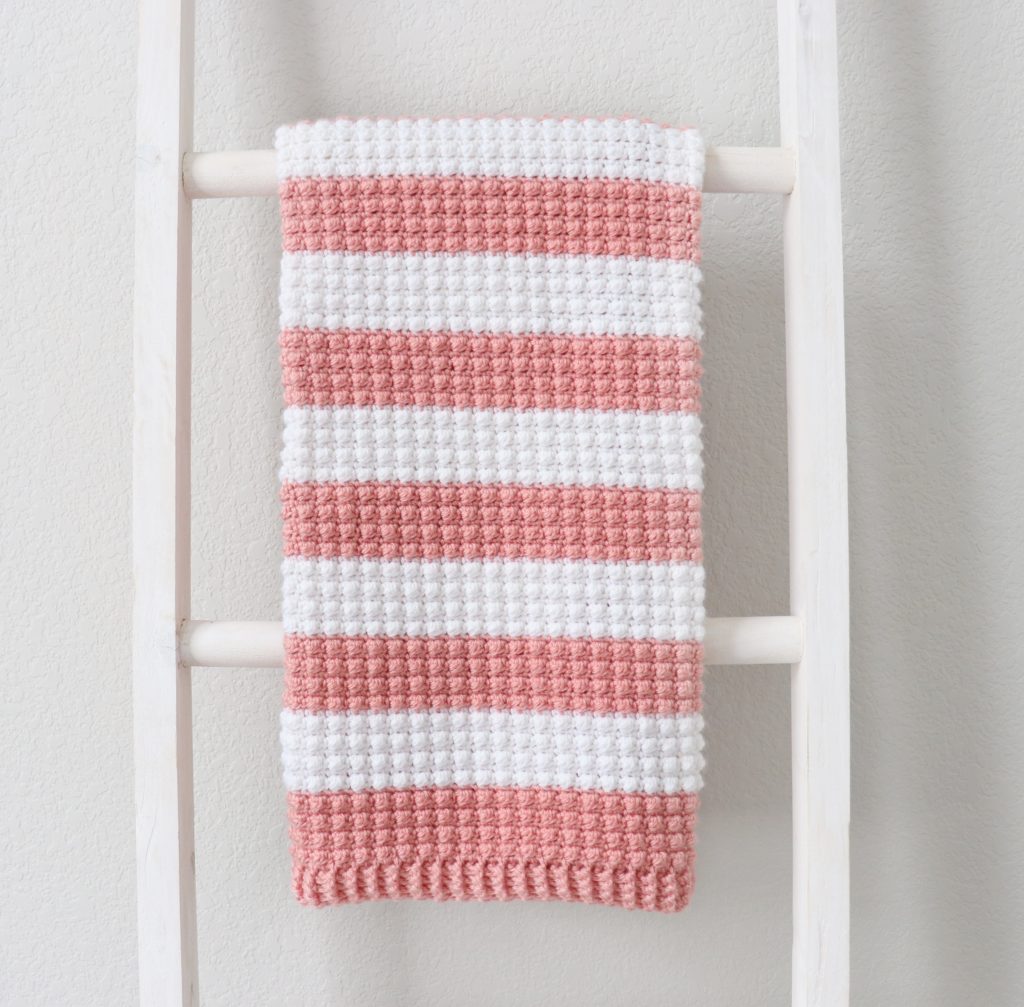
I’m calling this the fruity stripes baby blanket because the color of the yarn is called Soft Peach and it’s made with the berry stitch! I wanted to make a simple striped blanket for summer, but I decided to use the berry stitch to bulk up this lightweight yarn and give the blanket some extra texture. It’s much easier than it looks!
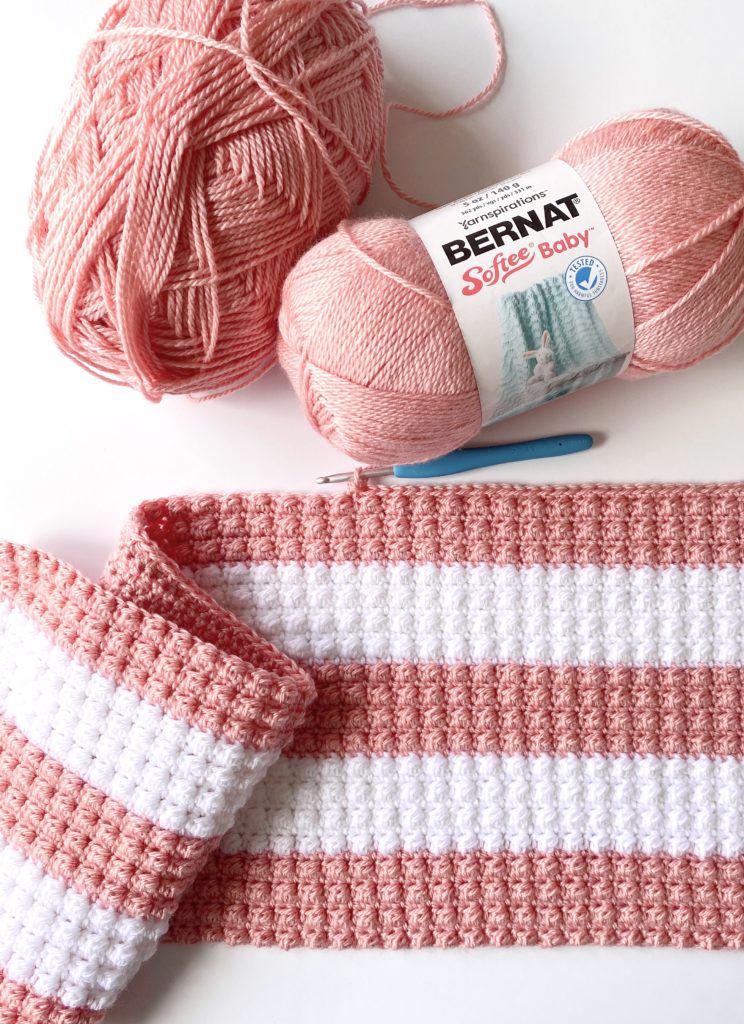
The main part of the blanket is all single crochet and the berry stitch. Here is a video of how to work the berry stitch if you’d like to watch before you get started!
Materials
Bernat Softee Baby (100% acrylic, 140g/5 oz, 331 m/362 yds)
3 skeins Soft Peach, 2 skeins White
Size 4.5mm hook, tapestry needle, scissors
Click here for a free PDF download of this pattern from Yarnspirations
Size
Finished size 29 in x 29 in
Gauge 4 in = 9 st and 17 rows of pattern
Stitches
Single Crochet (SC): Insert your hook, yarn over (YO), pull up a loop, YO, pull through two loops on hook.
Berry Stitch: YO, insert your hook, YO and pull up a loop, YO, pull through one loop, YO, insert your hook into same space, YO and pull up a loop, YO, pull through all five loops on hook.
Double Crochet (DC): YO, insert your hook, YO, pull up a loop, YO, pull through two loops, YO, pull through remaining two loops on your hook.
Front and Back Post Double Crochet (FPDC & BPDC): A front post double crochet means you insert your hook from front to back around the post of the next DC and work a DC. A back post double crochet means you insert your hook from back to front around the post of the next DC and work a DC.
Pattern
Chain 110 with Soft Peach. (To make your blanket larger, you can chain any even number.)
ROW 1: Starting in the 2nd chain from the hook, work a SC. *Berry stitch into the next stitch, then SC into the next stitch. Repeat from * to the end of the row. Chain 1 and turn.
ROW 2: Work a SC into each stitch across the row. Chain 1 and turn.
ROW 3: *SC into the first stitch, then Berry stitch into the next stitch. Repeat from * to the end of the row. Chain 1 and turn.
ROWS 4 – 5: Repeat rows 2 through 3.
ROWS 6 – 7: Repeat rows 2 through 3.
ROW 8: Repeat row 2. On the last stitch of the row, pull through with White just before you finish the SC, when you have two loops on your hook. Chain 1 and turn. Cut the Peach yarn and leave a long tail you can weave into the blanket later. (You can also wrap the tail around the back of your work when you turn and crochet over it to save time.)
ROW 9: Repeat row 3.
ROWS 10 – 11: Repeat rows 2 through 3.
ROWS 12 – 13: Repeat rows 2 through 3.
ROWS 14 – 15: Repeat rows 2 through 3.
ROW 16: Repeat row 2. On the last stitch of the row, pull through with Peach. Chain 1 and turn.
Repeat rows 1 through 16 for the remainder of the blanket. I ended my blanket when I had 8 Peach stripes and 7 White Stripes. End the blanket with a berry stitch row so that it matches the other end.
Just a few tips for working this blanket…remember that there should always be a row of SC in between each berry row so that the berry stitches all pop out on the same side. You are working 8 rows of each color, always alternating a berry row with a SC row. There should also always be a SC in between each berry stitch – you may want to check your work as you go to make sure that your berry stitches are always lined up.
Border
Weave in all ends with a tapestry needle.
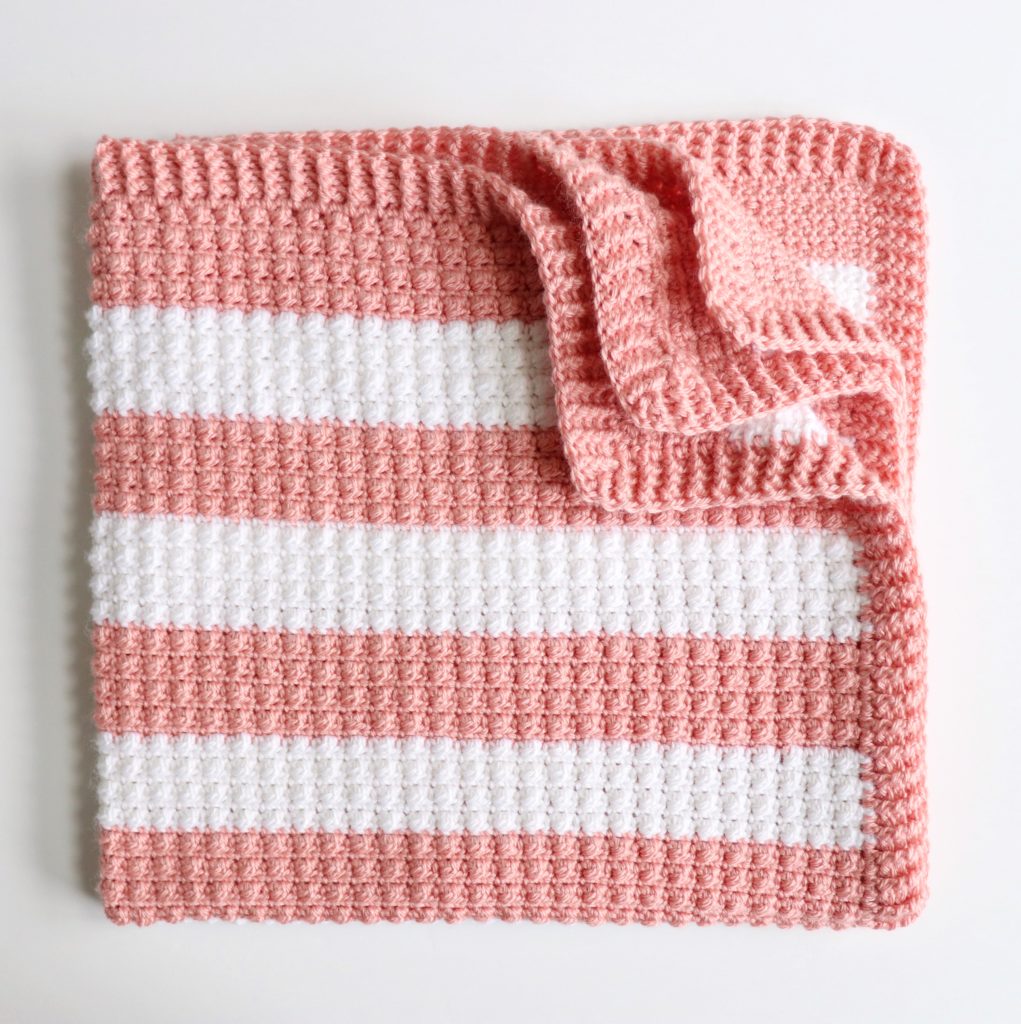
ROUND 1: Pull up a loop in any corner and chain 3. (Or chain 3 when you finish your last berry row with Peach.) Work one round of DC around the blanket, working one DC per row on the sides. Work 3 DCs into each corner.
ROUND 2: When you reach the corner you started with, work 3 DCs into the corner, then go around the blanket again in the same direction, this time alternating front and back post double crochet (FPDC & BPDC). When you get to the corners of this row, you will want to continue the pattern of alternating FPDC and BPDC, but you will work three stitches around the corner post.
So, for example, if you get to the corner post and you are supposed to work a FPDC, then work a FPDC, a BPDC, and a FPDC all around that corner post. Then in the next stitch you would continue the alternating pattern, working the opposite of whichever stitch you just used. Just remember that you are always alternating FPDC and BPDC around the whole blanket, you just happen to be working three of those stitches around the same post when you are working the corners.
ROUND 3: When you finish round 2, work 3 alternating FPDC/BPDC into the corner you started with and repeat round 2 around the blanket. Always match your post double crochets so that they are poking out in the same direction as the previous row.
ROUND 4: Repeat round 3. When you are finished with your border, slip stitch into the starting stitch and tie off.
Here’s a video for the border if you need more help:
If you’d like to add finishing touches to your blanket, lay it out flat on a towel or foam blocking boards if you have them. Use a spray bottle with water to dampen the blanket. Press the blanket into straight lines, massaging the stitches and adjusting your tension. Pin with straight pins and let it dry.
Thanks so much for coming to our website and best of luck with your project! When you finish, please come share a picture with us on Facebook or Instagram using #daisyfarmcrafts, we’d love to see!
xo, Hannah

