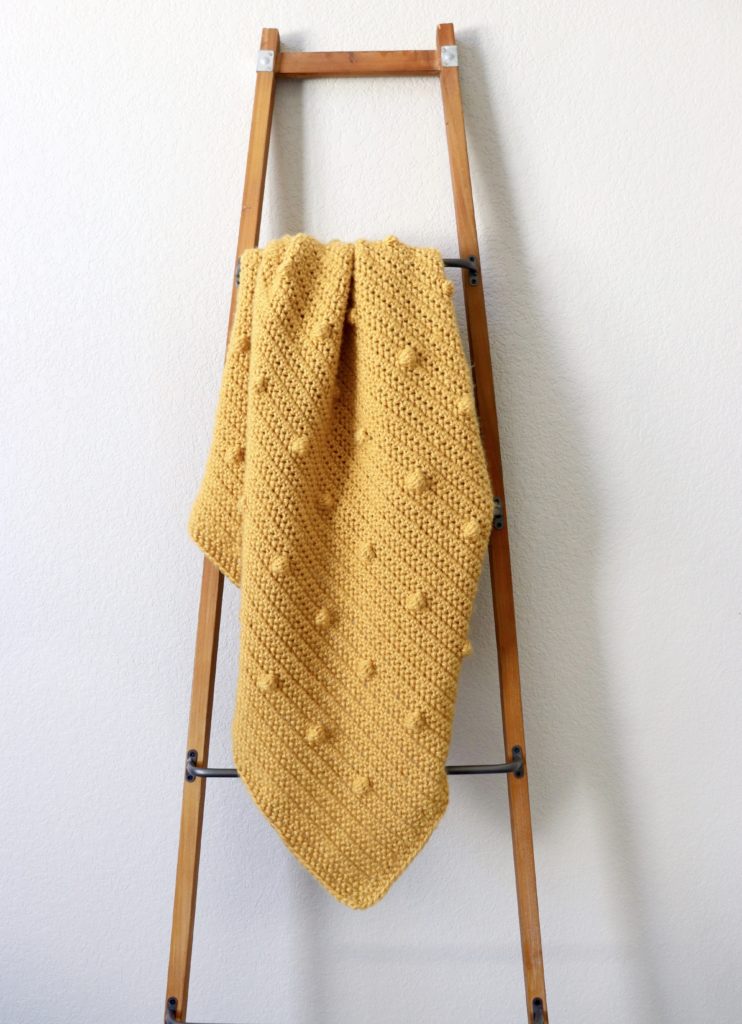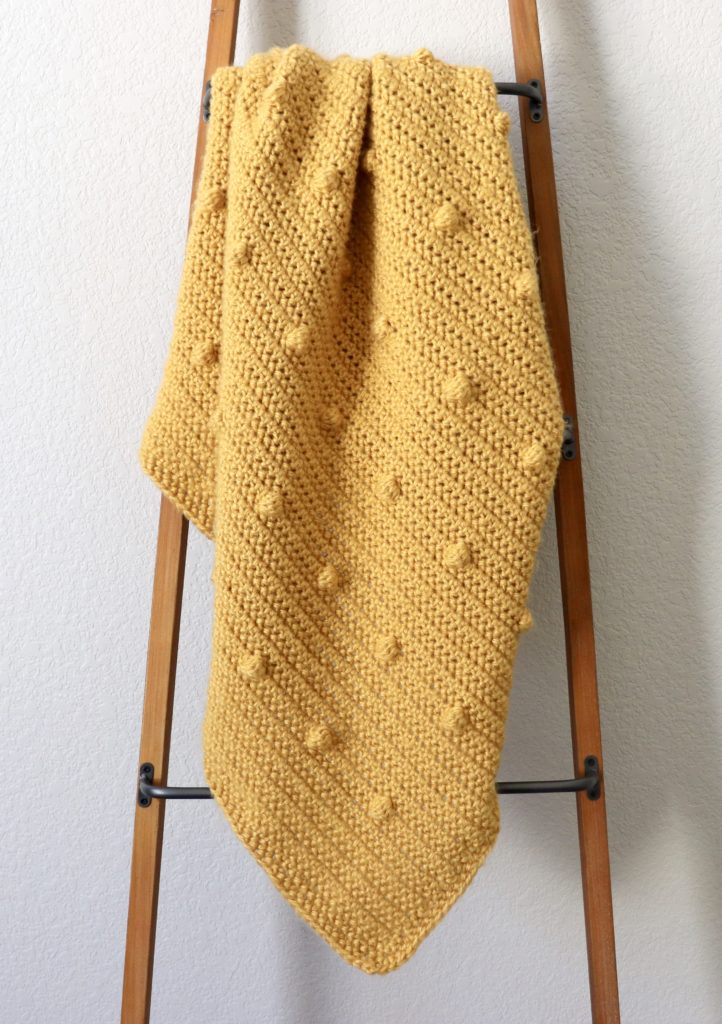
Hello, Hannah here, we’ve made a lot of different versions of blankets with polka dots, but a few weeks ago I realized that we don’t have a pattern that’s all one color where the polka dots are in straight lines so I decided to make one!

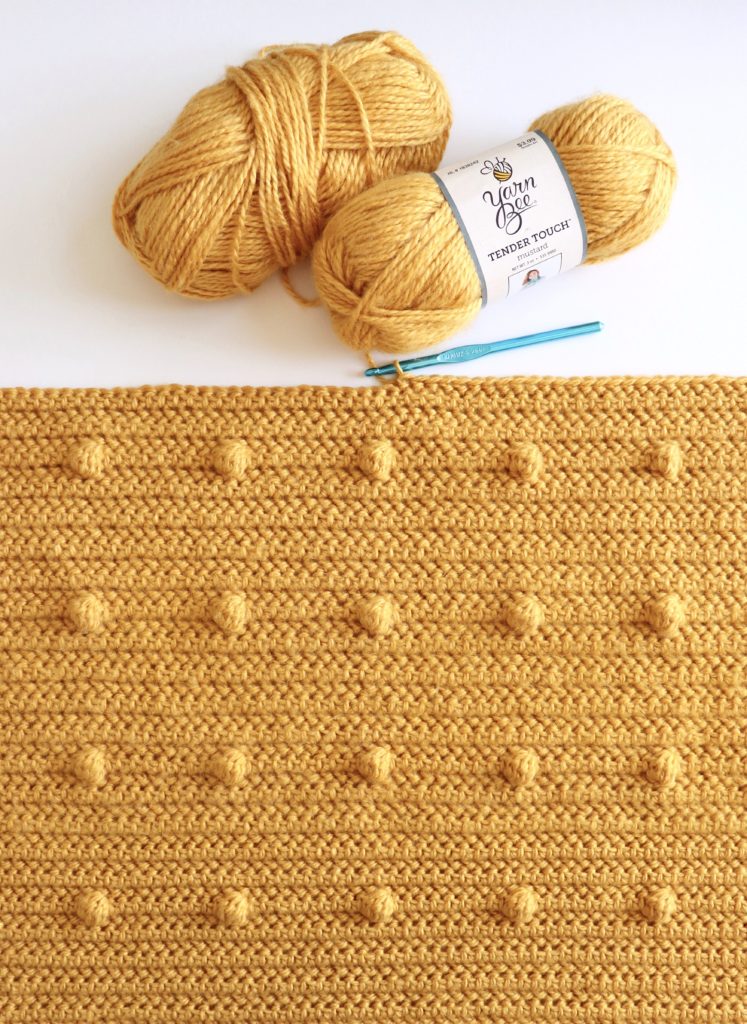
For this blanket I used some Yarn Bee Tender Touch yarn that I found at Hobby Lobby in a beautiful mustard color. This yarn is very soft and works up very nicely. Even though it is acrylic yarn, its more fuzzy like wool, so if you’re looking for something a little sleeker and shinier I’d recommend Red Heart Soft or Caron Simply Soft as a substitute.
Materials
Yarn Bee Tender Touch (100% acrylic, 3 oz/ 135 yds)
6 skeins Mustard
Size K/6.5mm, tapestry needle, scissors
Size
Finished size 35 in x 35 in
Stitches
Herringbone Half Double Crochet (HHDC): Yarn over (YO), insert your hook, YO, pull up a loop and pull directly through first loop on hook, YO, pull through remaining two loops.
DC5tog Bobble: *YO, insert hook, YO and pull up a loop, YO, pull through two loops. Repeat from * four more times. Then YO and pull through all six loops on hook.
Pattern
Chain 101. (To make your blanket bigger or smaller, chain any multiple of ten, then add 1.)
ROW 1: Starting in the third chain from the hook, work 1 HHDC in each chain. CH 2 and turn.
ROWS 2 – 9: (turning chain does not count as stitch) Work 1 HHDC in each stitch across the row. CH 2 and turn.
Note: You might start to see that your sides form little ridges instead of being perfectly straight because you aren’t working into the turning chain at the end of each row, but this is perfectly fine – you will cover it up with the border later.
ROW 10: *Work 1 HHDC in the next 9 stitches, then one DC5tog bobble in the next stitch. Repeat from * to the end of the row. You should end the row with 9 HHDCs. CH 2 and turn.
Repeat rows 1 through 10 for the remainder of the blanket. You should always have nine rows in between each bobble row. If you want to adjust that number so that your rows are closer together or farther apart, just be sure that it is an odd number of rows in between the bobble rows so that the bobbles always poke out on the same side.
Border
Once you are finished with your last nine rows of HHDC, chain 2 and start going down the side of the blanket, working one HHDC for each row. Continue working around the whole blanket, placing 3 HHDCs in each corner.
When you get back to the corner you started with, work 3 HHDCs in that corner and keep going around the blanket in the same direction with another round of HHDC. I had enough yarn for two rounds of HHDC around the blanket, but feel free to make your border as thick as you like!
The best way to keep your border even and to avoid your blanket ruffling is to make sure that you have the exact number of stitches on the sides as there are rows in the blanket and that there are the same number of stitches on the top and bottom of the blanket.
Once you’re finished with your border, tie off and weave in any ends. When I was finished with my blanket, I got it wet with a spray bottle and laid it out on some foam board with the corners pinned to even out my tension and let it air dry for a few hours.

Thank you so much for coming to read this pattern; I hope you enjoy making this blanket! When you’re finished please come share a picture with us on Facebook or Instagram using #daisyfarmcrafts, we’d love to see!

