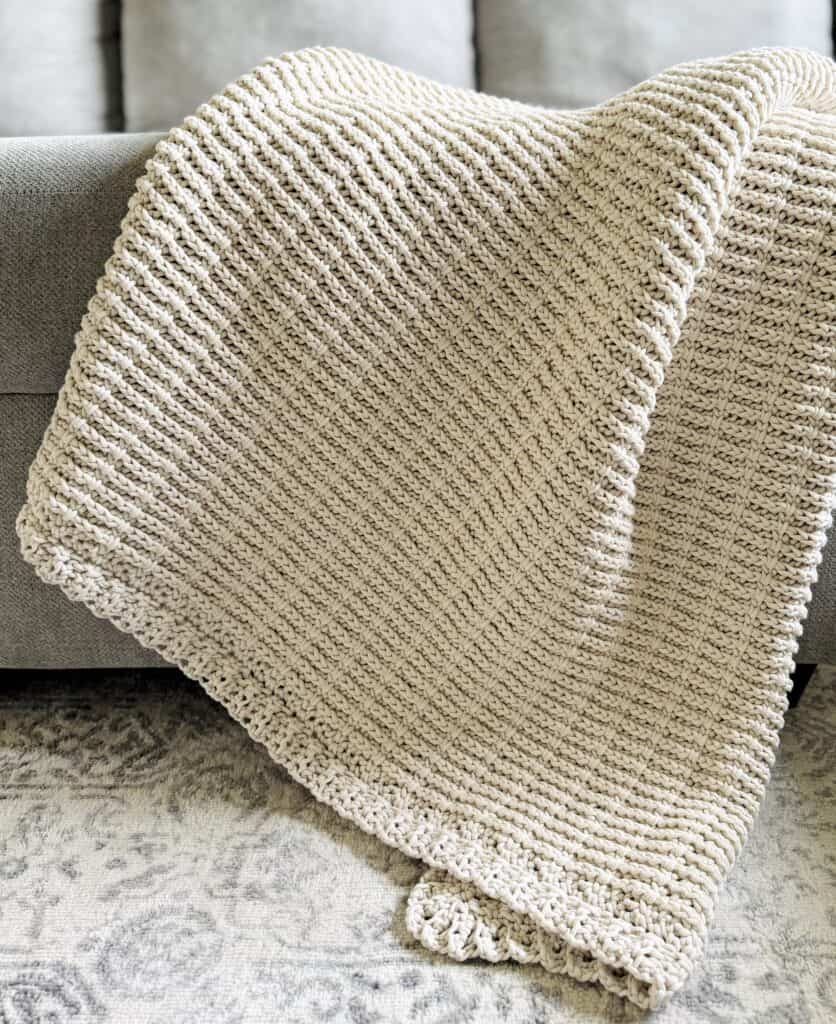
Hello friends, Hannah here with a fun new throw pattern!
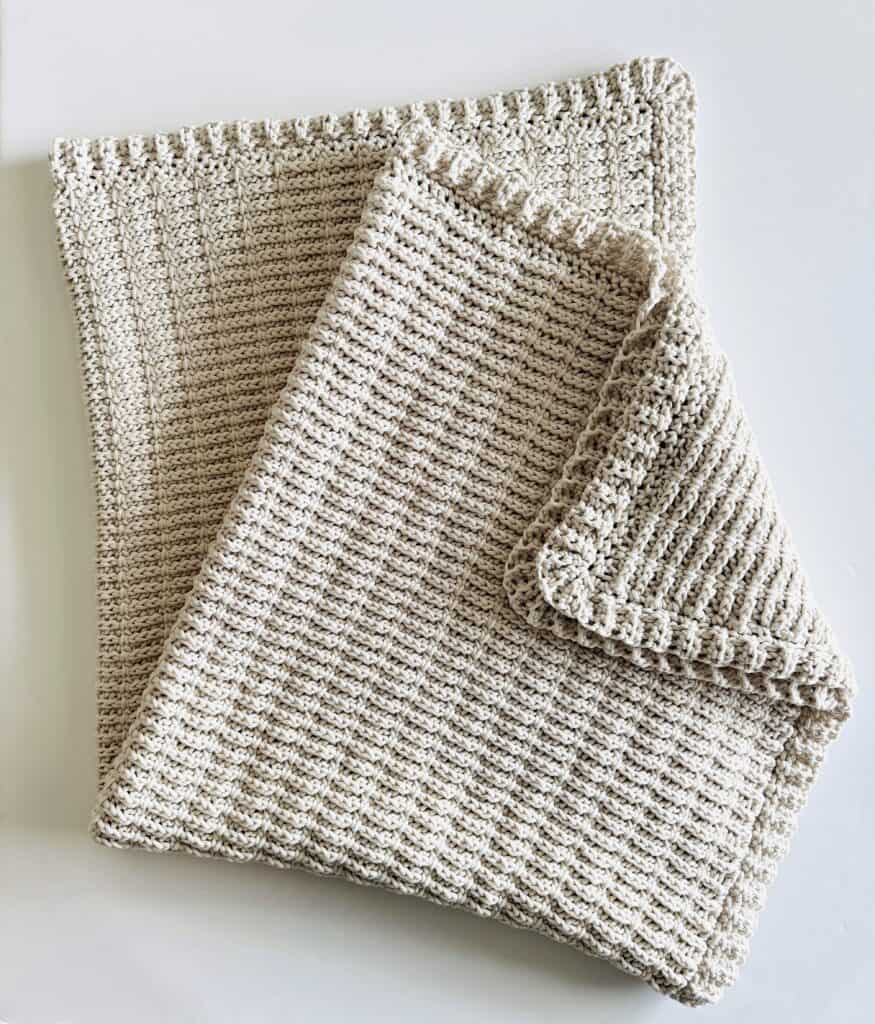
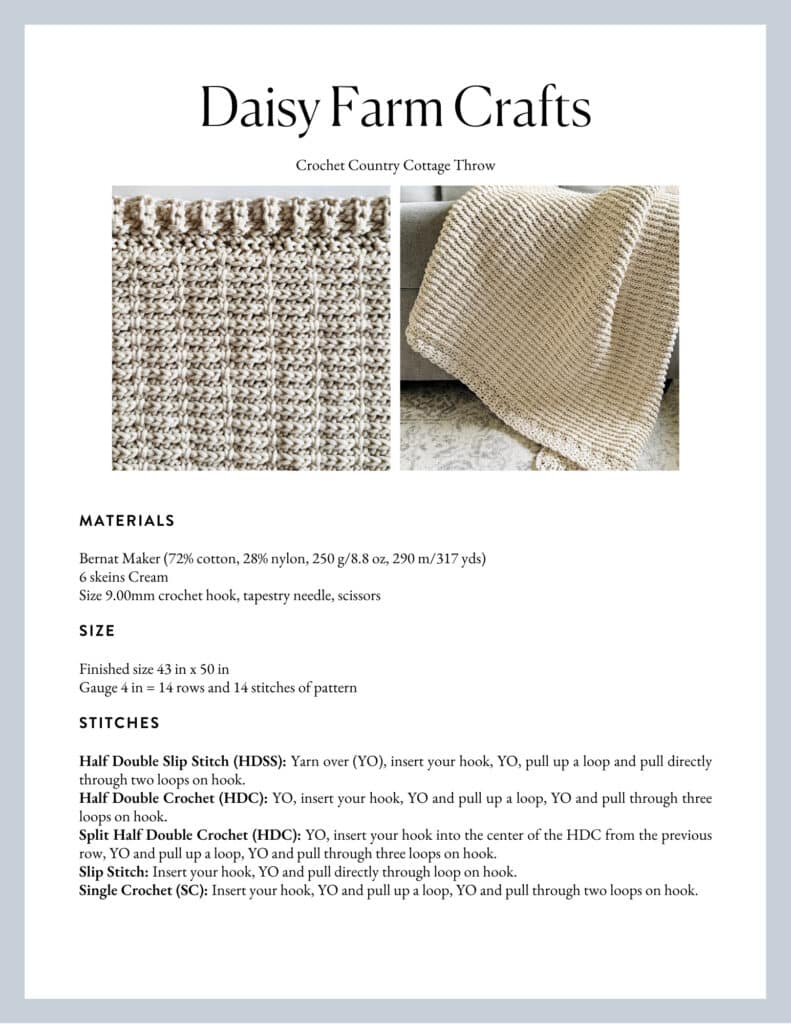
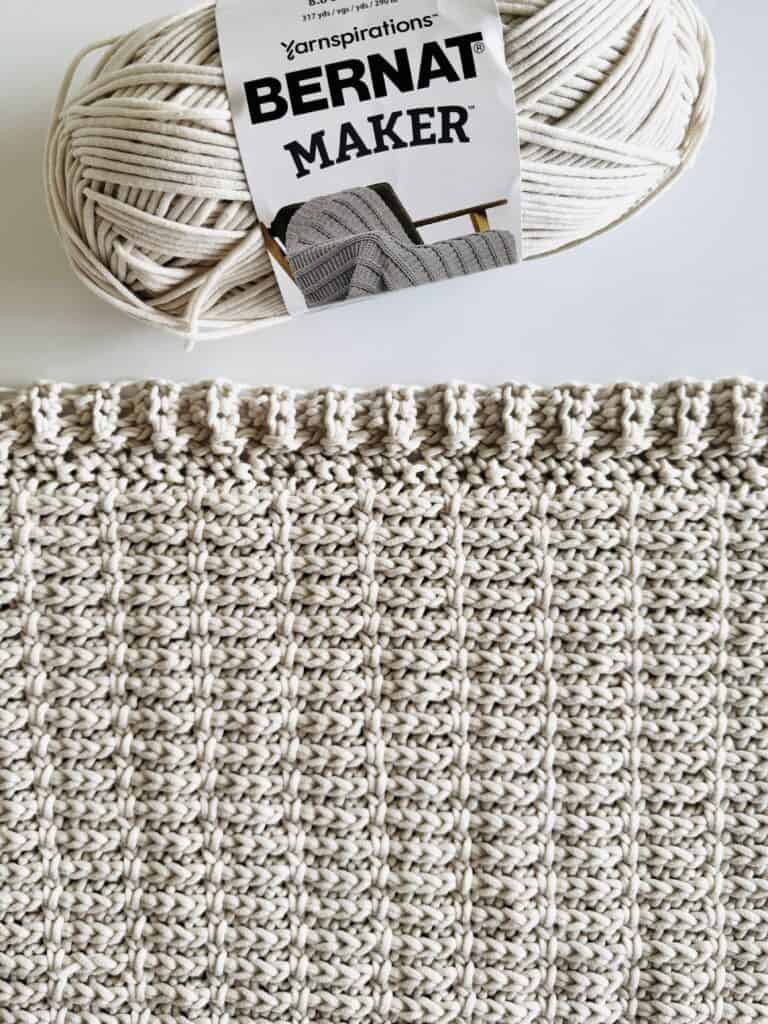
This throw is made with a combination of Half Double Slip Stitch and Split HDC, which is a stitch I have never used before this blanket! It’s exactly the same as a normal HDC, except you are inserting your hook right in the middle of the stitch instead of in the top two loops.
It was a little tricky for me to master at first and it took me a few practice swatches to really get the hang of it, but it definitely got easier to see where to insert my hook as the blanket progressed.
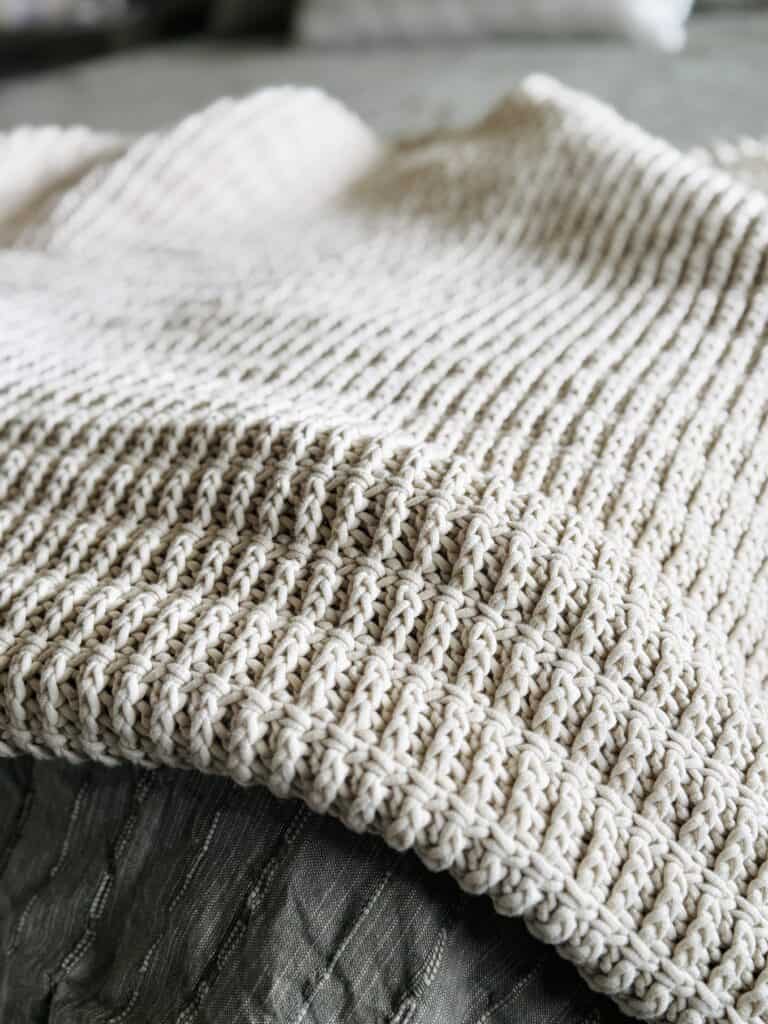
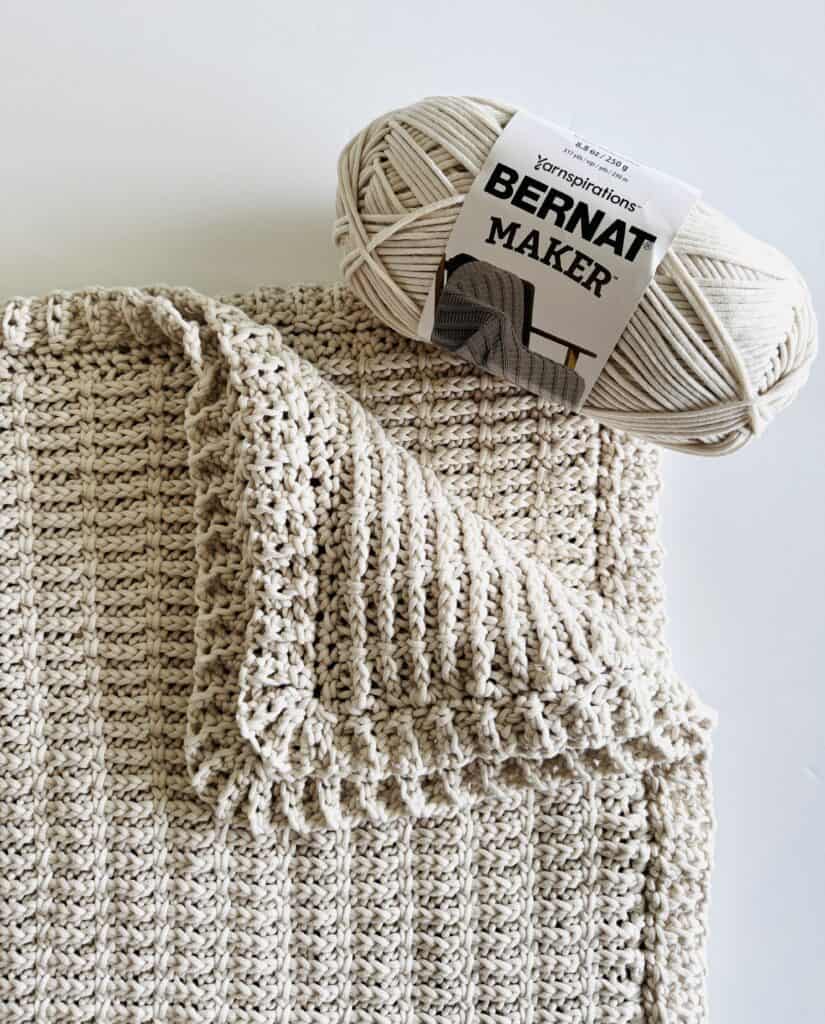
I made this throw with Bernat Maker, which is a super soft and squishy cotton/nylon blend that works up so beautifully.
Here’s the YouTube tutorial for this blanket if you’d like to watch before you get started!
Materials
Bernat Maker (72% cotton, 28% nylon, 250 g/8.8 oz, 290 m/317 yds)
6 skeins Cream
Size 9.00mm crochet hook, tapestry needle, scissors
Size
Finished size 43 in x 50 in
Gauge 4 in = 14 rows and 14 stitches of pattern
Stitches
Half Double Slip Stitch (HDSS): Yarn over (YO), insert your hook, YO, pull up a loop and pull directly through two loops on hook.
Half Double Crochet (HDC): YO, insert your hook, YO and pull up a loop, YO and pull through three loops on hook.
Split Half Double Crochet (HDC): YO, insert your hook into the center of the HDC from the previous row, YO and pull up a loop, YO and pull through three loops on hook.
Slip Stitch: Insert your hook, YO and pull directly through loop on hook.
Single Crochet (SC): Insert your hook, YO and pull up a loop, YO and pull through two loops on hook.
Pattern
Chain 120. (Pattern repeat is any multiple of 4.)
Row 1: Starting in the 2nd chain from the hook, work 1 HDSS in each of the first 3 chains. *Work 1 HDC in the next chain. Then work 1 HDSS in each of the next 3 chains. Repeat from * across the row. CH 1 and turn.
Row 2: Work 1 HDSS in the front bottom loop of each of the next 3 stitches. *Work 1 Split HDC in the next stitch. Then work 1 HDSS in the front bottom loop of each of the next 3 stitches. Repeat from * across the row. CH 1 and turn.
Repeat row 2 until your blanket measures about 47 inches. Then you can either tie off and weave in ends before beginning the border, or you can CH 1 at the end of the row and begin working down the side of the blanket.
Border
Round 1: Work 1 round of SC around the blanket. I found that my border turned out the most even when I worked the following pattern on both the sides and ends: 3 SC, skip 1 space, 3 SC, skip 1 space, etc. Work 3 SC in each corner.
Round 2: When you return to the starting corner, slip stitch into the first stitch and CH 4. Starting in the second chain from the hook, work SC in each of the 3 chains back toward the edge of the blanket. *Slip stitch into the next space, and in the next space. Turn and work in the back loops of each of the 3 SC you just made. CH 1 and turn. Work back down the SC in the back loops only. (Be careful not to miss the 3rd stitch, it sometimes pulls tight and is hard to see.) Repeat from across * each side.
When you reach a corner space, only slip stitch once, before turning and working the SC back up to the top of the border. *Return and slip stitch once into the corner space. Turn and work the SC back up to the top. Repeat from * one more time, then resume slip stitching into each of the next two stitches and working across the side. (If your corner isn’t looking rounded enough, you can slip stitch an additional time into the corner and work up and down an extra time with SC, or if its looking too fanned out, you can work into the corner one less time.)
When you reach the starting corner, work the corner the same way as previous corners. Stop when you get to the top of the border and tie off, then use a tapestry needle to sew corners together. Then tie off, weave in any additional ends and enjoy your blanket!
Thank you so much for visiting Daisy Farm Crafts! xo, Hannah
Click here or on image below for printable pattern

