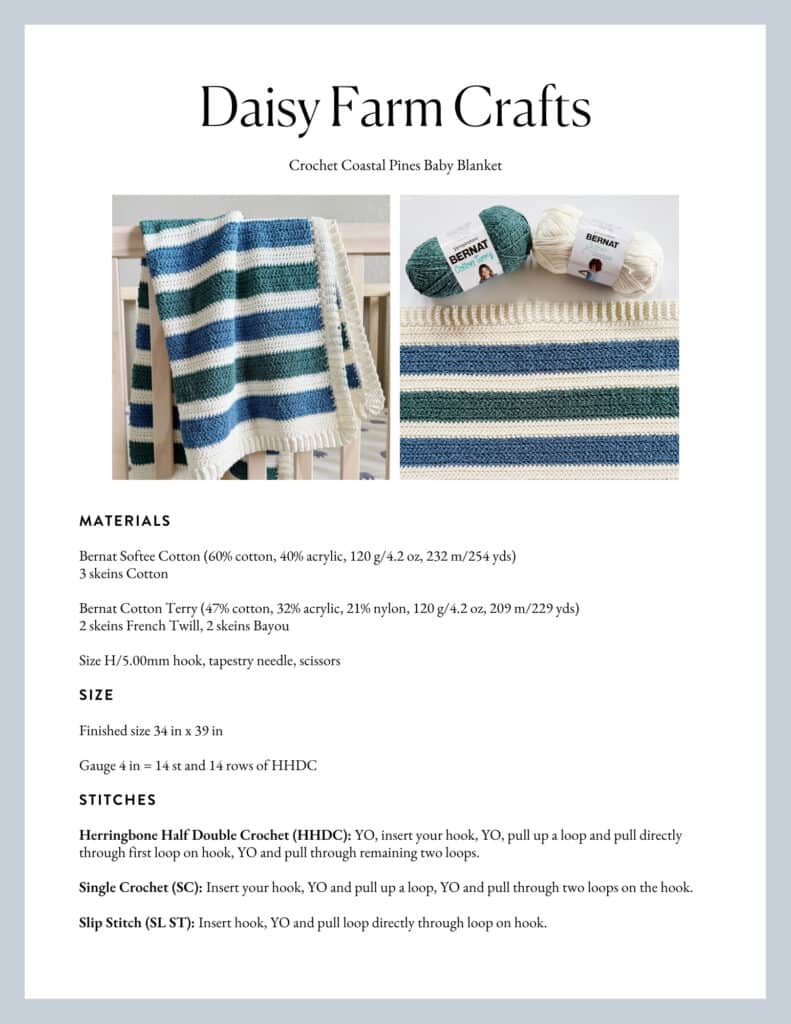
It’s always fun when we get to try out some new yarn and this summer we’ve loved playing with the new Bernat Cotton Terry yarn from Yarnspirations!
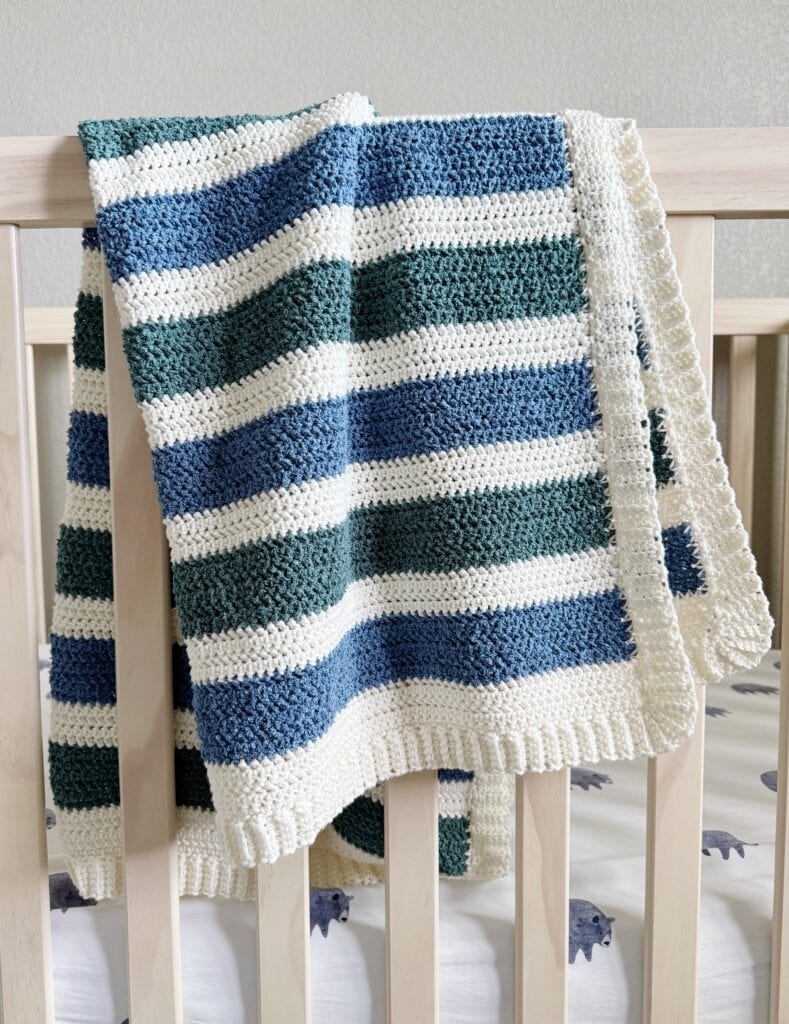
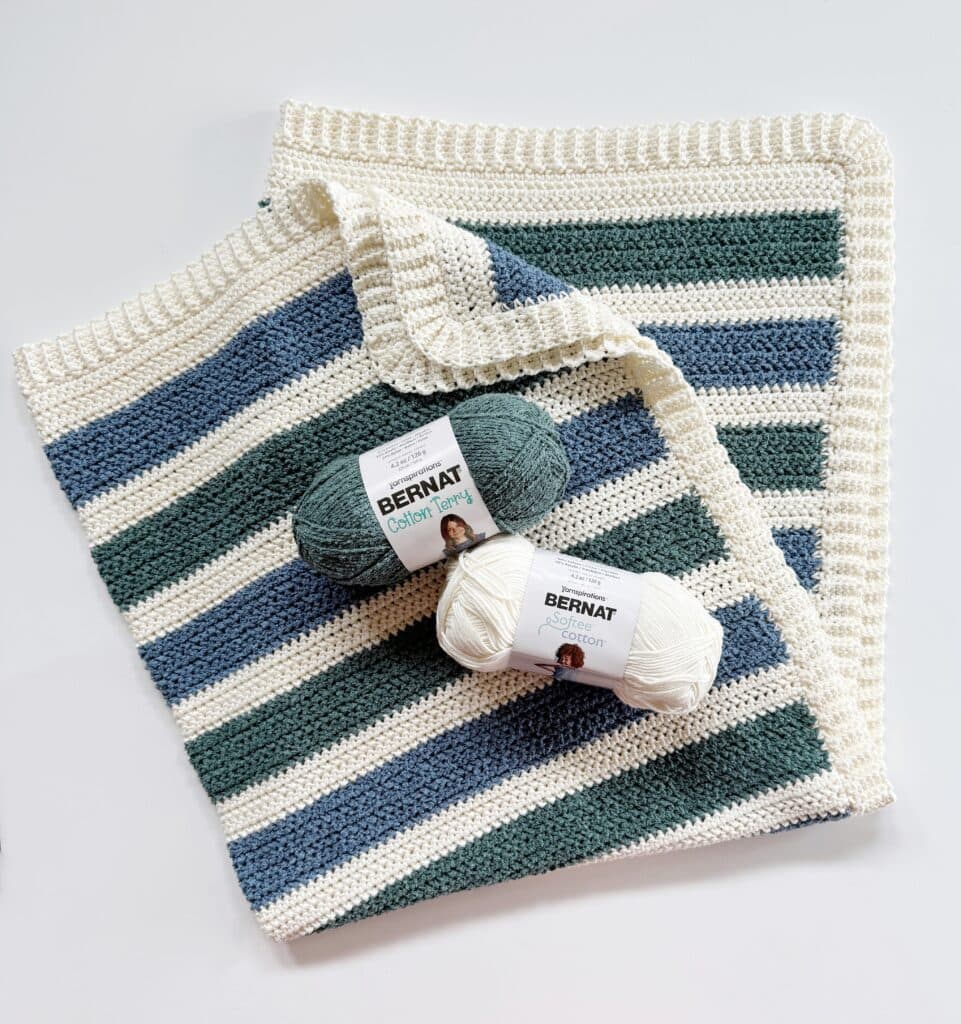
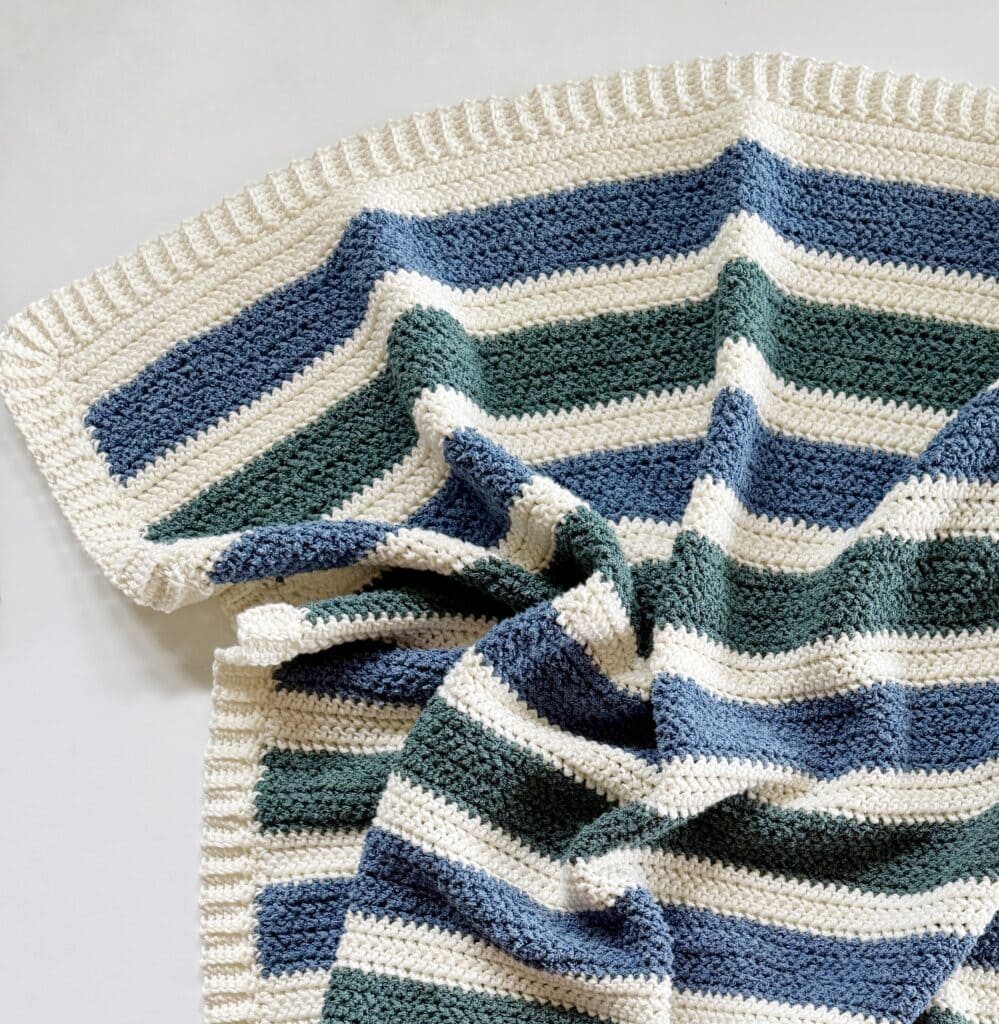
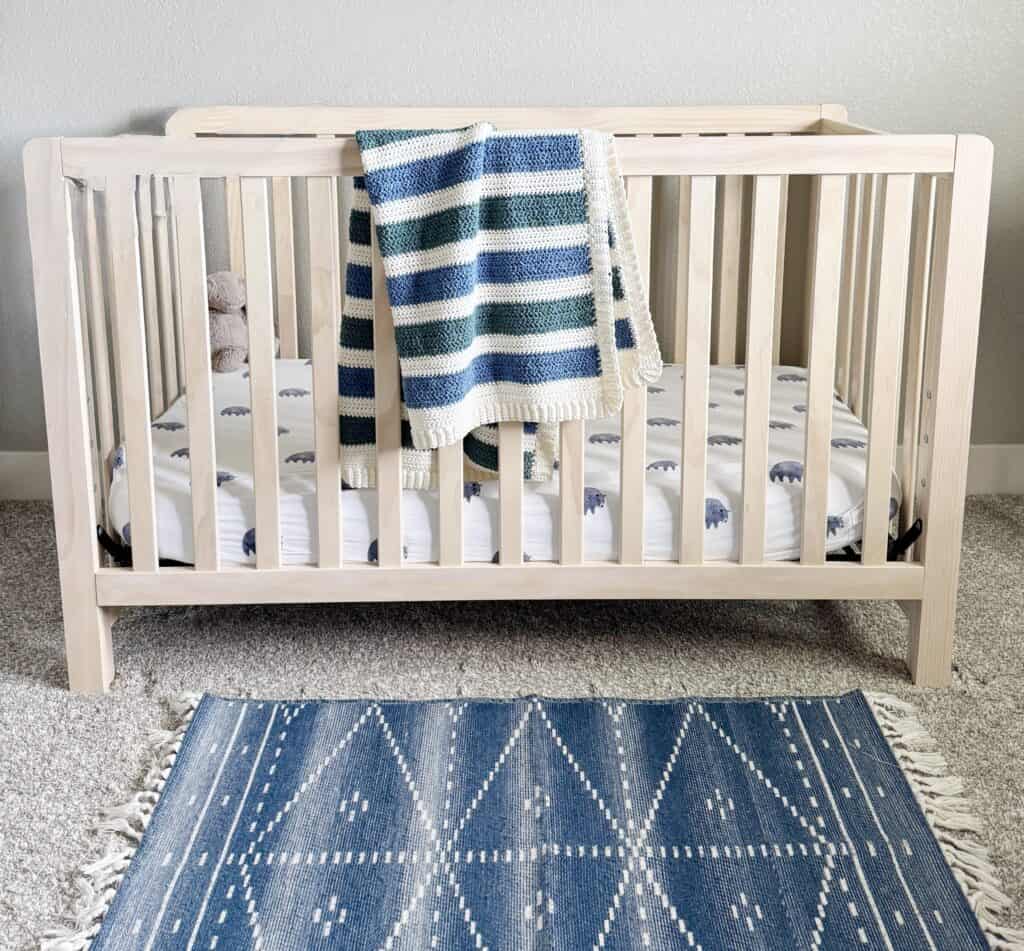
I especially love these shades of blue and green and thought they would make a darling baby boy blanket – especially one born in the fall! I wanted to see what would happen if I combined the Cotton Terry yarn with our favorite Bernat Softee Cotton yarn with the contrasting textures and I love the way it turned out!
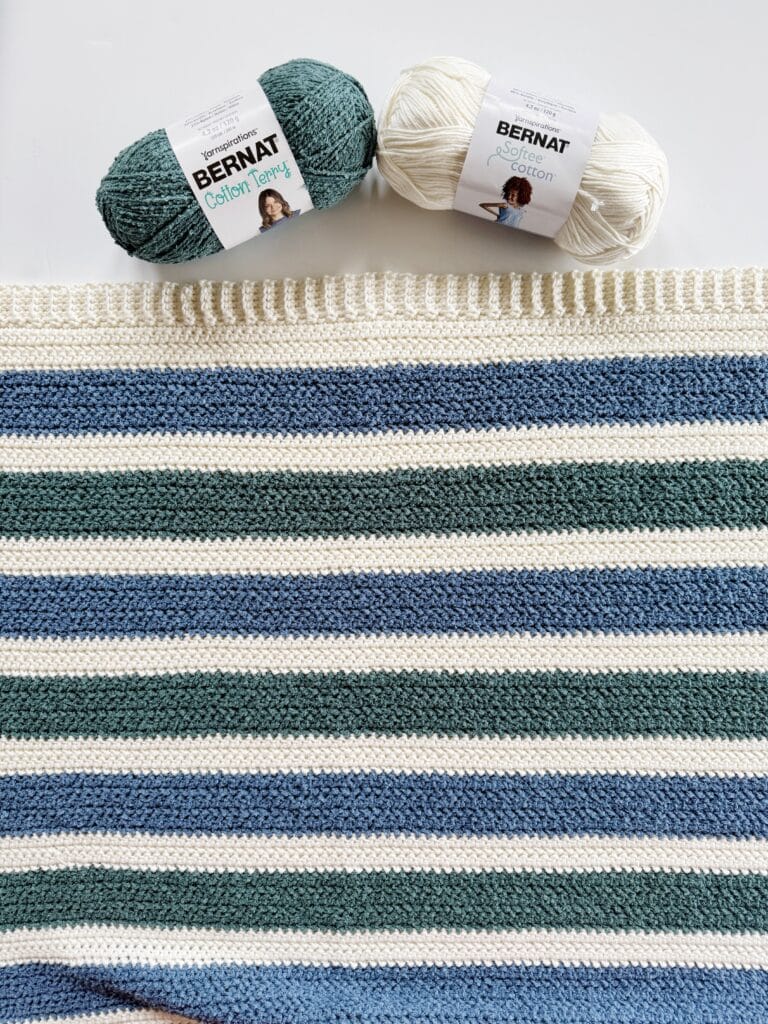
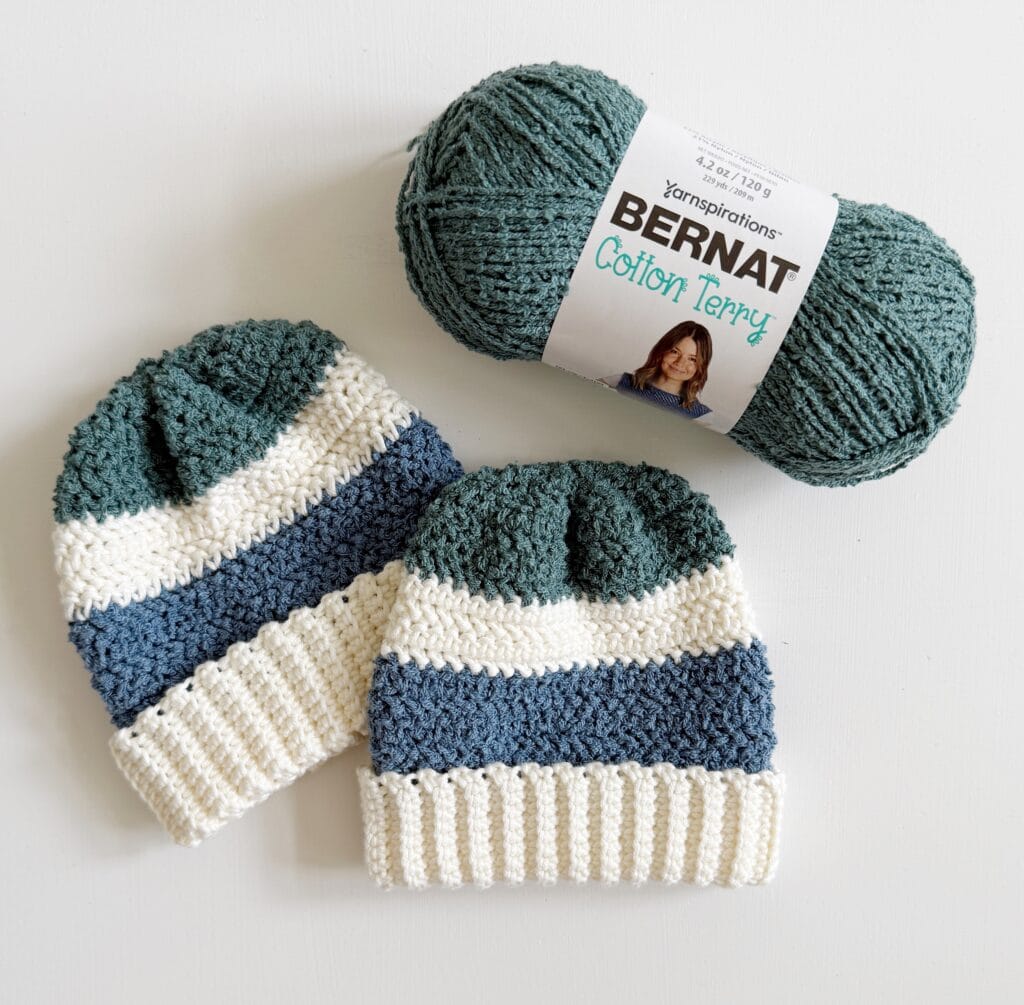
Bernat Cotton Terry is a #4 worsted weight, cotton/acrylic/nylon blend that comes in lots of beautiful shades and can be used for a variety of projects. It’s much easier to use than other boucle yarns we’ve tried! You can find both Bernat Softee Cotton and Bernat Cotton Terry at Yarnspirations.com or at the Bernat store on Amazon. (Tap the names to shop the yarn. As an Amazon Associate, we may earn from qualifying purchases.)
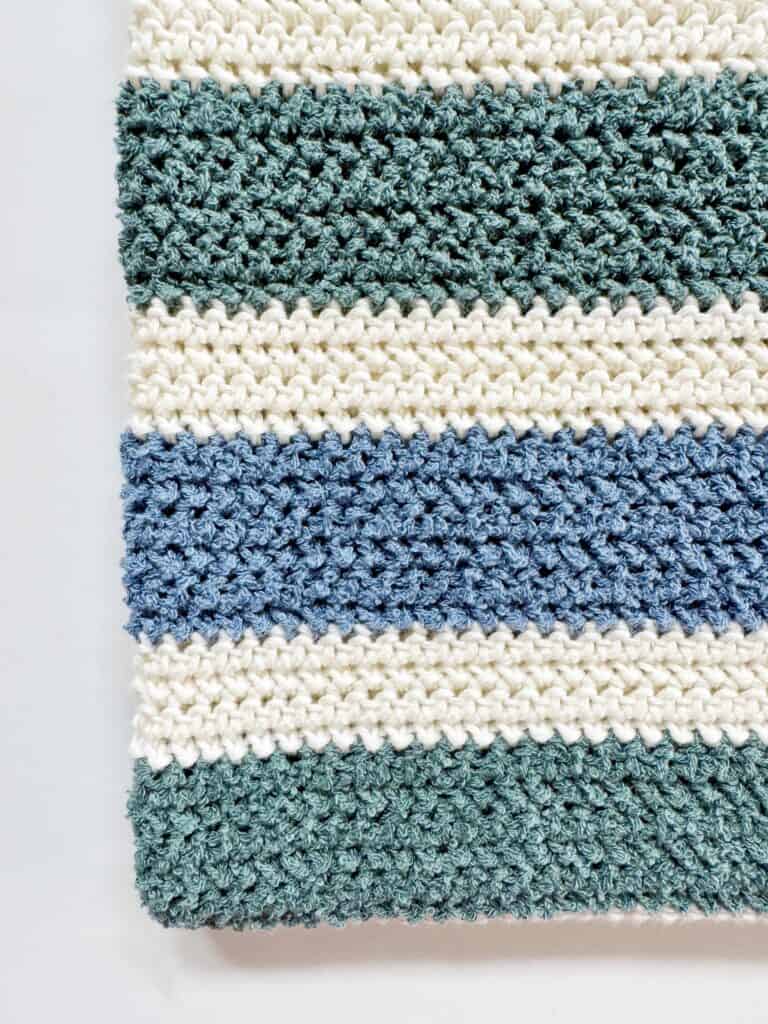
The main part of this blanket is made only with the Herringbone Half Double Crochet stitch, so this is a great beginner project or a fun blanket to work if you’re just looking to relax!
Here is a video tutorial for the Herringbone Half Double Crochet stitch if you’d like to watch before you get started! (There is also a video tutorial for the border toward the end of the post.)
My mom has also made a matching coastal pines hat to accompany the blanket pattern!
Materials
Bernat Softee Cotton (60% cotton, 40% acrylic, 120 g/4.2 oz, 232 m/254 yds)
3 skeins Cotton
Bernat Cotton Terry (47% cotton, 32% acrylic, 21% nylon, 120 g/4.2 oz, 209 m/229 yds)
2 skeins French Twill, 2 skeins Bayou
Size H/5.00mm hook, tapestry needle, scissors
Size
Finished size 34 in x 39 in
Gauge 4 in = 14 st and 14 rows of HHDC
Stitches
Herringbone Half Double Crochet (HHDC): YO, insert your hook, YO, pull up a loop and pull directly through first loop on hook, YO and pull through remaining two loops.
Single Crochet (SC): Insert your hook, YO and pull up a loop, YO and pull through two loops on the hook.
Slip Stitch (SL ST): Insert hook, YO and pull loop directly through loop on hook.
Pattern
With Cotton color, chain 120 (or any number).
Row 1: Starting in the 2nd chain from the hook, work 1 HHDC in each chain. CH 1 and turn. (Turning chain does not count as a stitch.)
Row 2: Work 1 HHDC in each stitch across the row. CH 1 and turn.
Repeat row 2 for the remainder of the blanket with the following color changes: *4 rows Cotton, 6 rows French Twill, 4 rows Cotton, 6 rows Bayou, 4 rows Cotton. Repeat * until you have 12 total alternating blue and green stripes or your desired length.
To change colors, work the last HHDC of the row until the last step of the stitch. Pull through with new color to finish the stitch and leave a tail to weave into the blanket later. Cut the previous color leaving another tail to weave in later.
(If you like, you can also choose not to cut the cream color yarn and carry it up the side of your work to save time weaving in ends. To do this, simply leave the cream color yarn instead of cutting it, and after you finish a blue or green section, pull the cream yarn up the side of your work so that it lays gently against the side and begin using it again. You’ll be able to cover up the carried yarn when you work the border, and you’ll only have the blue and green ends to weave in when your blanket is finished.)
Border
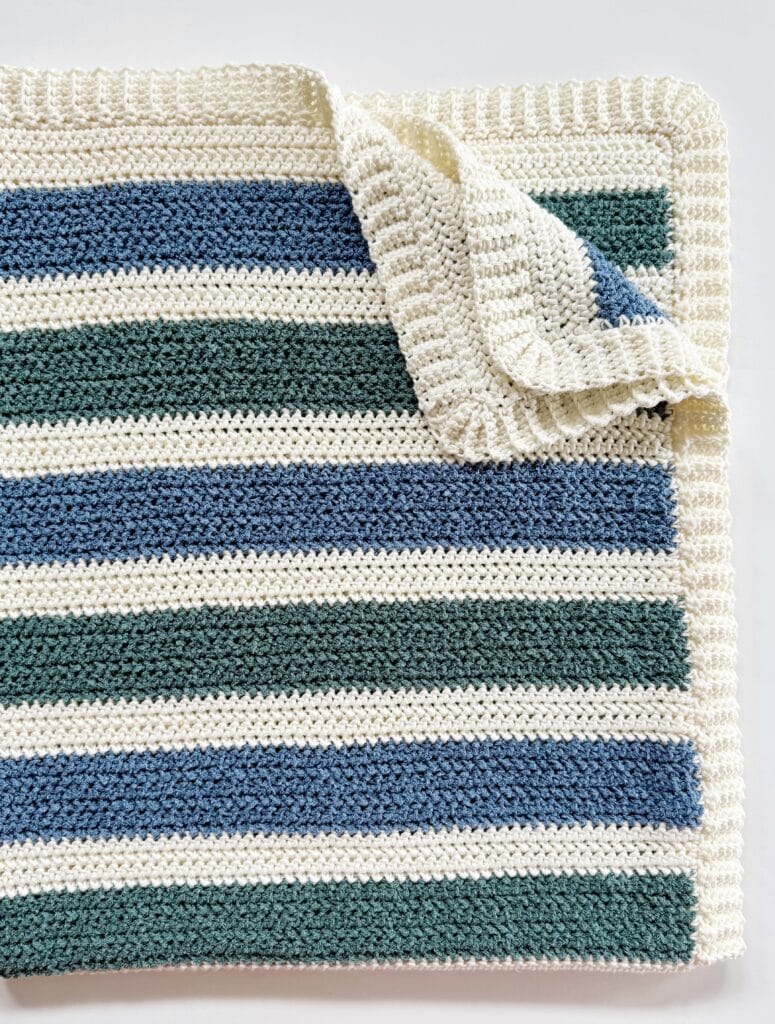
Round 1: Choose which side of the blanket you like best and make sure it is facing you. Then pull up loop in any corner and CH 1. Work 1 round of SC around the blanket, working 1 SC per row on the sides and 1 SC per stitch on each end. Work 3 SC in each corner.
Round 2: At starting corner, slip stitch into starting stitch, then chain 6. Continue working in same direction. Starting in the 2nd chain from the hook, work a SC in each of the 5 chains back toward the edge of the blanket. Slip stitch into the next stitch, and in the next stitch. Turn and work in the back loops of each of the 5 SC you just made. CH 1 and turn. Work back down and SC in the back loops only. (Be careful not to miss the 5th stitch, it sometimes pulls tight and is hard to see.) Continue repeating around the blanket.
When you reach the corners, *only slip stitch once into the corner, before turning and working back loop SC back up to the top of the border. Return and slip stitch into the corner space. Repeat from * two more times so that your border is neatly fanned around the corner. After finishing the corner, continue working around the blanket as before.
When you reach the corner you started with, work the corner as you did previous corners, then tie off when you are at the top of the border, leaving yourself a long tail. Then use the tail to sew the sides of the corners together with a tapestry needle. Tie off and weave in ends.
Below is a video tutorial that shows how to work the ribbing part of the border if you’d like to see how it’s done. (Note, the first round of the border for this blanket is done with HDC instead of SC, which is fine to use if you’d like.) Skip to about the 16 minute mark for the ribbed section of the border.
Thank you for visiting Daisy Farm Crafts! Happy Crocheting! xo, Hannah
Click here or on image below for printable pattern

