![]()
Hello there! I’m so excited to share with you this pattern for a classic arcade stitch. I made this throw for me! After all these years of making blankets for babies, weddings, high school graduations etc., I saw this pattern on Yarnspirations.com and wanted it for my living room couch.
I am using Bernat Maker for my throw, but the original pattern is made with Bernat Blanket yarn. You can substitute any yarn for this project, and it will turn out beautiful.
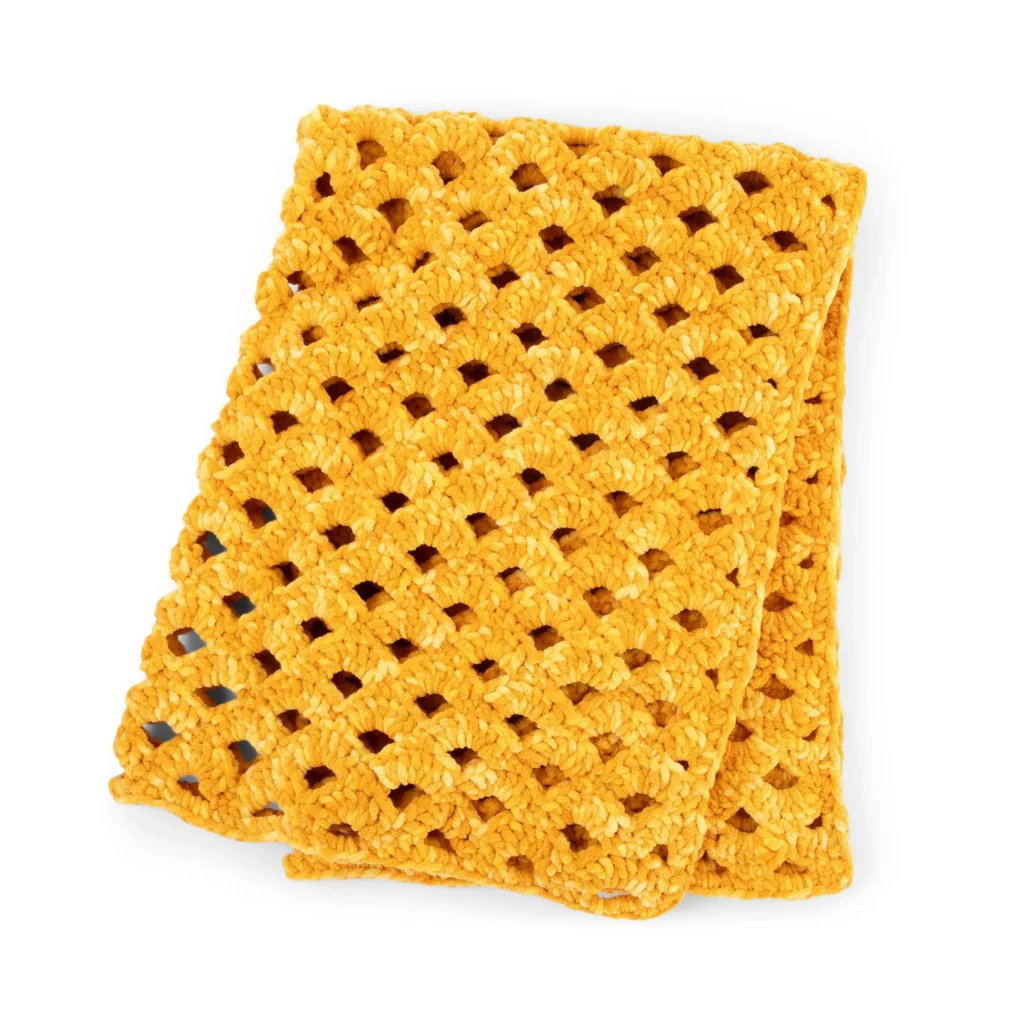
Bernat Maker sells out fast on Yarnspirations.com, but you can always try the Bernat Yarn Amazon shop as another place to have it shipped to you.
Tap here to shop Yarnspirations.com
Tap here to shop the Bernat Yarn Store on *Amazon

I made a YouTube tutorial for you, however, if you don’t like reading Yarnspirations patterns and graphs. I think you’ll find that this is a great advanced beginner pattern with expert results. Once I got the initial repeats memorized, the blanket just flowed easily.
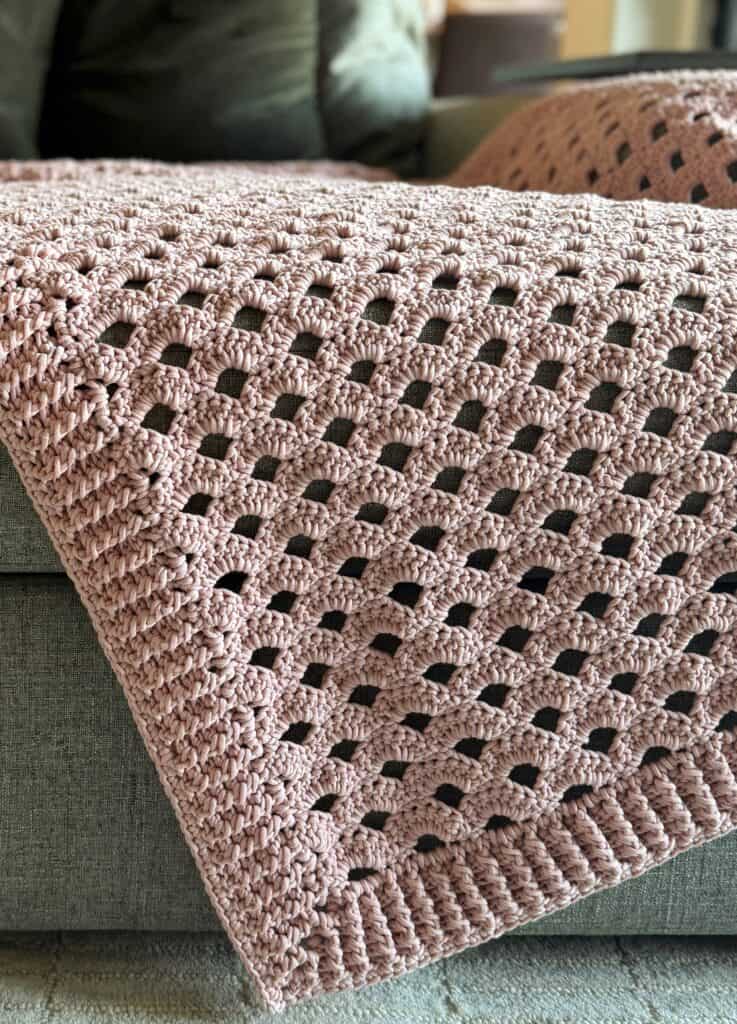
Back to the yarn I chose, however, I really wanted to use the soft blush color offered in the Bernat Maker line. It is a soft, muted pink with a matte finish. This blanket will be on my couch more as a decorative throw than a cuddle-up and keep-warm throw.
I think that is why I chose the elegant arcade stitch to use for my throw. I also really like the modification that the Yarnspirations pattern includes of 7 DC’s to make the arch. In traditional arcade patterns that I’ve seen, it uses 5 DC’s for the arch.
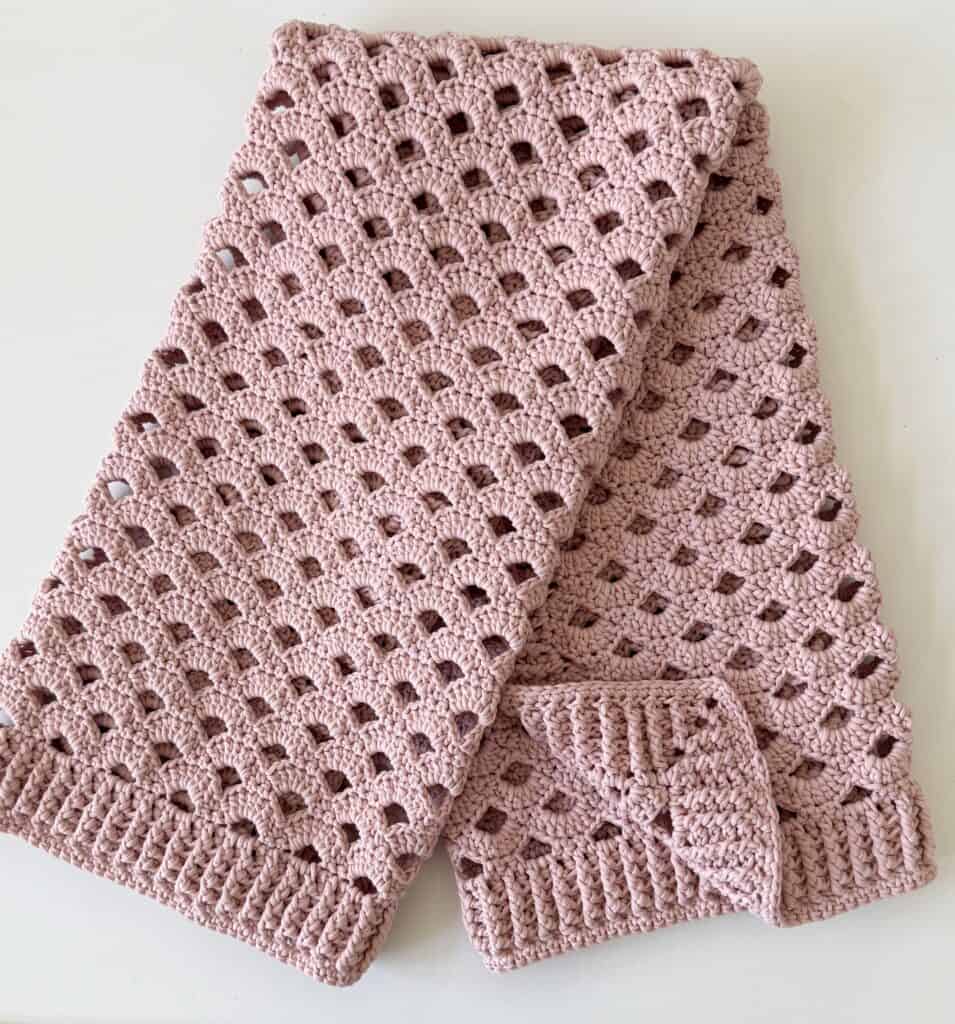
I added my own border to the pattern that I explain in the video and I will explain here. It is one of my favorite ways to finish off a blanket. I like a ribbed border and this DC version is the fastest way to get one.
Watch the YouTube video linked here:
Tap the highlighted link below to get a free printable pdf from Yarnspirations for the blanket.
Tap Here for the Honeycomb Crochet Openwork Blanket Pattern
Pattern details using Bernat Maker yarn:
I used 6 skeins in Soft Peach with a L 8mm hook. The blanket is approximately 40 x 60 inches. I used a base chain of 80 as used in the pattern. I stopped working the arcade stitch to 57 inches high and made a 3 inch border using the ribbed stitch.
Directions for the border:
End the blanket after Row 5 instructions. CH 2 and turn.
Round 1: Work 2 DC at the end of the rows that end or begin with DC or begin with chains, work 1 DC at the end of SC rows. Work “DC, CH 2, DC” into each corner. Work 3 DC around the chain 3’s, work 3 DC into each SC across the top of bottom of blanket. Join with a SL ST to first DC of the round. Do not turn.
Round 2: Work FPDC (front post double crochet) around next DC of previous row. BPDC (back post double crochet) around next DC of previous row. Alternate FPDC and BPDC to the first corner ch 2 space. Work “DC, CH 2, DC” around the ch 2 corner space. Continue alternating FPDC and BPDC and work corners in the same manner described. At the end of the round, join with a SL ST to the starting CH 2. CH 2 and continue in the same direction for the next round.
Round 3 through 5: Repeat round 2 instructions.
Round 6: At the end of the 5th round, CH 1 and turn. Work SC into each DC. Work “SC, CH 2, SC” around each ch 2 corner space. Join with a SL ST to the first SC of the round. Tie off and weave in the ends.
That’s it! If you have any trouble at all, I go over all the details in the YouTube tutorial linked above.
I can’t wait to see your versions! I think you will find this pattern so relaxing and fun to watch grow!
XO, Tiffany
![]()