Hello Crochet Friends!
It’s Cyndi! (I’m Tiff’s sister who is learning how to crochet and loving that she encouraged me to design at the same time!)
Tiff and I chatted about this design in our last Crochet Sister Chat (now on my YouTube channel, Sugar Joye ). So if you’d like to learn more about my idea for this design, come stop by.

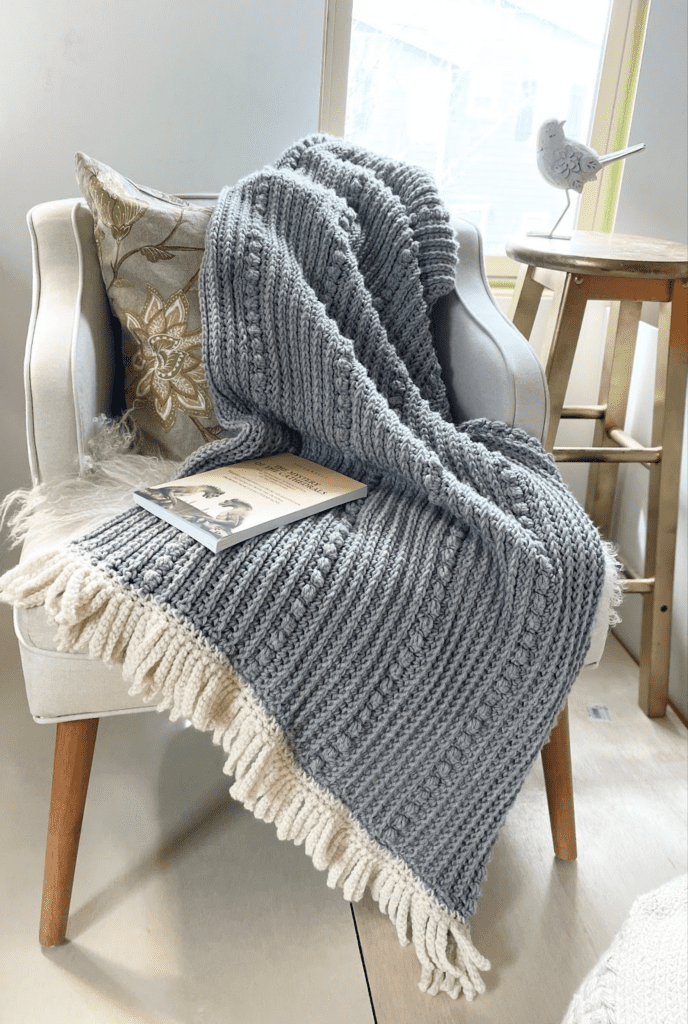
This blanket project is a variation on the full-sized Crochet Berry Ridge Blanket.
I shared that blanket last week and I’m so thrilled at the response you all gave it. Thank you!
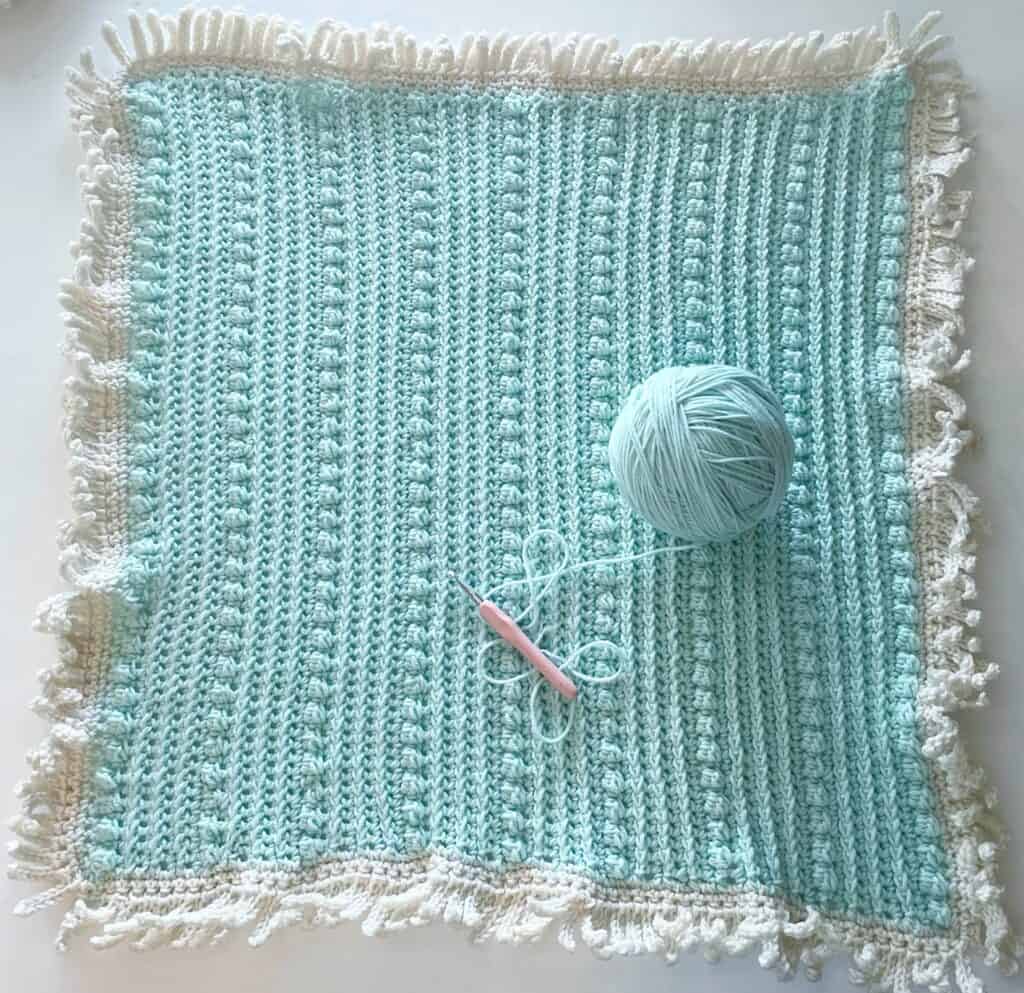
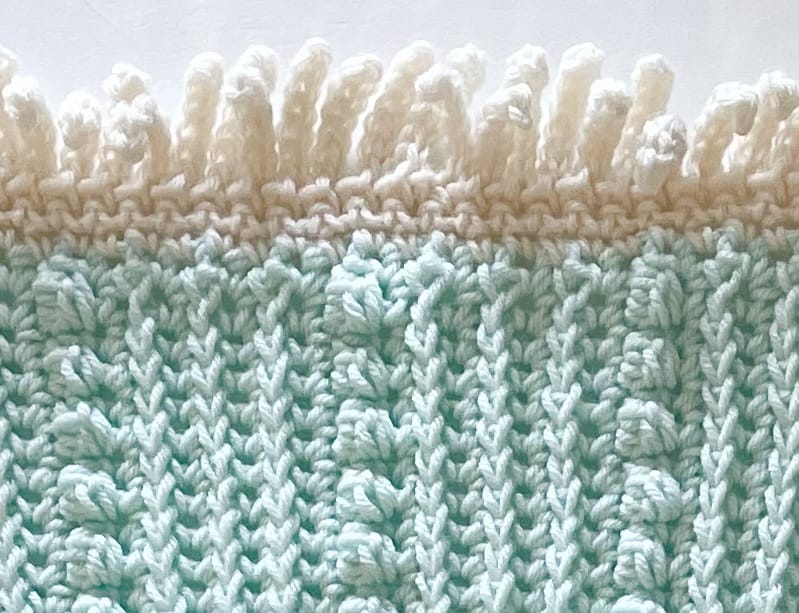
For this version, I added short and fluffy crocheted fringe on all four edges that I think look really nice and that little baby fingers can’t pull out!
If you’ve been following along you know I’m just a fan of the fringe. I love it so much. I think I’m going to be adding it to a lot of my projects.
Check out my video on crochet fringe that can be added to any crochet or knit project if you want to see even more of my ideas.
This smaller blanket size works great to tuck in a stroller or to lay out on the floor as a playmat.
I was able to put together a video tutorial, so if you are a total beginner, I talk you through and show you how to make this.
I really loved how fun this was to make.
Thank you all for your love and encouragement!
XO, Cyndi
Materials
- 100% acrylic
- Ball Size: 454g / 16 oz, 742 meters / 812 yards
- 4 weight worsted
1 skein Pale Green
- 100% acrylic
- Ball Size: 198 g/7 oz, 333 meters/364 yards
- 4 weight worsted
1 skein Aran
9mm crochet hook, or size needed for your own personal tension
5.5mm crochet hook for fringe
scissors, tapestry needle, measuring tape
Stitches
Single Crochet (SC): Insert your hook, YO and pull up a loop, YO and pull through two loops on hook.
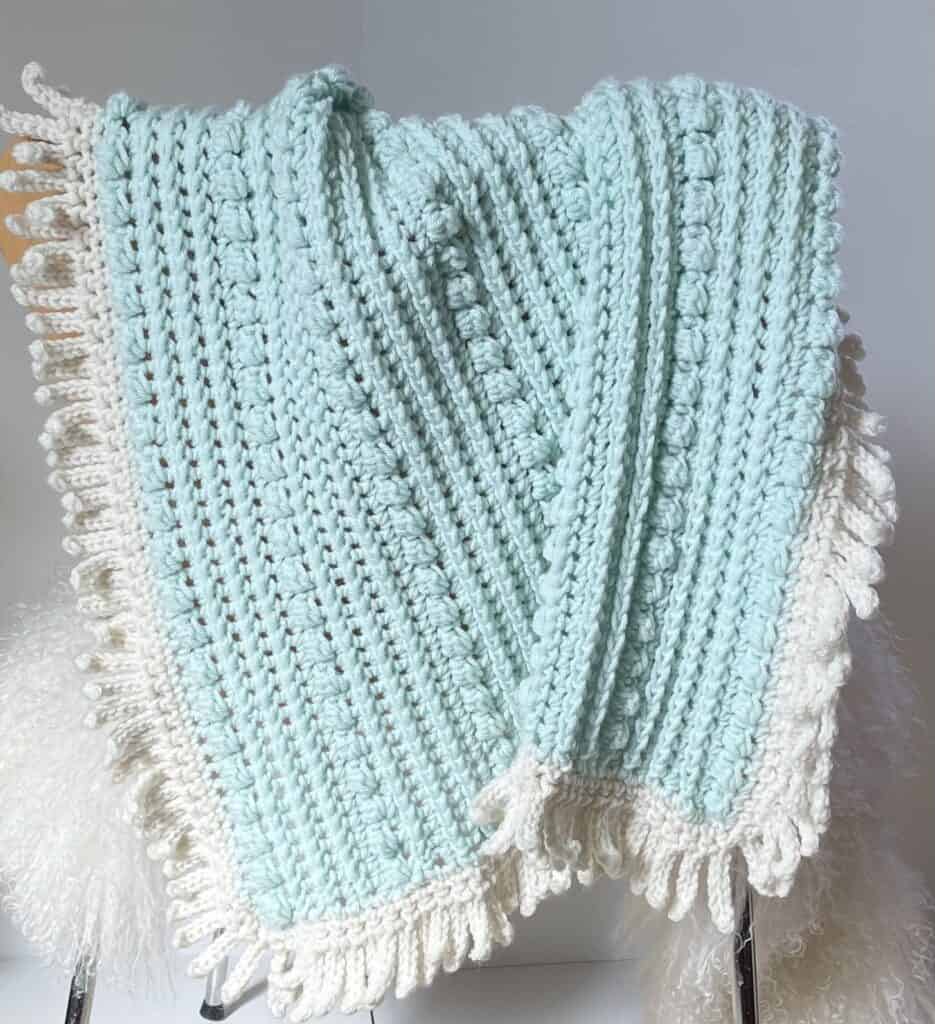
Berry Stitch: YO, insert hook, YO and pull up a loop, YO, pull through one loop on hook, YO, insert hook into same stitch, YO and pull up a loop, YO, pull through all five loops on hook.
Front Post Single Crochet (FPSC): Insert your hook into the front post, YO and pull up a loop, YO and pull through two loops on hook.
Size
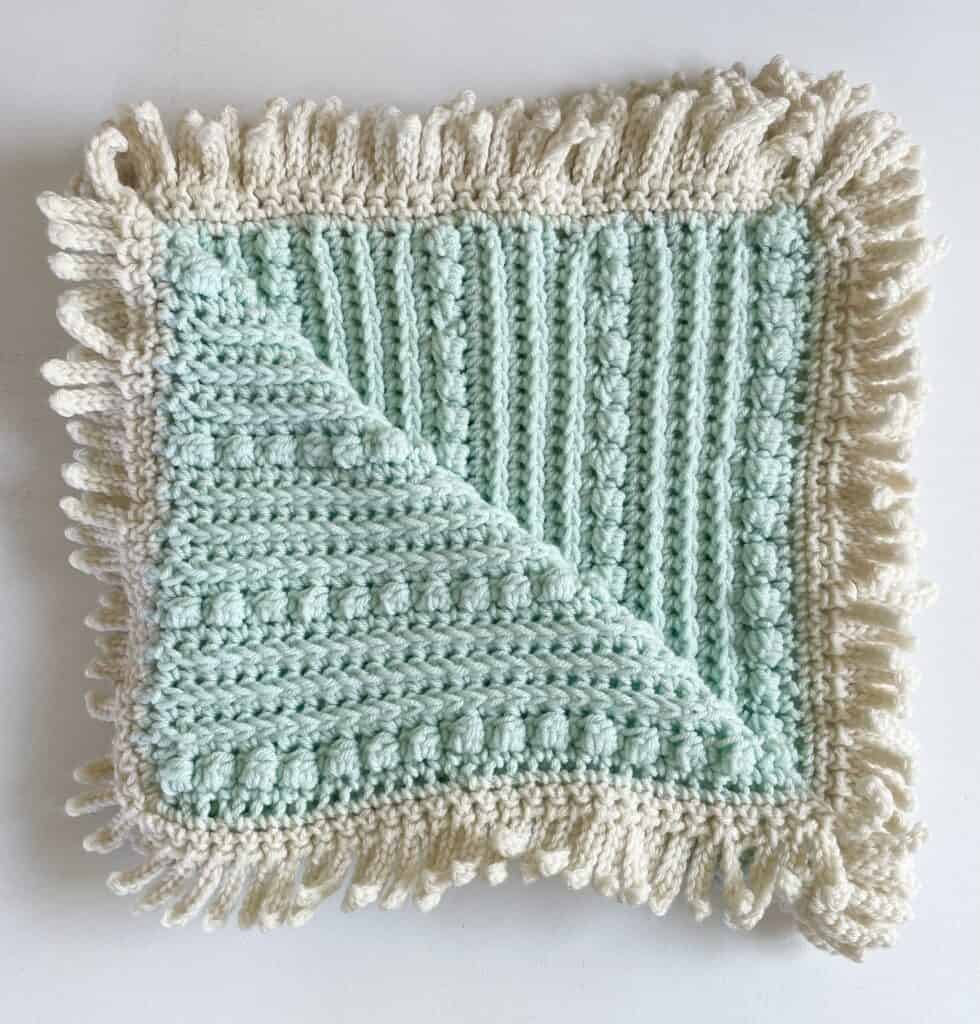
Finished size 36 in x 36 in
Gauge: 4 inches = 8 stitches and 8 rows taken from the blanket
Pattern
Chain 70 (or any even number needed for approximately 36 inches or 3 feet.)
ROW 1: SC in the second chain from the hook, SC into each chain across the row. CH 1 and turn. (69)
ROW 2: Work 1 SC into the 1st stitch, Berry Stitch into the 2nd st. Continue alternating 1 SC, and one Berry Stitch until the end of the row. Your last stitch of the row should be a SC. CH 1 and turn.
ROW 3: (SC Row) Work 1 SC into each st across the row, CH 1 and turn.
ROW 4: Work 1 SC into the 1st stitch, work 1 FPSC into the second post and into each post until the last post. Work one SC into the last stitch, chain 2 and turn.
ROW 5 – 9: Repeat rows 3 and 4.
ROW 10: Repeat Row 2
ROW 11: Repeat ROW 3 through 10 for a total of 67 rows
TIP: Keep in mind that before and after each berry stitch row and each FPSC row is 1 row of SC. This blanket is easily sized up or down by increasing or decreasing the repeat section of the pattern. There are 3 rows of alternating FPSC and SC between each row of berry stitch.
Tie off and weave in the ends.
Crochet Fringe Border
Stitches
SINGLE CROCHET (SC): Insert your hook, YO and pull up a loop, YO and pull through two loops on hook.
SLIP STITCH (SLST): Insert your hook, YO and pull a loop back through and through loop on hook.
Optional Tip: For the fringe I sized down from the 9mm hook and used a 5.5 mm hook. By doing so it tightened up and straightened out the edges a little bit and the fringe was also a little tighter.
Pattern
For this add-on version of Fun Fringe, I worked and completed the fringe on each of the four edges one at a time.
ROW 1: Pull up a loop and work SC. SC into each space along the row. Chain 1 and turn.
ROW 2: Work a slip stitch into the first space from the hook. Chain 15 for long fringe or 8 for short fringe.
ROW 3: Turn and work a Slip Stitch into each chain. At the base, work a slip stitch into the same space the chain started from. Work a Slip Stitch into the next chain.
Repeat Row 2 and Row 3 until finished. Repeat for each side of the blanket. Tie off and weave in ends.
And when I’m all finished I put the blanket in the dryer with a wet washcloth and a dryer sheet for 30 to 40 minutes on high. I find it relaxes the tension and softens up the yarn really nicely!
Thank you so much for checking out the Baby Berry Ridge Blanket! If you decide to make this you can tag Tiff at #DaisyFarmCrafts on Instagram or send me an email sugarjoye@gmail.com I would love to see it!
Happy crocheting!
Click here or image below for free pdf download of the pattern.
![]()