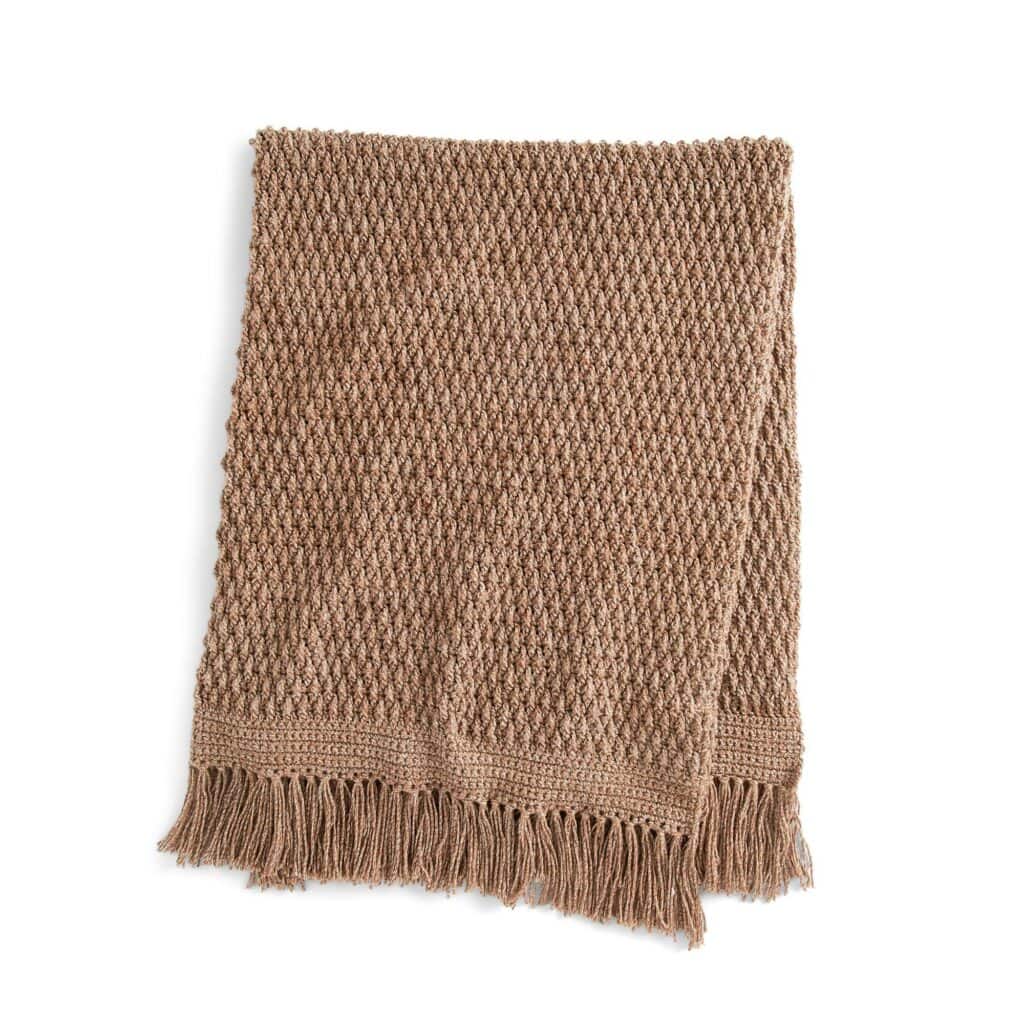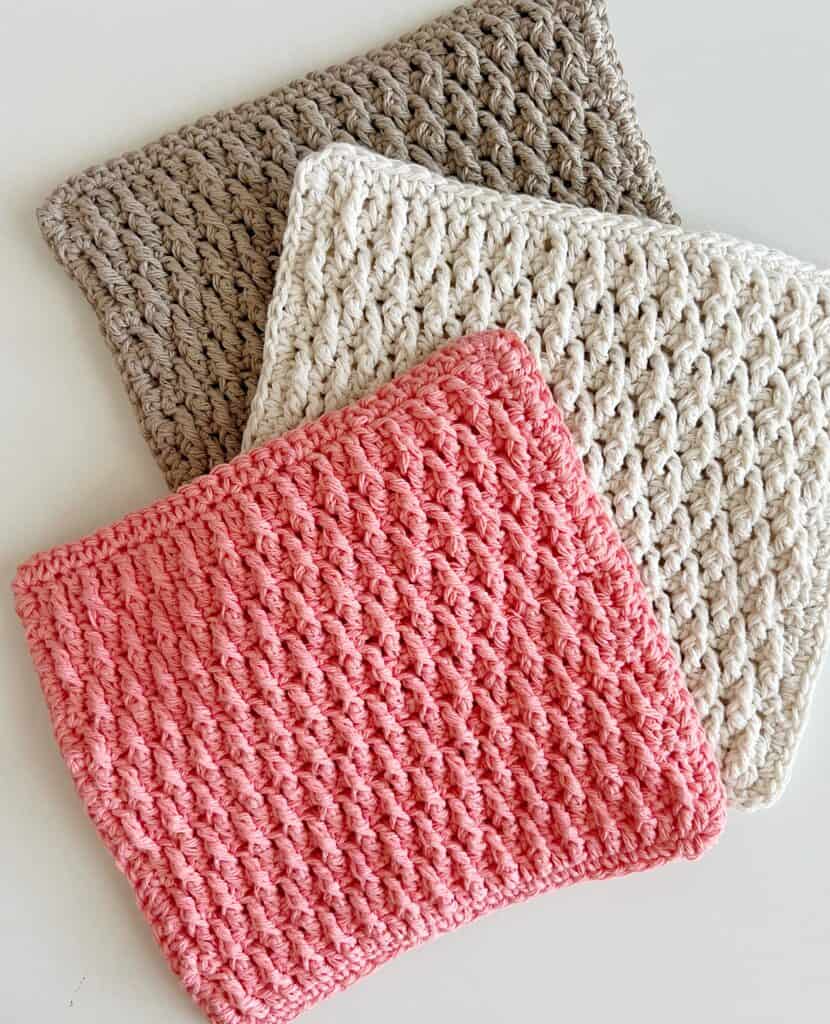
I have wanted to learn the Alpine Stitch for a while, and when I gathered as many textured blanket patterns as possible from the Yarnspirations website a few weeks ago, I noticed several Alpine Stitch throws.
I didn’t have time to use the stitch for a full blanket, but I did have time to put together pot holders using the stitch. I love having pot holders on hand for hostess gifts, and making a small project with a new stitch is a great way to practice it and really learn it before committing to a whole blanket.
If you can make a single crochet, double crochet, and treble crochet, you are probably ready to learn this stitch. I like the way the double crochet and treble crochet nestle in between each other on each row.
I also am going to teach you how to make an alternative turning chain for the rows that start with a double crochet. I needed to have the first stitch not be three chains like usual as I did not want a gap at the end of the rows. Essentially all you are doing is turning the work, immediately working a single crochet, and then inserting your hook into the bar of that single crochet and making another. The stitch is two stacked single crochets.
In case none of that made sense, I did film a full tutorial that you can watch and learn how to make the stitch. It’s a nice technique to learn and can come in handy for so many different projects.
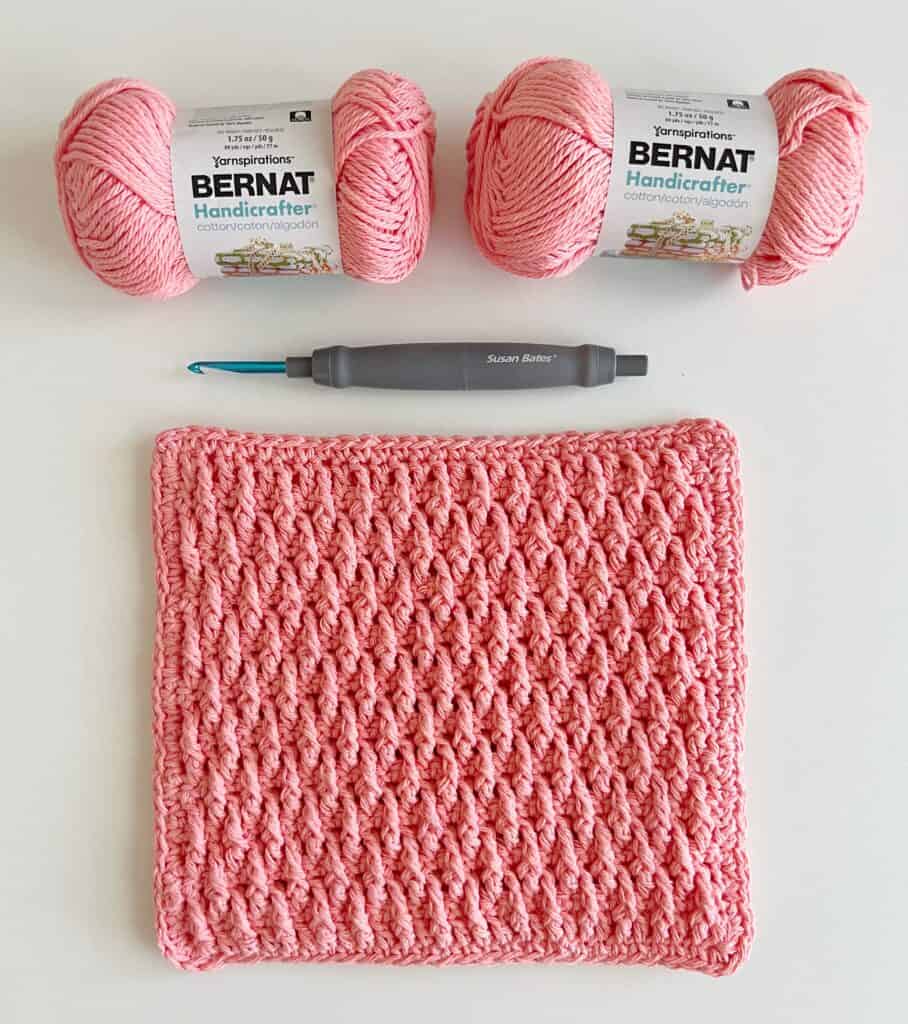
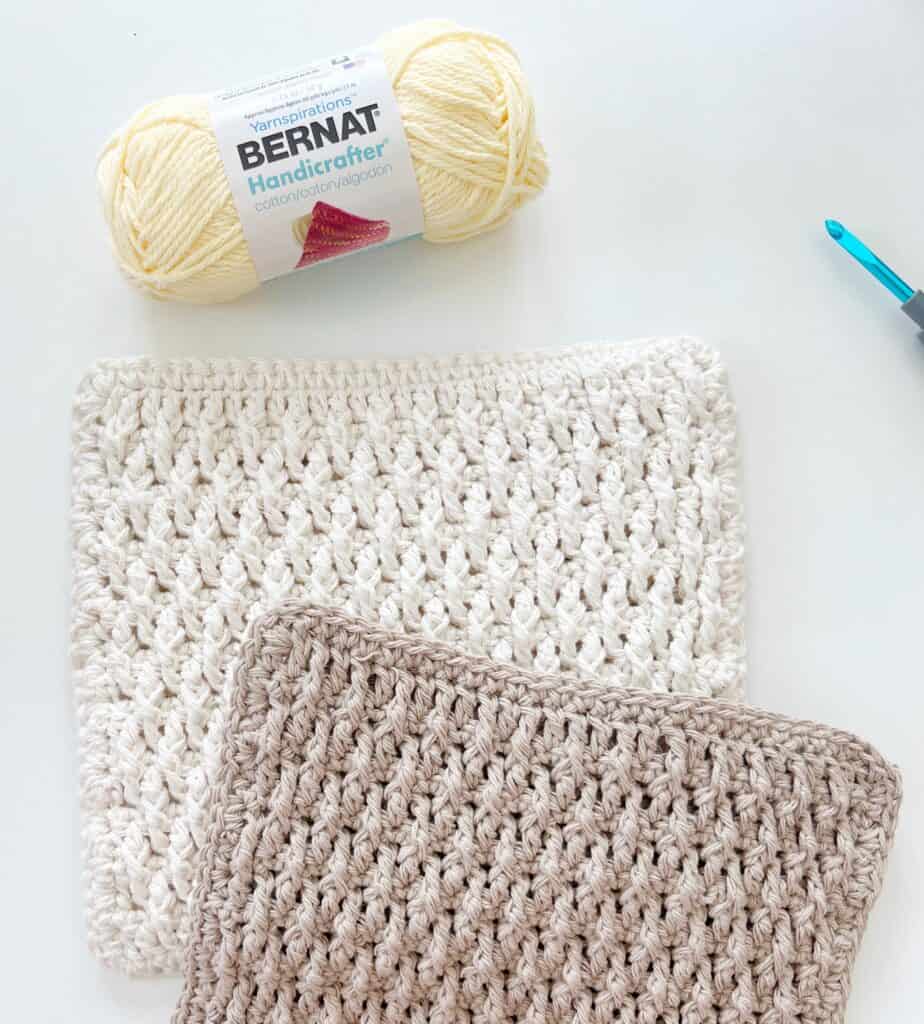
I used Bernat Handicrafter yarn for this project. It is very similar to Lily Sugar N’Cream 100% cotton, so if you have that on hand, it’s a great substitute. This is a 4 weight yarn and I used a H 5.0mm hook.
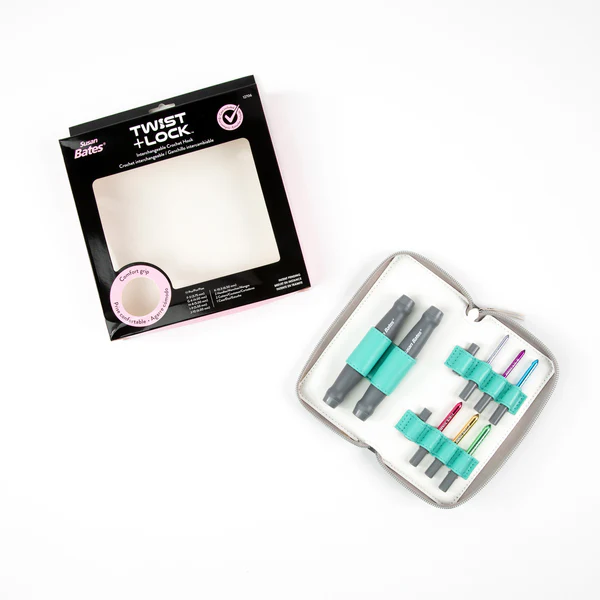
If you happen to be like me though and 100% cotton as a 4 weight hurts your hands, I used my Susan Bates Twist and Lock set. They have a much larger handle and it was easier to hold onto while working with the stiffer yarn.
The pot holders are double thick, and I used 2 skeins total for each pot holder. There is 85 yards of yarn in each skein of Bernat Handicrafter. The pot holders are approximately 9 inches square.
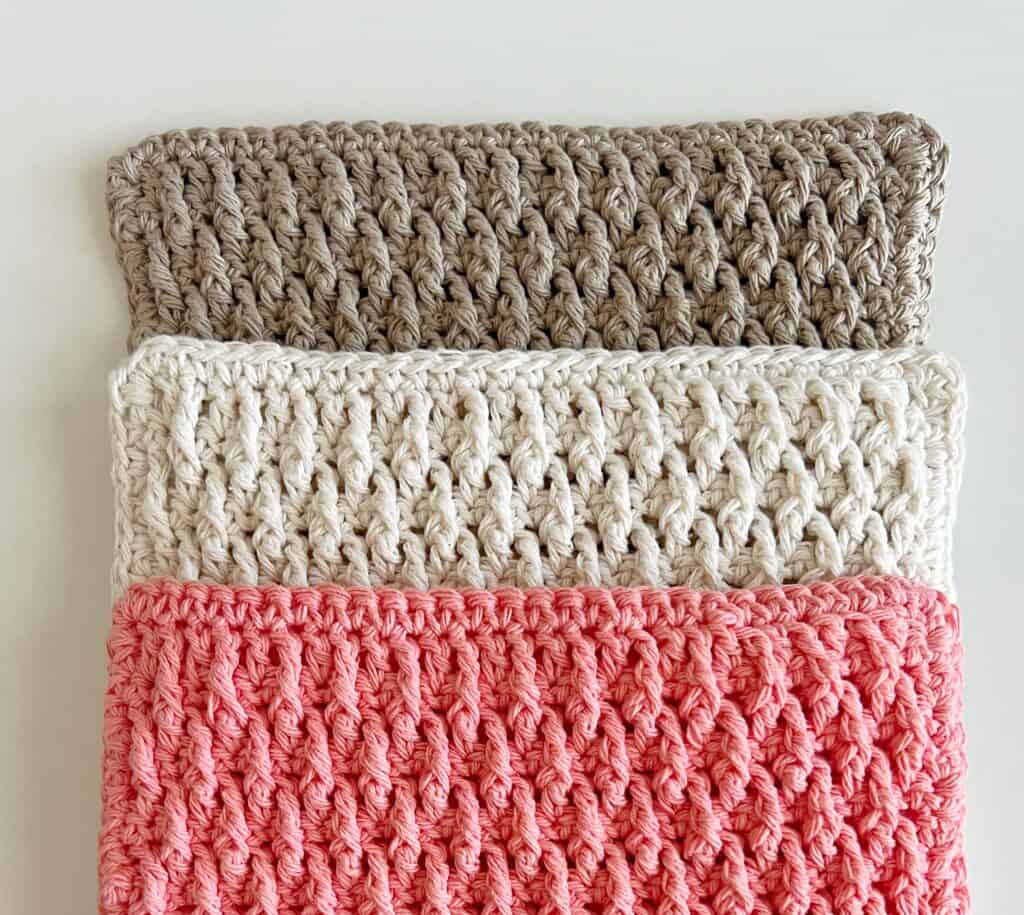
I trimmed each pot holder with a round of single crochet, and that is also the round where I am working through both layers of the squares in order to “sew” them together. I love a quick and easy project and I’m so glad to have learned the Alpine Stitch and get a pattern on our site.
Materials
Bernat Handicrafter (50g / 1.75 oz, 73 meters / 80 yards)
2 skiens, colors pictured: Coral Rose, Jute, Off White
Size H, 5.0mm hook, scissors, tapestry needle
Stitches
Single Crochet (SC): Insert your hook, YO and pull up a loop, YO and pull through two loops.
DOUBLE CROCHET (DC): YO, insert your hook, YO and pull up a loop, YO and pull through two loops, YO and pull through remaining two loops.
Treble Crochet (TC): YO two times, insert your hook, YO and pull up a loop, YO and pull through two loops, YO and pull through two loops, YO and pull through remaining two loops.
Alternative Turning Chain (ATC): Insert your hook, YO and pull up a loop, YO and pull through two loops (single crochet.) Insert hook into front horizontal bar of stitch just made, YO and pull up a loop, YO and pull through two loops.
Pattern
Make 2.
Chain 31 slightly looser than normal. (to make larger, use any odd number.)
ROW 1: Begin in the third chain from the hook with DC. DC into each chain across the row. CH 1 and turn. (29)
ROW 2: Work 1 SC into each stitch across the row. Turn. (29)
ROW 3: Work ATC into first stitch. TC around the 2nd DC two rows below. *Skip next SC, DC into the next. Skip next DC two rows below, TC around the next. Repeat from * across the row. Work DC into the last SC of the row. CH 1 and turn.
ROW 4: Repeat row 2.
ROW 5: Work ATC into first SC. DC into the next SC. *TC around the next DC two rows below. Skip next SC, DC into the next. Repeat from * across the row. End the row with 1 DC into each of the last two SC. CH 1 and turn.
Repeat Rows 2 through 5 until you have 21 rows.
Tie off and weave in ends. Don’t tie off second hot pad.
Place Pot Holders together with the textured sides facing out, the flat sides together.
Insert hook into corner stitches, slip stitch to join two pads together.
Work 2 SC around each row that ends with DC, and 1 SC around row that ends with SC. Work 3 SC into each corner, work 1 SC around each stitch on the bottom and the top. Join with a slip stitch to join. Tie off and weave in all ends.
For video help, watch tutorial below:
Thank you so much for stopping by! I hope to make an Alpine Stitch throw soon as I enjoyed making these pot holders. I think it is such a classic look.
Here’s the Alpine Stitch Crochet Blanket I based the pot holders after if you happen to be looking for a blanket pattern instead.
