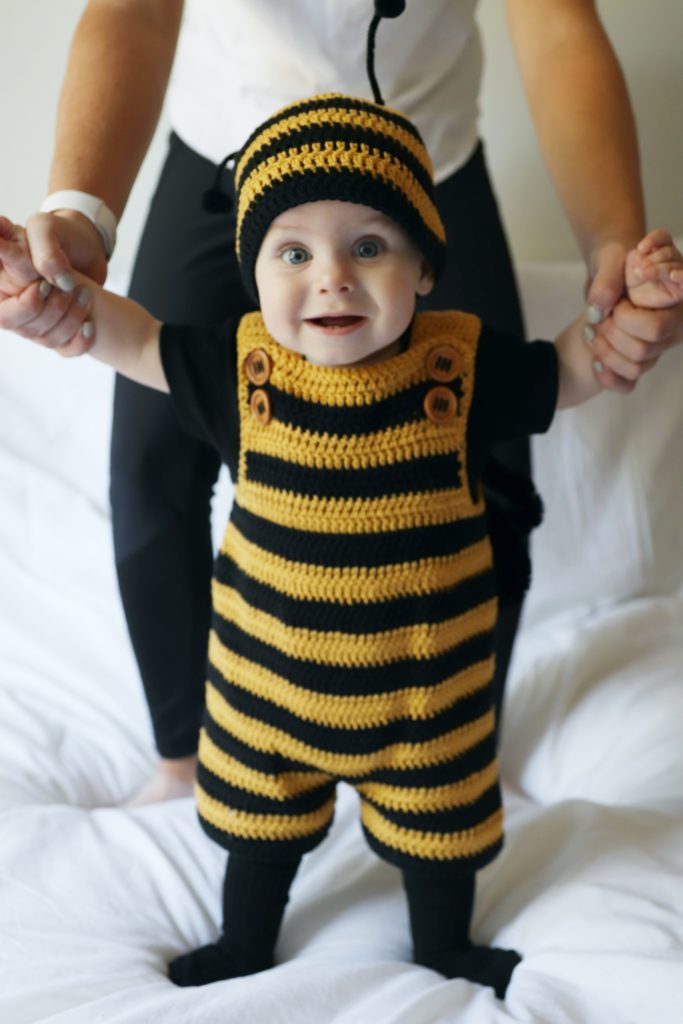
My adorable grandbaby Jack is going to be a bumblebee for his first Halloween! My daughter-in-law Elizabeth asked me to crochet him an outfit and hat and when she asks me to crochet anything for this boy I’m over the moon excited and so happy!
Since posting about his costume on Instagram and Facebook, I’ve had questions about the pattern I used and yarn so it’s probably easier for me to get it all documented here on the website and share.
But first, how about a few more photos of our precious little guy.
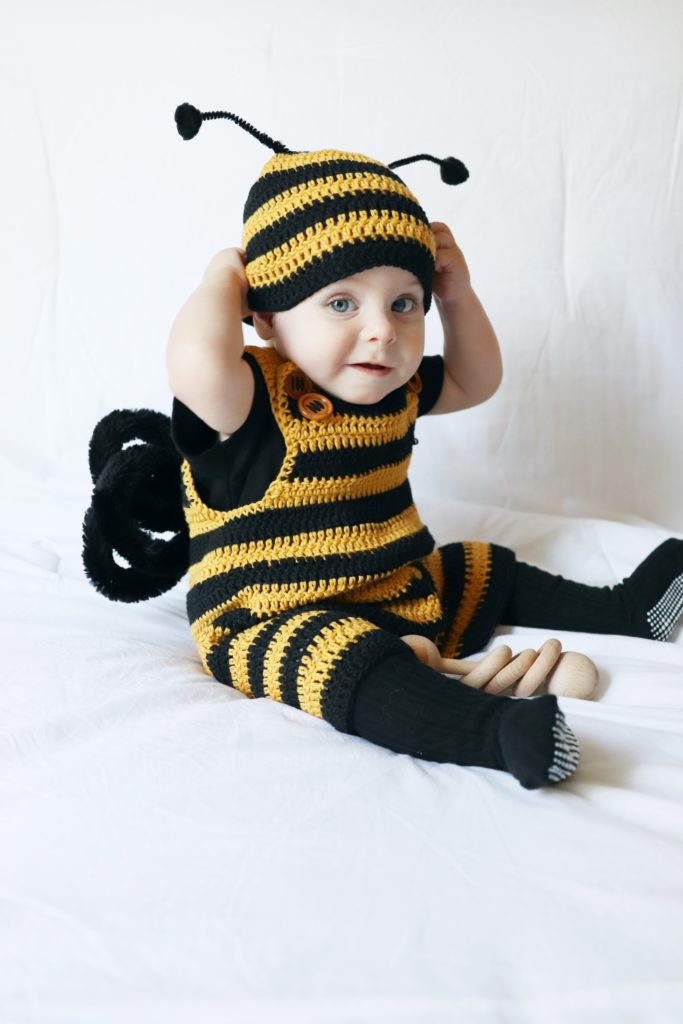
Getting photos of him in this outfit was a bit of a challenge as he did not want to keep the hat on for long-like maybe 2 or 3 seconds at the most.
Thank heavens for continuous shot cameras. We just kept the picture-taking going.
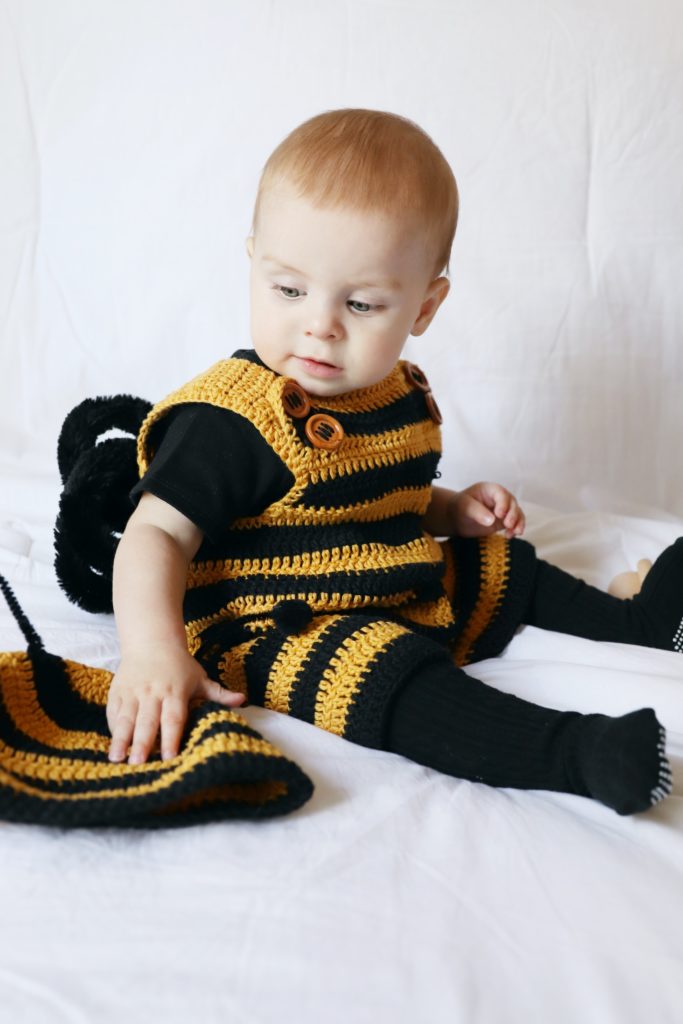
Here’s one last photo showing the wings we attached. (Just picked up a pack of extra furry pipe cleaners at Joann’s and attached them with small pipe cleaners to the back.)
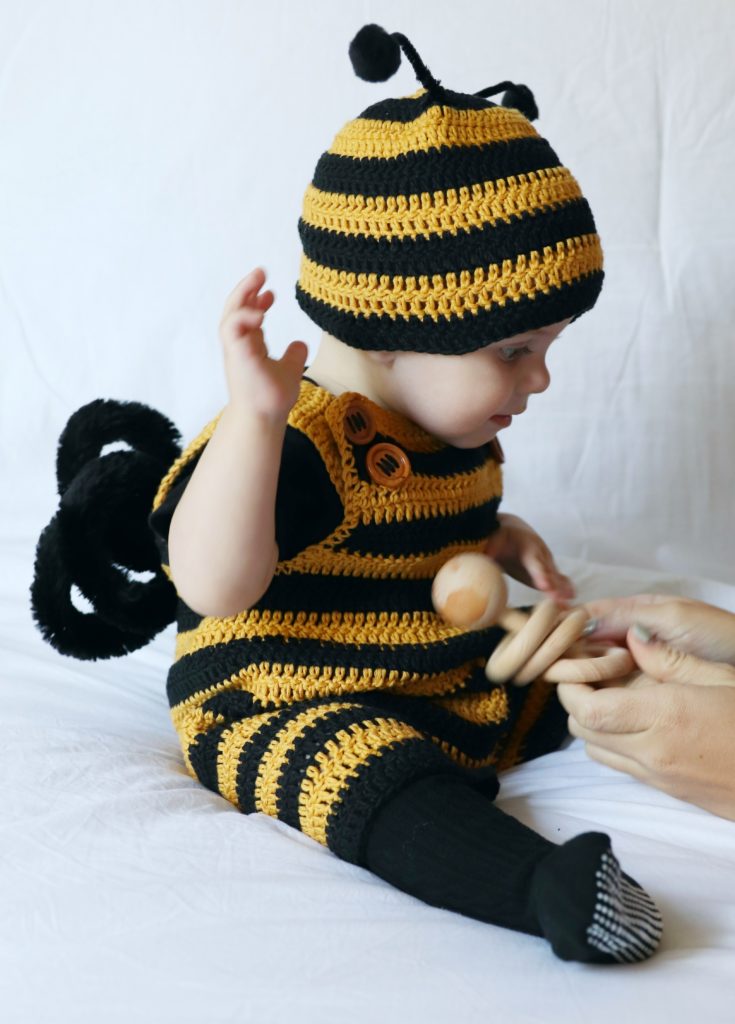
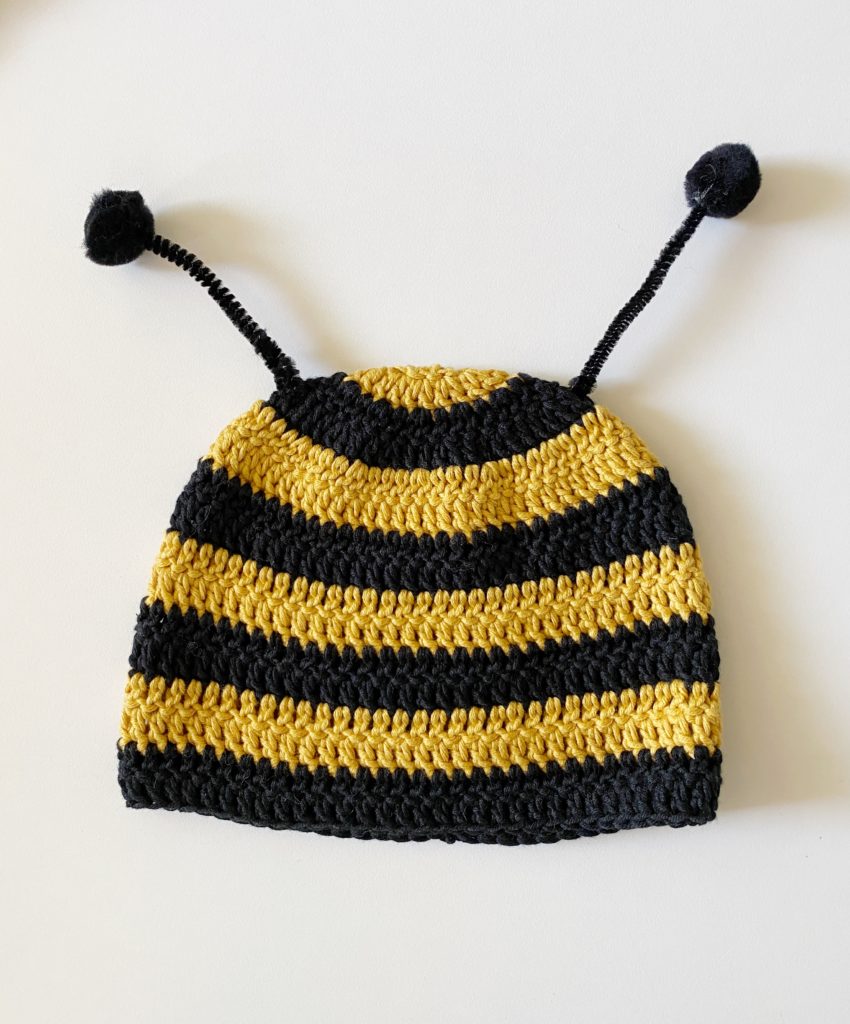
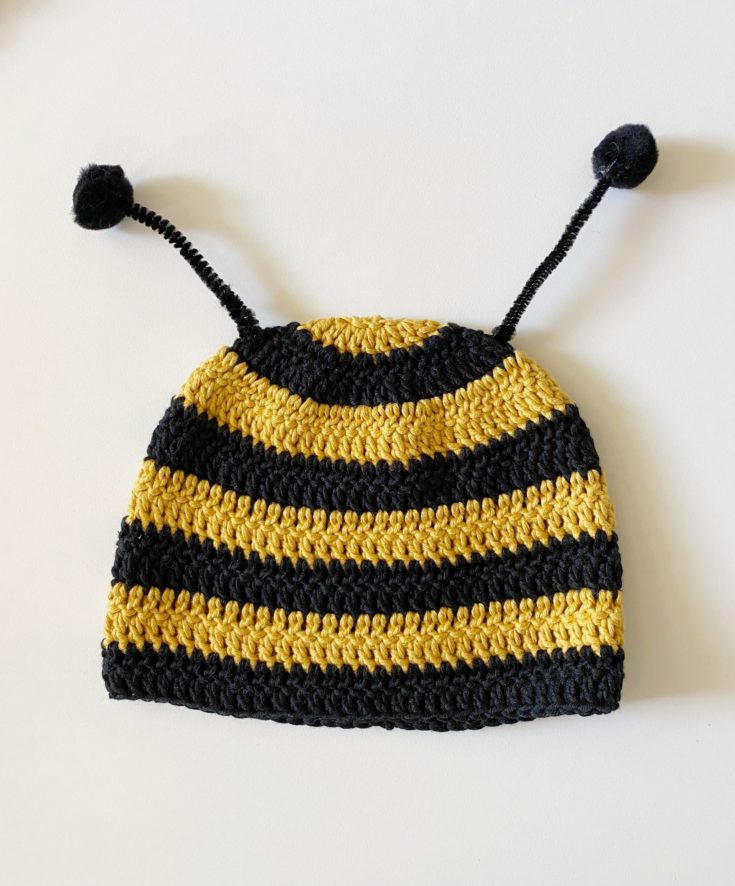
For the hat, I hot glued pom poms to the end of pipe cleaners and then wrapped them around a stitch at the top of the hat.
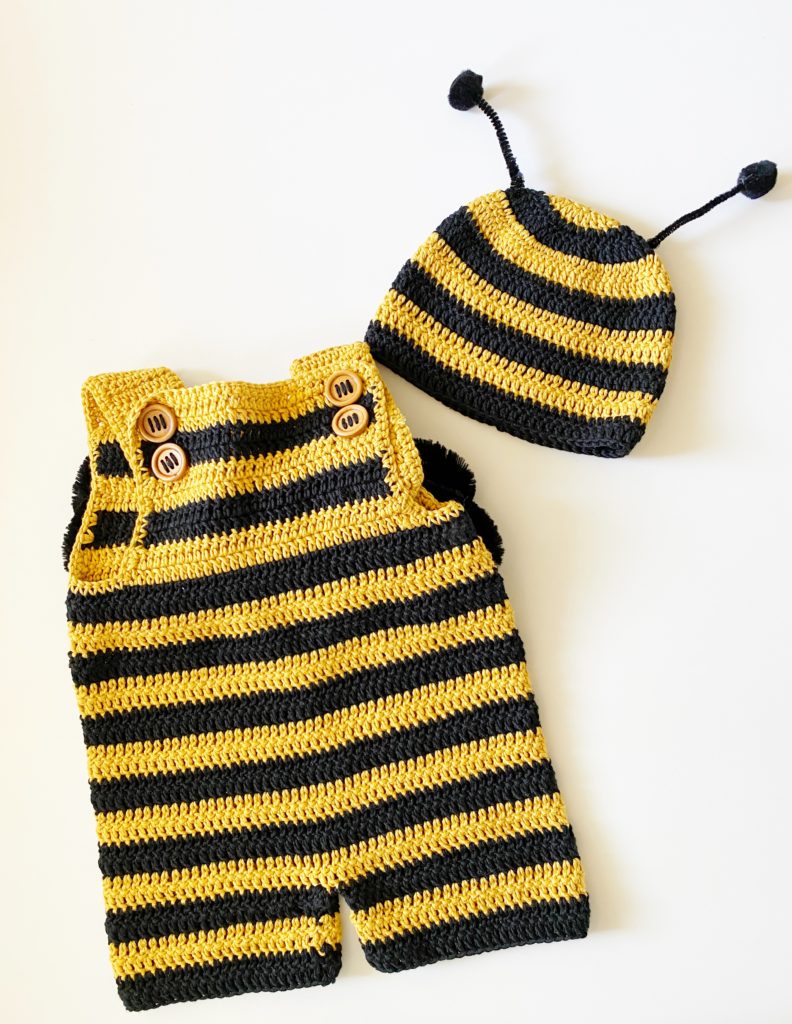
Here is the Youtube tutorial I followed. It’s from Wooly Wonders Crochet. I bought the pdf linked in her descriptions and followed the written pattern, but she does an excellent video tutorial for free.
The adjustments I made was changing colors every 2 rows and I started with 90 chains to fit Jack better. You start with the waist and work down, then go back and add the top.
I chose wooden buttons and used black yarn to sew them on.
We added a black Gerber Onesie from *Amazon,
And we found black knee-high, non-slip socks from *Amazon too.
*As an Amazon Associate, we earn from qualifying purchases.
For the hat, I made it myself and I’ll add the pattern below.
Materials
Bernat Softee Cotton (60% cotton, 40% acrylic, 120g/4.2oz, 232m/254yds)
1 skein Black, 1 skein Golden (This was just enough yarn for the romper and 1 hat size 6 months)
Size 4.5mm hook, tapestry needle, scissors
Hot glue gun, pom poms, pipe cleaners
Pattern
With Golden, make a magic circle. CH 2 then work 12 DC around ring. Join with a slip stitch to first DC. CH 2 and turn.
Round 2: Work 2 DC into each DC around. Pull through with Black on slip stitch to the first stitch of the round. CH 2 and turn. (24)
Round 3: *Work 2 DC into one stitch, 1 DC into next stitch. Repeat from * around. Join with sl st, CH 2 and turn. (36)
Round 4: *Work 2 DC into on stitch, 1 DC in each of the next 2 stitches. Repeat from * around. Pull through with Golden on sl st, CH 2 and turn. (48)
Round 5: *Work 2 DC into one stitch, 1 DC into each of the next 3 stitches. Repeat from * around. Join with sl st, CH 2 and turn. (60)
Round 6: Work 1 DC into each stitch. Join, CH 2 and turn.
For the rest of the hat: Repeat round 6, changing colors every 2 rows.
Tip: Don’t cut yarn, just carry it up on the inside of the hat.
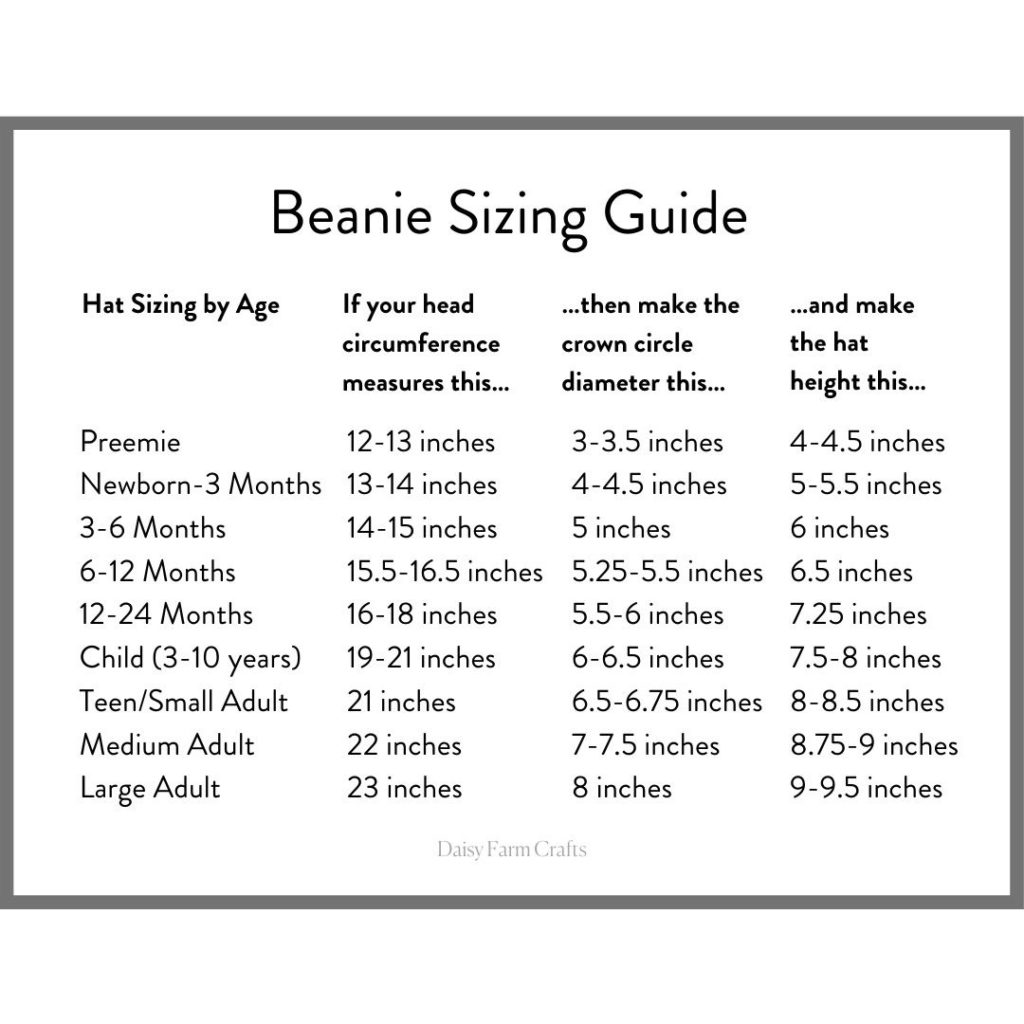
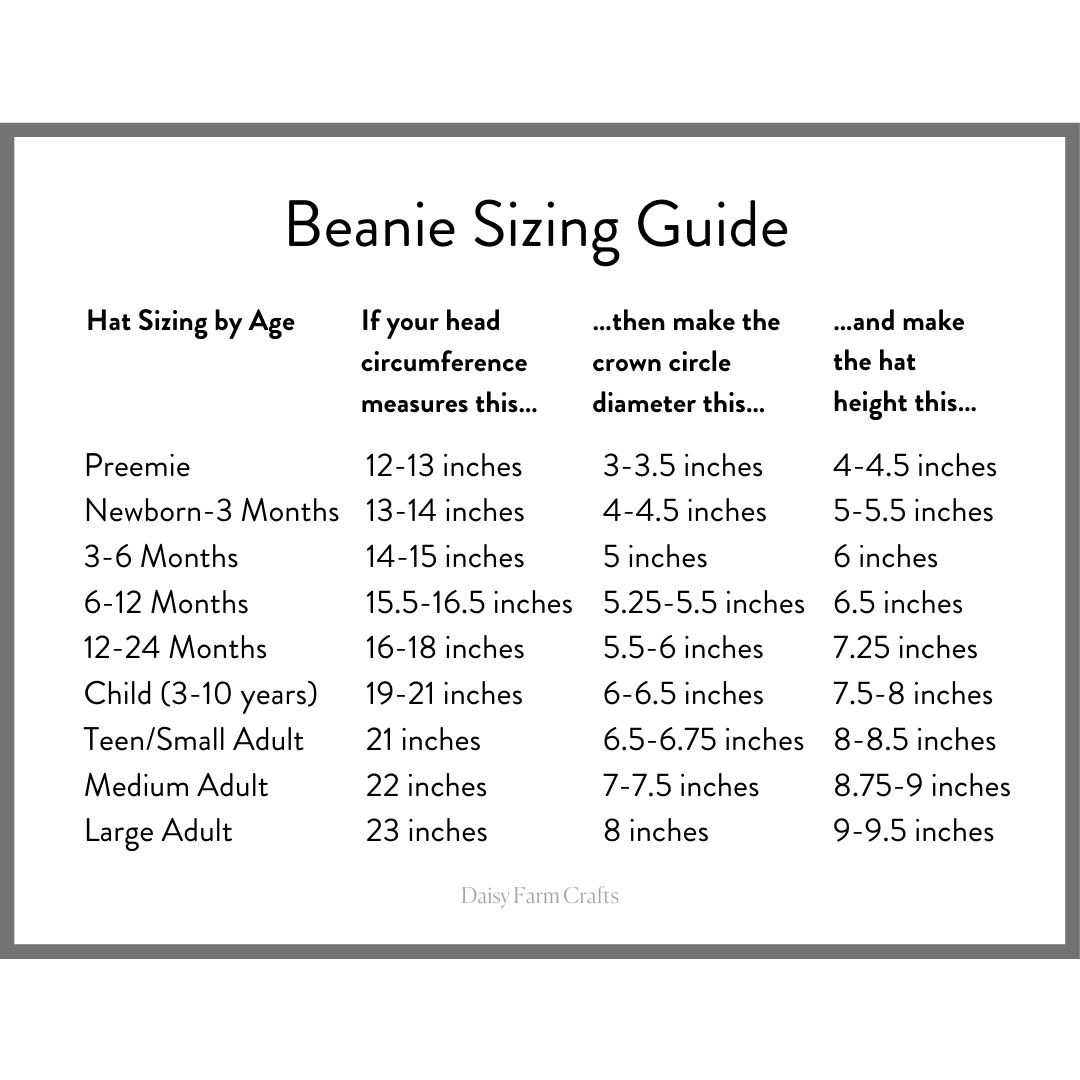
If you are using a different yarn than me, refer to the size chart below to help you make the proper size. You may need to stop increasing earlier or later.
Here’s a printable version of the hat pattern:
With Golden, make a magic circle. Chain 2 then work 12 DC around ring. Join with a slip stitch to first DC. CH 2 and turn. Round 2: Work 2 DC into each DC around. Pull through with Black on slip stitch to the first stitch of the round. CH 2 and turn. (24) Round 3: *Work 2 DC into one stitch, 1 DC into next stitch. Repeat from * around. Join with sl st, CH 2 and turn. (36) Round 4: *Work 2 DC into on stitch, 1 DC in each of the next 2 stitches. Repeat from * around. Pull through with Golden on sl st, CH 2 and turn. (48) Round 5: *Work 2 DC into one stitch, 1 DC into each of the next 3 stitches. Repeat from * around. Join with sl st, CH 2 and turn. (60) Round 6: Work 1 DC into each stitch. Join, CH 2 and turn. For the rest of the hat: Repeat round 6, changing colors every 2 rows. Tip: Don't cut yarn, just carry it up on the inside of the hat. If you are using a different yarn than me, refer to the size chart below to help you make the proper size. You may need to stop increasing earlier or later. Baby Jack's Bumblebee Hat
Materials
Instructions
XO, Tiffany
