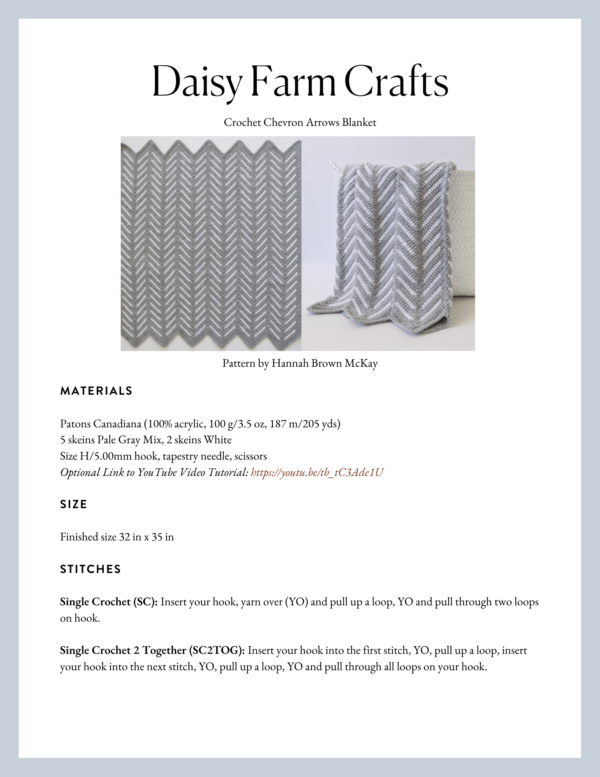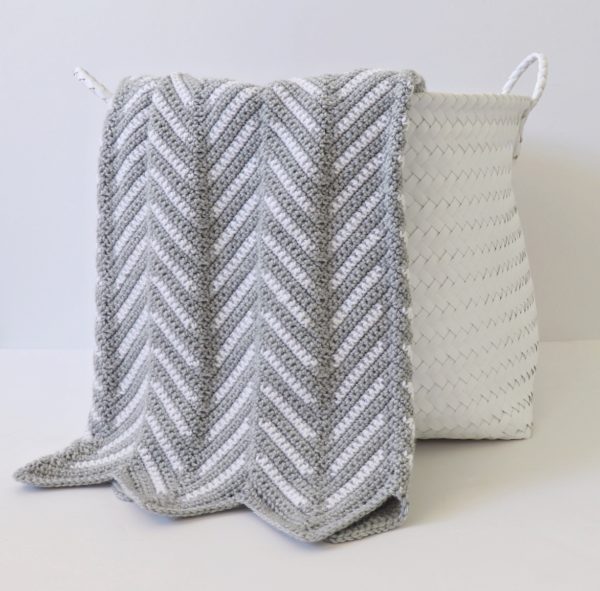
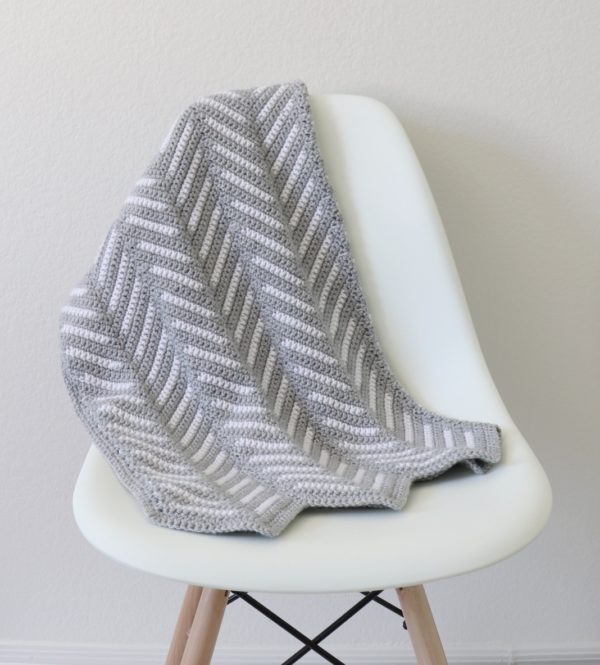
For the past few months I’ve been seeing a lot of cool herringbone/arrow type patterns in baby nurseries on Pinterest and Instagram so a few weeks ago I decided to see if I could create that look in a baby blanket.
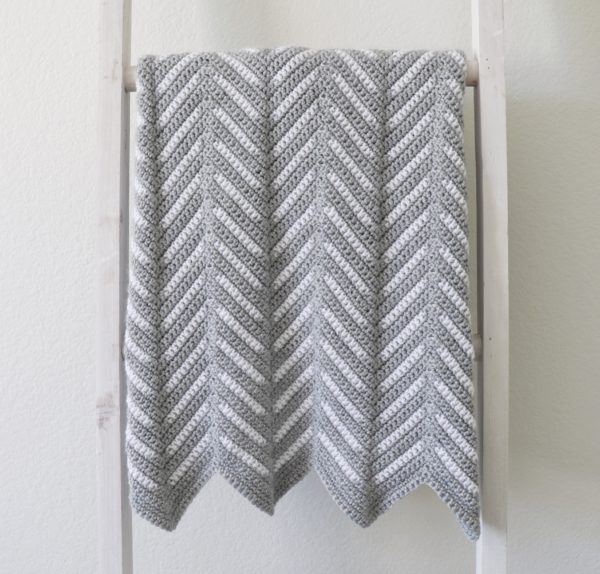
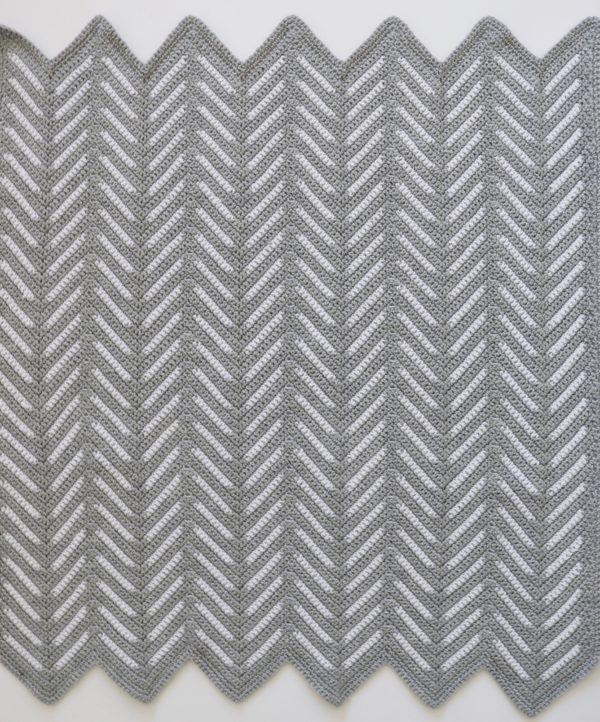
It took me a few practice swatches, but I eventually discovered that the best way to get the arrows look was to do a chevron blanket and to add a different color on the sides of the peaks and valleys. In order to do this I had to use tapestry crochet, which means I didn’t cut the white or gray yarn on the arrow rows, instead I carried whichever yarn I wasn’t using behind my work as I crocheted.
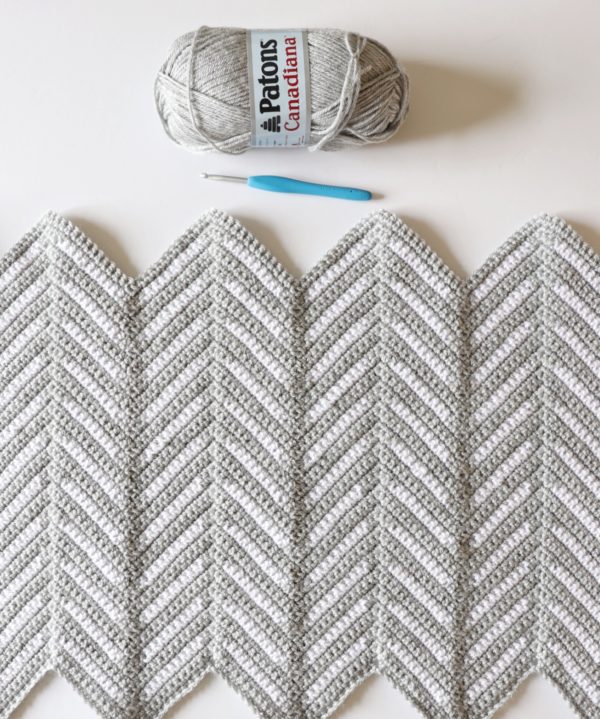
Luckily I had some Paton’s Canadiana yarn from our friends at Yarnspirations that I was wanting to try and the gray was a light enough color that it wouldn’t show through too much when I was carrying it behind the white. This blanket was the first time I’ve used Paton’s Canadiana and I love how soft it turned out!
The written pattern for this blanket is below, but if you’ve never carried yarn or made a chevron blanket before, you might want to check out this video to help you get started on this blanket!
Materials
Patons Canadiana (100% acrylic, 100 g/3.5 oz, 187 m/205 yds)
5 skeins Pale Gray Mix, 2 skeins White
Size H/5.00mm hook, tapestry needle, scissors
Size
Finished size 32 in x 35 in
Stitches
Single Crochet (SC): Insert your hook, yarn over (YO) and pull up a loop, YO and pull through two loops on hook.
Single Crochet 2 Together (SC2TOG): Insert your hook into the first stitch, YO, pull up a loop, insert your hook into the next stitch, YO, pull up a loop, YO and pull through all loops on your hook.
Pattern
Chain 177 with Gray. (If you’d like to make a larger or smaller blanket, the pattern repeat is 29 + 3.)
Row 1: In the second chain from the hook and the next chain, SC2TOG. *SC in the next 13 chains, work 3 SC into the next chain, SC in the next 13 chains, skip 2 chains. Repeat from *. After you have worked the last 13 chains, you should have two extra. SC2TOG, these last two stitches. Chain 1 and turn.
Rows 2 – 3: Now, start the next row by SC2TOG, *then work 13 SC, work 3 SC into the next stitch (this should be the middle stitch of the 3 SC you did in the row before), work 13 SC, skip two stitches at the bottom for the valley, and repeat from *. Always chain 1 and turn at the end of each row.
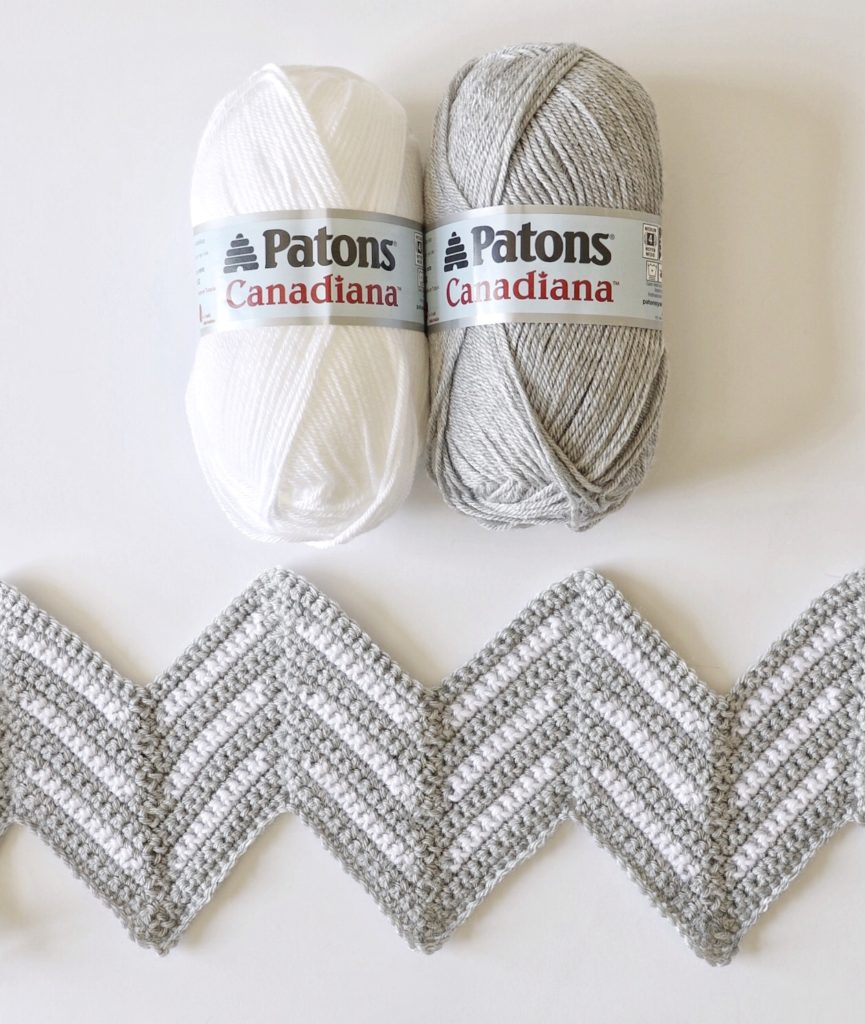
Row 4: Start the row by SC2TOG. Work two SC, and on the second SC, pull through with White (you should have two loops on your hook when you pull through.)
*Work 10 SC with White, carrying the Grey behind and crocheting over it as you work. On the 10th SC, pull through with Grey. Work one SC with Grey, carrying the White behind, then work 3 SCs in Grey into the top of the peak. Still carrying the White behind, work one more SC in Grey, and pull through with White before you finished the stitch. Work 10 SC in White, carrying Gray behind, on the 10th SC, pull through with Gray. Work two SCs in Gray, carrying White behind, skip two stitches, work 2 SCs in Gray, pull through with White on second stitch.
Repeat from * until you reach the end of the row. After your last 10 SCs of White, pull through with Gray and work two SCs, then finish the row with SC2TOG (you can stop carrying the White yarn at this point.)
Rows 5 – 7: With Grey, start the next row by SC2TOG, *then work 13 SC, work 3 SC into the next stitch (this should be the middle stitch of the 3 SC you did in the row before), work 13 SC, skip two stitches at the bottom for the valley, and repeat *. Always chain 1 and turn at the end of each row.
Repeat rows 4 – 7 for the rest of the blanket. I ended up with 95 total rows before my blanket was the length I wanted – about 35 inches long.
Border
After you reach your desired length, weave in the ends with a tapestry needle. For the border, I just worked 2 rows of SC in Grey around the outside of the blanket.
To do this, pull up a loop in any corner and chain 1. SC in each stitch on the sides, and on the ends work 3 SCs into the peaks and skip the two stitches of the valleys, just as you did when working the regular pattern. Work 3 SCs into each of the corners of the blanket.
When you reach the corner you started with, slip stitch into the corner and chain 1 and turn. Then work one more row of SC around the blanket, working in the same manner as the first row. When you reach the corner you started with, slip stitch into the corner and tie off.
After I finished my blanket I laid it out flat and used a spray bottle to get it wet with water and smoothed out all the sides to block it before letting it dry overnight.
Thank you so much for coming to read this pattern and best of luck with your blanket! When you finish, please come share a picture with us on Facebook or Instagram, we’d love to see!
xo, Hannah

