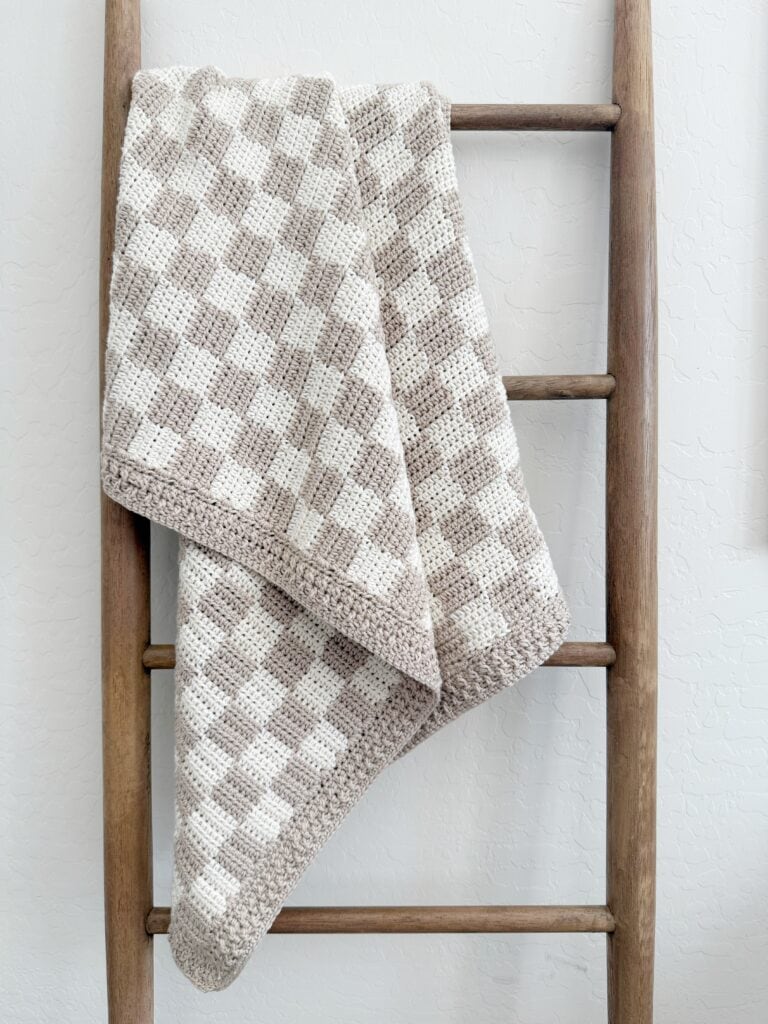
Hello friends! I’m so happy you are here for the Checkerboard Blanket Pattern trimmed out with a variation of a ribbed border that I am naming the Rocky Ridge Border. If you have made our ribbed borders this is very similar, just with a variation that reminded me of the Rocky Mountains.
I am so in love with how all these checkerboard blankets I’ve been making are turning out! They are just a bit simpler to make than the classic gingham, as there are just the two colors to switch between. And as my daughters, who are young moms, are telling me, a checkerboard blanket is currently on trend for baby nurseries, and especially in these muted tones.
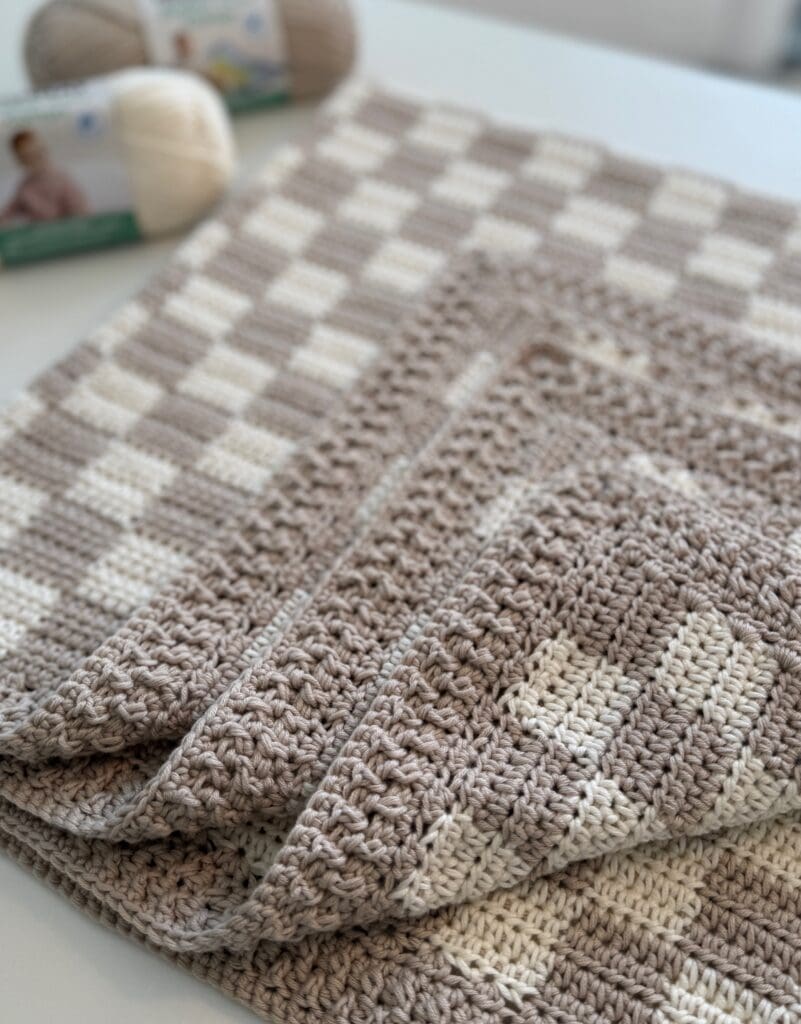
However, I think these would be cute in any color combo. There are quite a few to choose from in the Bernat Softee Baby Cotton line. I love to say that these are very giftable baby blankets.
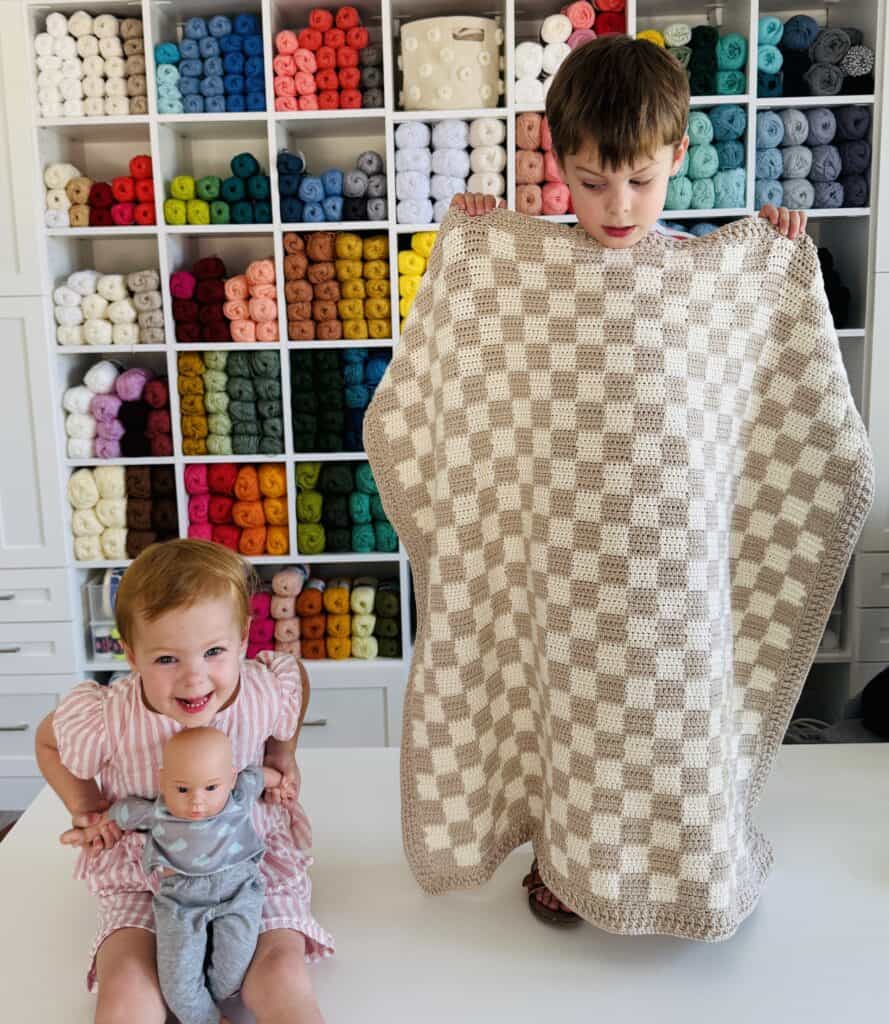
While I was finishing up this blanket, I was babysitting my grandbabies, Jack and Kate, and they helped me take pictures. I think you’ll get a better idea of the size, although I include the repeat, so you can make it any size you like.
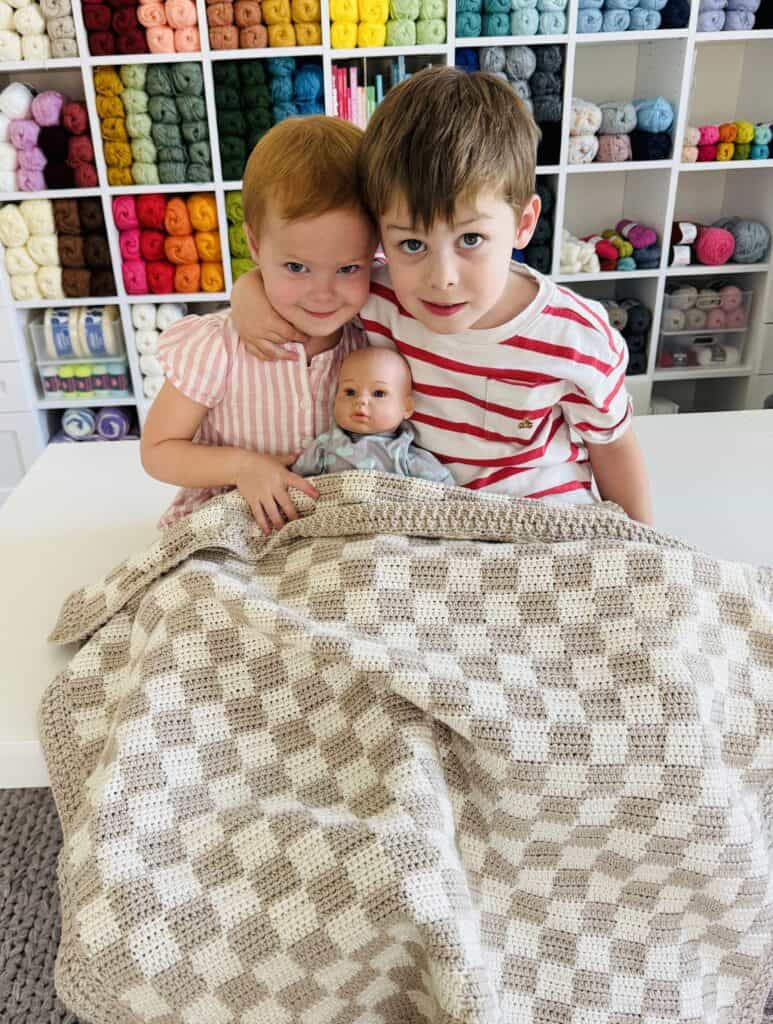
They love to play with baby dolls right now, so we took a photo with a doll named J.J. As Jack says, this is a boy blanket, so we needed a boy doll for the photo.
Be sure and scroll to the end for the free printable pdf. (All our patterns our free and have a free printable at the end of each post, so if you want to look through our Gingham Category, you might find a different stitch you’d like to use for checkerboard.)
Below is the video tutorial to help you out if this is your first time carrying yarn and switching colors. Don’t be afraid to try! It really is easier than you think. I recommend making the practice swatch before tackling the blanket to familiarize yourself with the technique.
Happy Crocheting!
Size
Finished size: 36 x 36 inches
The pattern repeat is given so that it can be made any size
Materials
Bernat Softee Cotton (tap name of yarn to shop on Yarnspirations.com)
2 skeins Cotton (cream) 3 skeins Feathered Gray
Size G 4.00 mm hook, scissors, tapestry needle
Stitches
Single Crochet (SC): Insert hook, YO and pull a loop back through, YO and pull through loops on hook.
Half Double Crochet (HDC): YO, insert hook, YO and pull a loop back through, YO and pull through all 3 loops on hook.
Front and Back Post Double Crochet (FPDC & BPDC): A front post double crochet means you insert your hook from front to back around the post of the next DC and work a DC. A back post double crochet means you insert your hook from back to front around the post of the next DC and work a DC.
Pattern
Chain 139 in Feathered Gray. (To make this a larger blanket, the pattern repeat is any odd number times 6, plus 1.)
Row 1: HDC in the 2nd chain from the hook. HDC in each of the next 5 chains, joining the cream color on the 6th HDC. (6 HDC made in Feathered Gray). HDC with cream in each of the next 6 chains, crocheting over the feathered gray tail and bringing it along with you, laying it flat against the chain, pull through with feathered gray on the 6th HDC. Alternate across the row, switching between feathered gray and cream every 6 chains. (Always pull through on the last step of the 6th stitch of each color change, crochet over whichever color you aren’t using, and carry it along the top of your work.) Chain 1 and turn. (Your last color block should be feathered gray.)
Rows 2 – 4: Bringing the cream around the end of the row, continue crocheting over the tail and HDC in each of the next 6 stitches, then pull through with cream. Alternate the colors every 6 stitches as in row 1. Always chain 1 and turn.
Rows 5 – 8: At the end of row 4, pull through with cream, wrap Feathered Gray around the end of the row. HDC in each of the first 6 stitches, carrying Feathered Gray along the row. HDC with Feathered Gray into each of the next 6 stitches, working over the cream. Continue the row alternating every six stitches and laying the yarn not being used across the row and working over it. Chain 1 and turn.
For the rest of the blanket, continue alternating colors every 4 rows until you have 23 blocks in length. When you have the length, your last row should end with Feathered Gray as the last 6 stitches. Cut cream and continue working with Feathered Gray to start the first round of the border. Do not turn at the end of the row.
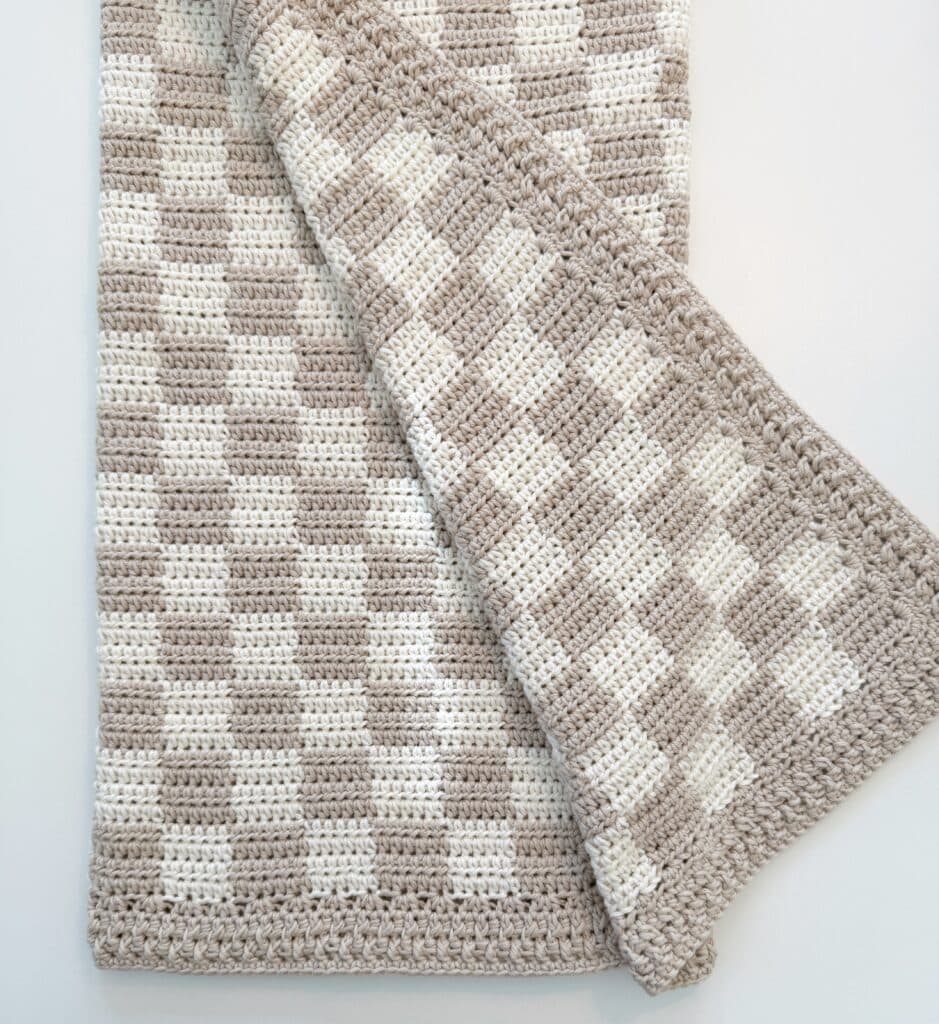
Border
Round 1: Work 2 more HDC into the final stitch of the blanket (first corner made.) Rotate to work down the first side. *Skip one row, work 3 HDC into the end of the next row. Repeat from * for each side. Work 3 HDC into each corner. *Skip 2 stitches, work 3 HDC into each stitch across the bottom and top. Do not turn at the end of the round.
Round 2: Work [HDC, CH 2, HDC] into the center HDC of the first corner and all remaining corners. Work 1 HDC into each stitch around. Do not turn at the end of the round.
Round 3: FPDC around the first HDC of the corner. [DC, CH 2, DC] around each ch 2 stitches for each corner. *FPDC around the next HDC, BPDC around next HDC. Repeat from * for the sides. Do not turn at the end of the round.
Round 4:BPDC around previous round FPDC, and FPDC around previous round BPDC. Work [DC, CH 2, DC] around each ch 2 stitches for each corner. Do not turn at the end of the round.
Round 5:Work 1 SC into each stitch and 2 SC around each ch 2 stitches for each corner. Join with a SL ST to the first SC of the round. Tie off and weave in all the ends.
Click here or image below for free printable pdf.
![]()