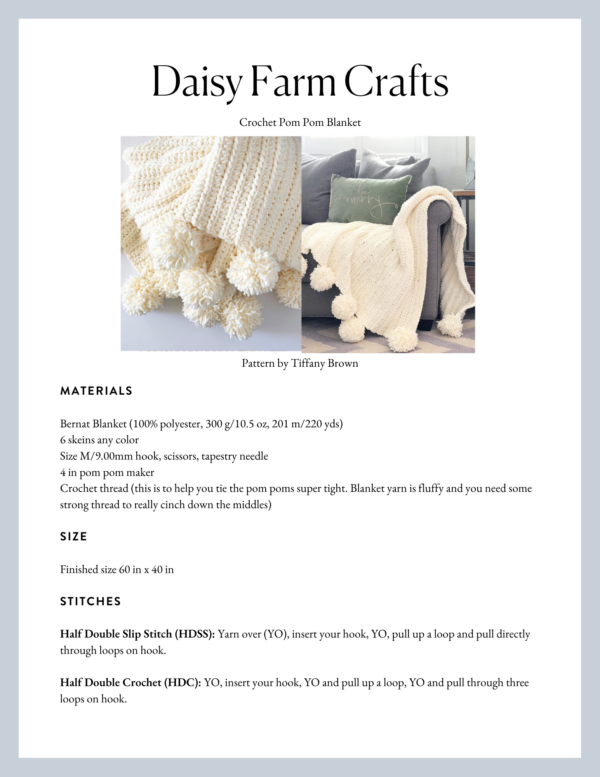
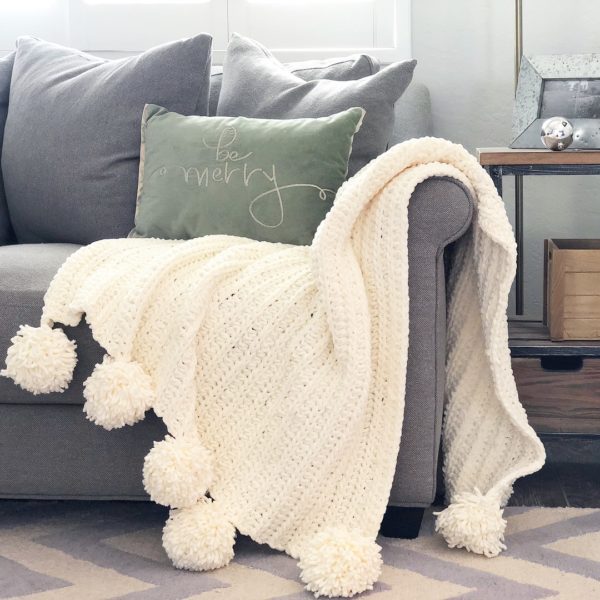
I do love a nice chenille blanket throw and this crochet pom pom blanket was fast and really easy. It’s only two stitches and leaves you with a nice braid look across the blanket.
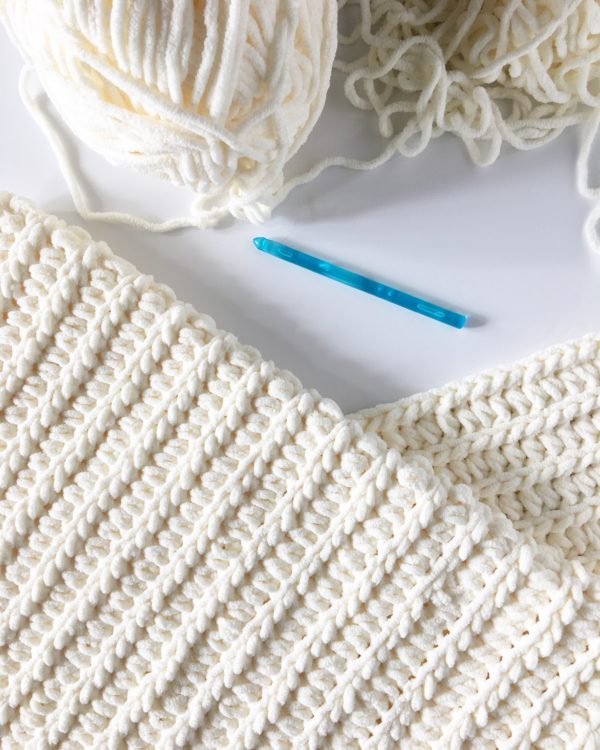
Aren’t those braids, or V’s so pretty? Would you believe it’s a simple change to a slip stitch? It’s a great stitch to know. I can’t find an official name for it so I call it by the actions I am taking: Back Loop Only Half Double Slip Stitch (HDSS). Although, I had a follower on Instagram suggest that she has seen it called double slip stitch. I like that name too! Much easier to say, but again, I’m not sure it’s official.
Here is how it’s made: say you made a chain, you will yarn over once, just like you are doing a half double crochet, insert your hook into the back loop, yarn over one more time and pull through all the loops on your hook, just like a slip stitch. That’s it!
Materials
Bernat Blanket (100% polyester, 300 g/10.5 oz, 201 m/220 yds)
6 skeins any color
Size M/9.00mm hook, scissors, tapestry needle
4 in pom pom maker
Crochet thread (this is to help you tie the pom poms super tight. Blanket yarn is fluffy and you need some strong thread to really cinch down the middles)
Size
Finished size 60 in x 40 in
Stitches
Half Double Slip Stitch (HDSS): Yarn over (YO), insert your hook, YO, pull up a loop and pull directly through loops on hook.
Half Double Crochet (HDC): YO, insert your hook, YO and pull up a loop, YO and pull through three loops on hook.
Pattern
Chain 122, (or if you prefer, chain any number to reach 60 inches, or any length you choose.) Keep this chain fairly snug, or use a hook one size smaller. You don’t want a saggy starting chain. Also, work into the back bumps on the chain. you’ll have a neater finish.)
Row 1: Starting in the 3rd chain from the hook, work 1 HDC into each chain across. Chain 2 and turn. (this chain never counts as a stitch.)
Row 2: Work 1 HDSS in the back loop of each stitch across. Chain 2 and turn, (this chain 2 never counts as a stitch either.)
Row 3: Work 1 HDC into the back loop of each stitch across the row. Chain 2 and turn.
Repeat rows 2 and 3 until your blanket is 40 inches wide, or however wide you choose. However, it looks nice to make the last row be the HDC row.
Told you it was easy! And don’t you love the braid? Now, if you are a first-timer to using blanket yarn, please do a sample swatch and get your personal tension worked out. Maybe you will need a bigger hook? Smaller? You’ll know if your blanket is too tight or loose after you do a swatch.
Now for the pom poms:
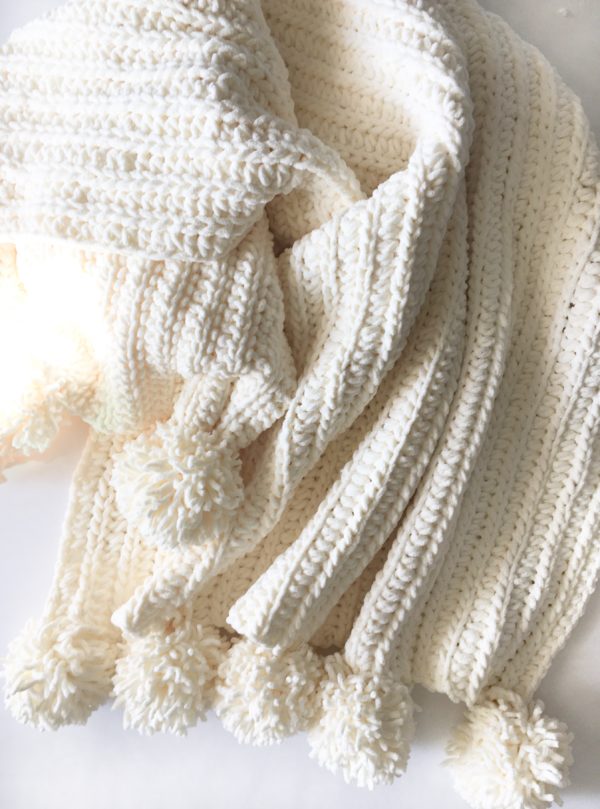
Be prepared for a bit of a mess. These little puff balls shed after they are cut. It’s a natural occurrence of chenille. And you’ll need to do some extra shaking.
I made ten for my crochet pom pom blanket, which is a 60 in x 40 in. I am putting them on the 40 inch sides, so the ends essentially.
I highly am encouraging you to pull the middles tight with a string, or crochet thread, something you can pull really tight. And then wrap them one more time with a piece of the blanket yarn so you can tie them onto the end of your blanket.
Here’s an easy way to attach them. Start by one in each corner. Then fold the blanket in half and put one on the fold. Then fold the blanket in half between those two poms and put another in the center, and then do the same for the other side. Then you don’t have to mess with counting and they are evenly spaced.
Tie them on and I just cut the ends so it looks like the poms. I feel like they blend in and I didn’t weave anything in.
Now for the fun part! Take that crochet pom pom blanket outside and get your arm workout in! What? That’s what I said, those poms need to be really puffed so they don’t shed all over your house.
Now bring it inside and take a pretty picture. I love getting a final shot of my projects. I guess they are like my babies.
And you know what else I love? Seeing your pictures! I’m on Instagram mostly, then Facebook. Both places are called Daisy Farm Crafts, except on Insta you’ve got to add the @.
xo, Tiffany

