This crochet pattern is now available as a free PDF download from Yarnspirations. Click here to see!
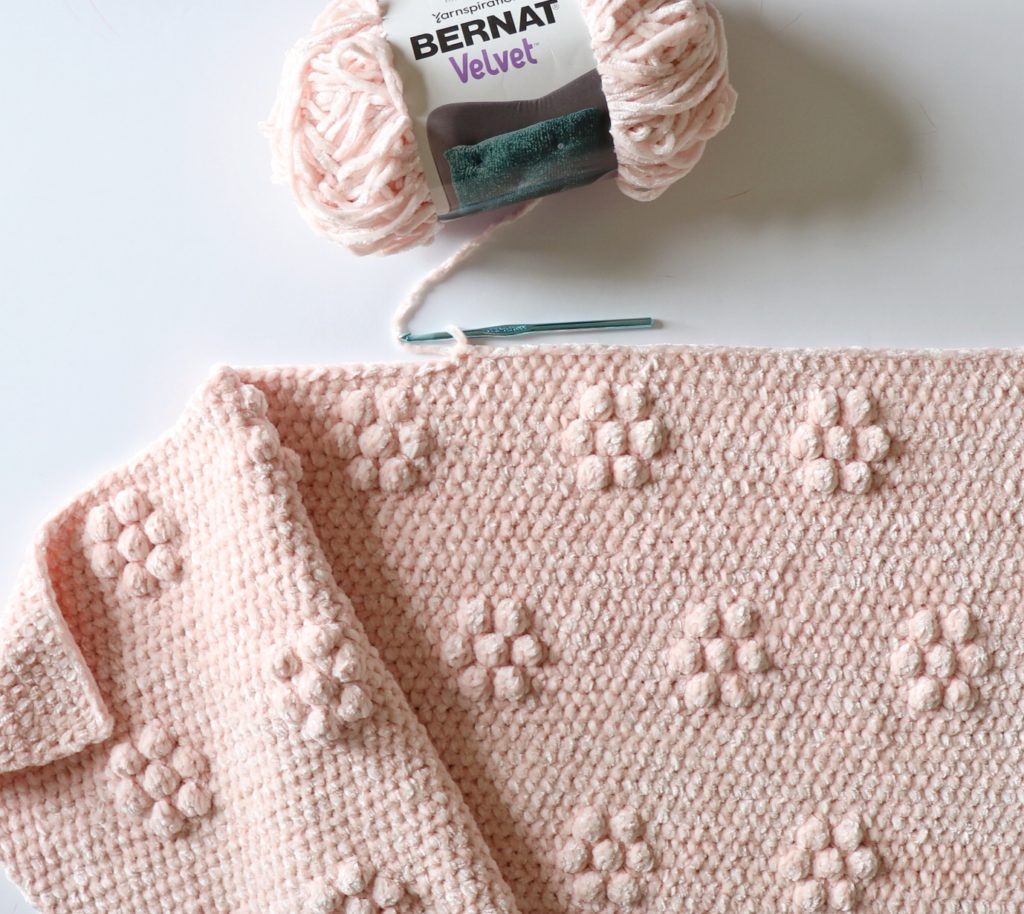
Hello, Hannah here, with another flower puffs blanket! I think this is the 4th version of a flower puffs blanket we’ve made – the very first one was my Velvet Flowers Throw that uses just one color of yarn:
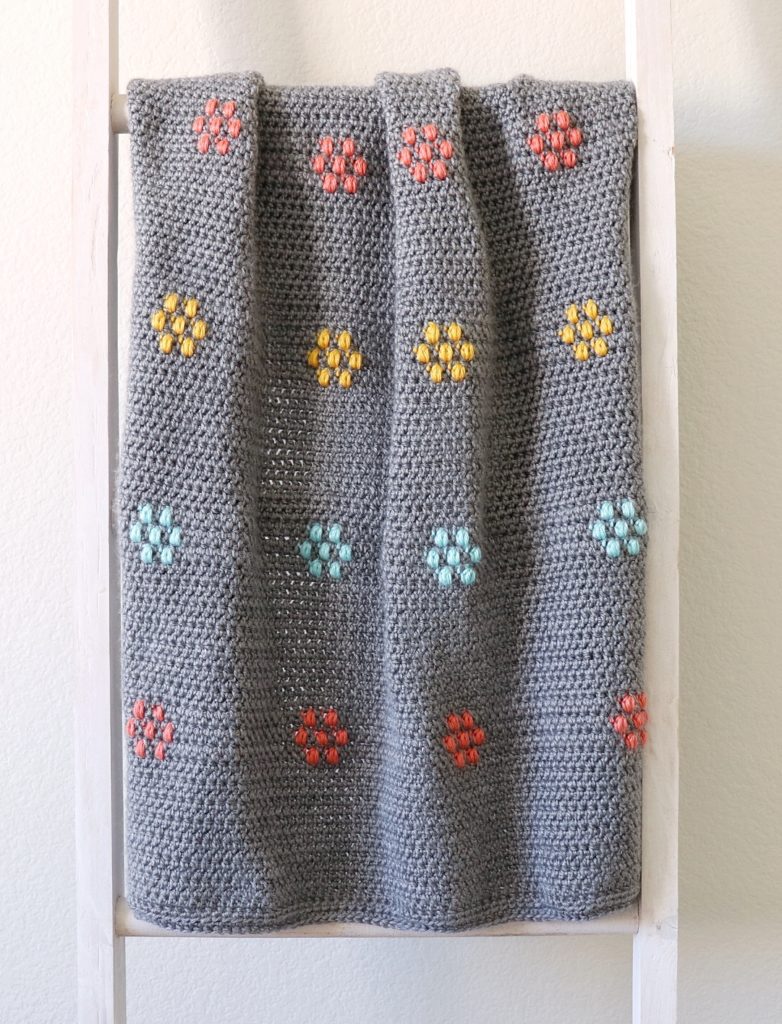
Then I decided to experiment with having the flowers different colors, so I made this Flower Puffs Baby Blanket, where I crocheted over whichever color yarn I wasn’t using on the puff rows so I could easily change colors.
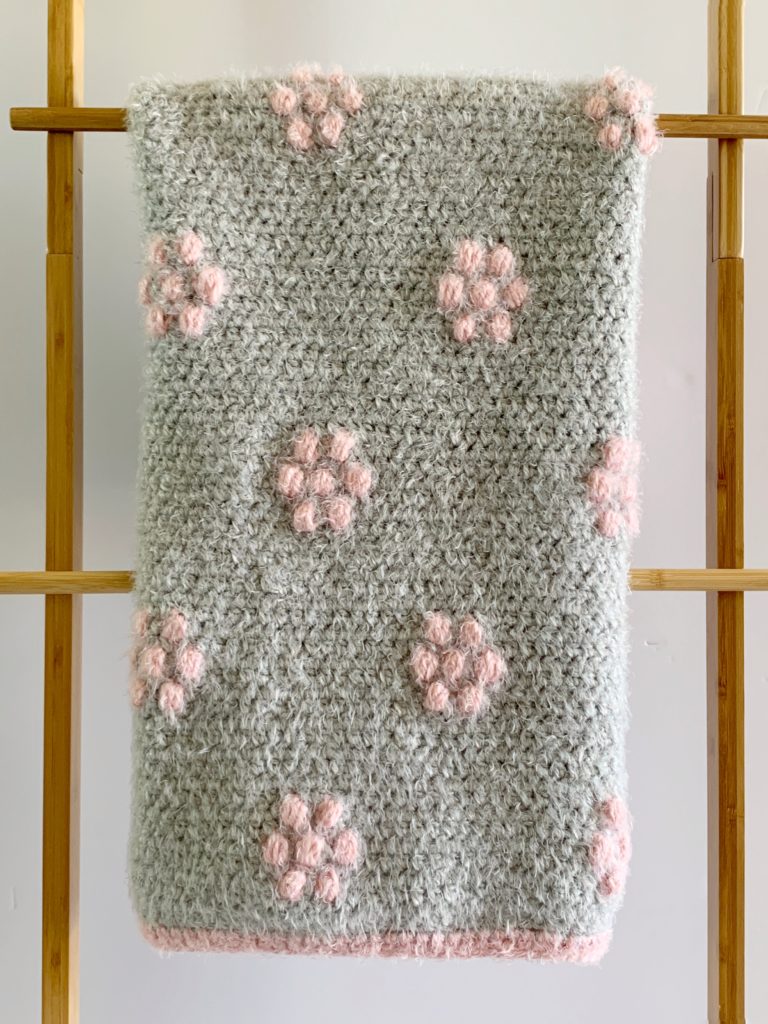
My mom also made another version – the Hygge Flower Puffs Blanket using the super soft Red Heart Hygge yarn. In this version instead of carrying yarn through the rows, she made individual balls of yarn for each flower.
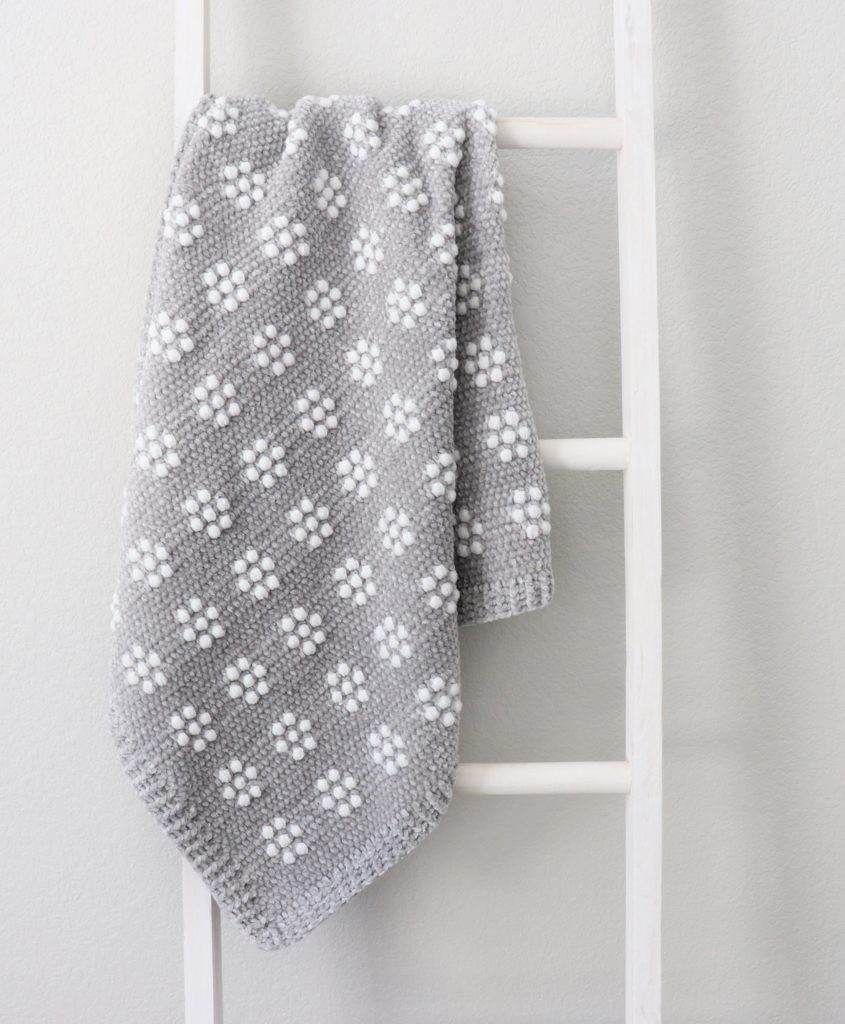
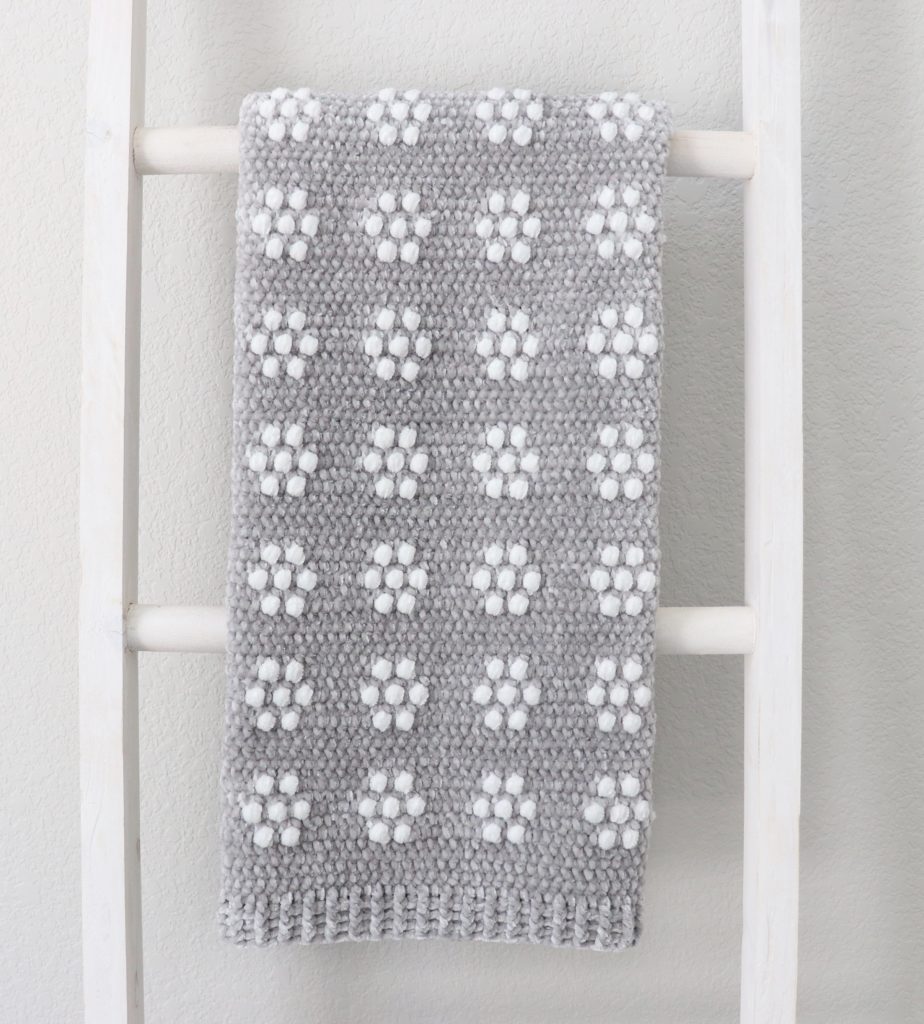
And that brings us to this newest version, which is made with Bernat Baby Velvet and has the flowers close together in straight lines. My good friend that I’ve known since kindergarten and his wife just had their first baby and they really wanted a gray and white blanket with flowers that was super soft :).
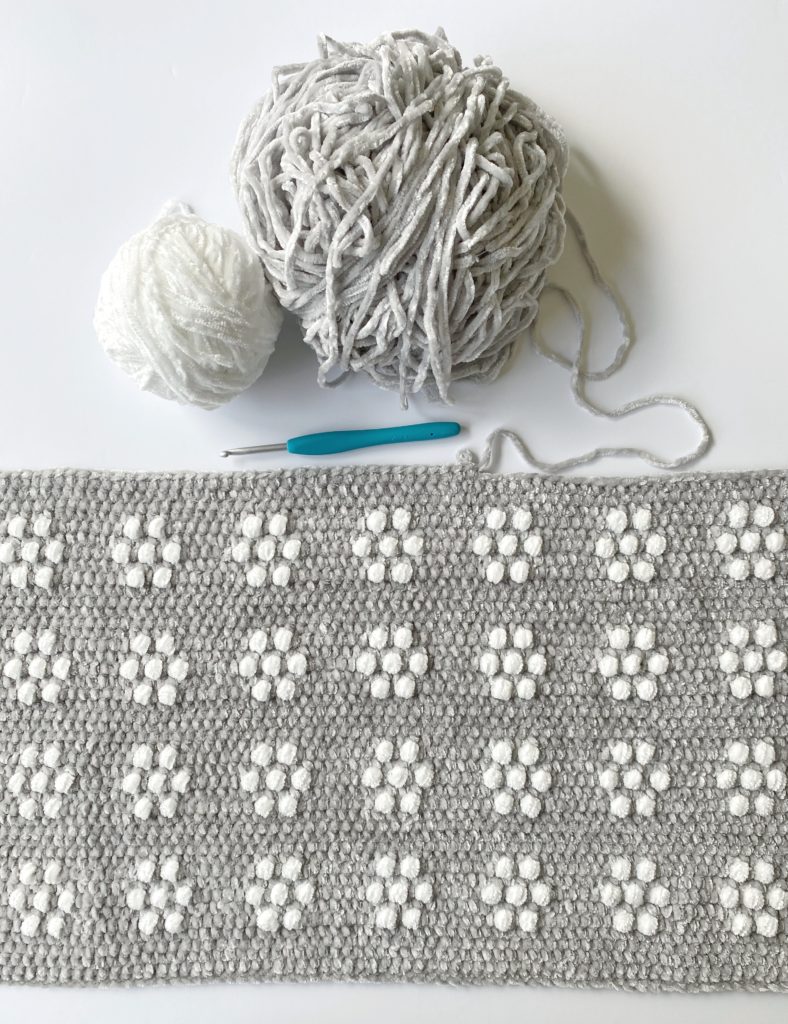
Since the flowers are so close together in this version, I used the technique of carrying yarn through the rows, but feel free to experiment with dividing up the yarn like my mom did in the Hygge Flowers blanket if you’d rather do it that way. If you want to carry yarn, but aren’t sure how, here’s a video you can watch that shows how we switched colors in my first flower puffs blanket:
Also, if this is your first time using Bernat Baby Velvet yarn, be prepared to be amazed at its incredible softness, but also know that it’s not without its challenges. Since it’s a more slippery yarn, you want to make sure to keep your tension nice and tight and make sure that the yarn you are carrying across the row stays taut. I’d definitely recommend making a small practice swatch before you get started to see if you might need to go down a hook size. (Click here for more tips for using velvet yarn)
Materials
Bernat Baby Velvet (100% polyester, 300 g/10.5 oz, 450 m/492 yds)
2 skeins Misty Gray, 1 skein Snowy White
Size 4.5mm hook, tapestry needle, scissors
Size
Finished size 31 in x 31 in
Gauge 4 in = 15 st and 15 rows of WHDC
Stitches
Half Double Crochet (HDC): Yarn over (YO), insert your hook, YO and pull up a loop, YO, pull through all 3 loops on hook.
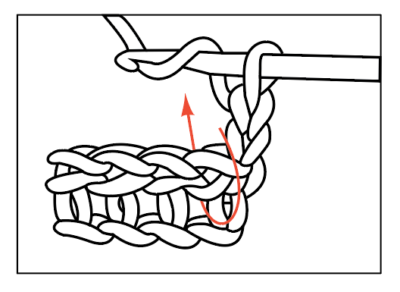
Wide Half Double Crochet (WHDC): YO, insert your hook between stitch posts, YO and pull up a loop, YO, pull through all 3 loops on hook.
Puff Stitch: YO, insert your hook, YO and pull up a loop. *YO, insert your hook into the same space, YO and pull up a loop. Repeat from * two more times. YO and pull through all loops on hook.
Double Crochet (DC): YO, insert your hook, YO and pull up a loop, YO, pull through 2 loops, YO, pull through remaining 2 loops.
Front and Back Post Double Crochet (FPDC & BPDC): A front post double crochet means you insert your hook from front to back around the post of the next DC and work a DC. A back post double crochet means you insert your hook from back to front around the post of the next DC and work a DC.
Pattern
Changing colors: Pull through with the new color just before you finish the stitch. On the flower rows, lay whichever color you aren’t using along the top of your work and crochet over it as you go. To avoid your yarn getting twisted as you carry it along your work, it helps to always keep one color to the front and one color to the back each time you switch colors. So whenever I would switch from Gray to White, I would keep the Gray to the back and crochet over it, but when switching from White back to Gray, I would wrap the White to the front of my work before starting to crochet over it.
Chain 107 with Misty Gray. (Pattern repeat is a multiple of 10, plus 7.)
ROW 1: Starting in the 3rd chain from the hook, work a HDC in each chain. Chain (CH) 2 and turn.
ROWS 2 – 5: Work a WHDC in each space across the row. (Make sure not to miss the last space, between the last stitch and the turning chain.) CH 2 and turn. (4 rows)
ROW 6: Work a WHDC in each of the first 6 spaces with Gray, then work 1 puff stitch with White in the next space, then 1 WHDC with Gray in the next space, then 1 puff stitch with White in the next space. *Work a WHDC in each of the next 7 spaces with Gray, then 1 puff stitch with White in the next space, then 1 WHDC with Gray in the next space, then 1 puff stitch with White in the next space. Repeat from * to the end of the row, always laying whichever yarn you aren’t using across the top of your work and crocheting over it as you go. End the row with WHDC in the last 6 spaces with Gray. CH 2 and turn.
ROW 7: Wrap the White around the side of your work and crochet over it as you work a WHDC in each space across the row with Gray. CH 2 and turn.
ROW 8: Continue crocheting over the White, and *work a WHDC in each of the next 5 spaces with Gray, then 1 puff stitch with White in the next space, then 1 WHDC with Gray in the next space, then 1 puff stitch with White in the next space, then 1 WHDC with Gray in the next space, then 1 puff stitch with White in the next space. Repeat from * to the end of the row. End the row with WHDC in the last 5 spaces with Gray. CH 2 and turn.
ROW 9: Wrap the White around the side of your work and crochet over it as you work a WHDC in each space across the row with Gray. CH 2 and turn.
ROW 10: Repeat row 6. At the end of the row, cut the White yarn and leave a tail long enough to weave into the blanket later.
ROWS 11 – 15: With Gray, work a WHDC in each space across the row. CH 2 and turn. (5 rows)
Repeat rows 6 through 15 nine more times, or until you reach your desired length. I ended up with 10 rows of flowers when my blanket was the length I wanted.
Border
Weave in any ends with a tapestry needle.
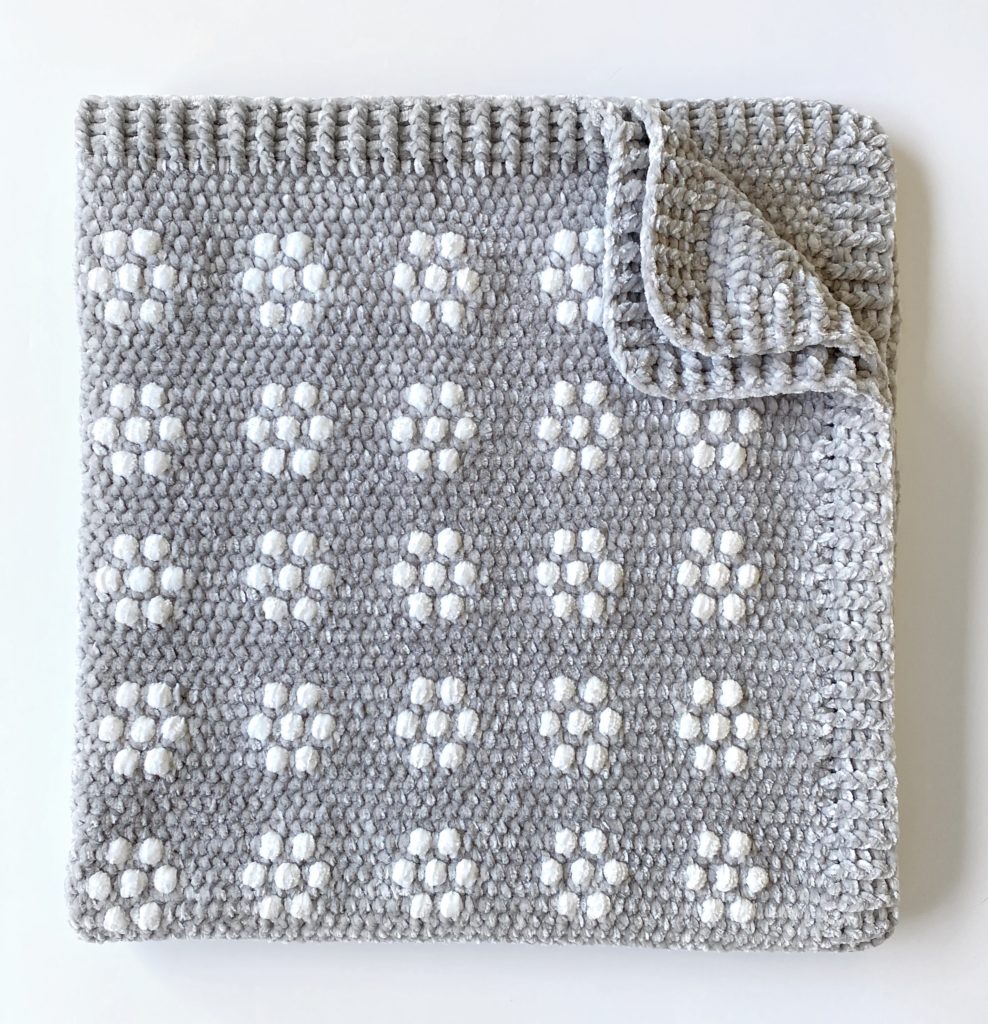
ROUND 1: Pull up a loop in any corner and CH 3. DC around the entire blanket, working 5 DCs into each corner space. Work one DC per stitch on the ends and one DC per row on the sides of the blanket.
ROUND 2: Work 5 DCs into starting corner, then go around the blanket again in the same direction, this time alternating front and back post double crochet (FPDC & BPDC). When you get to the corners of this row, you will want to continue the pattern of alternating FPDC and BPDC, but you will work three stitches of those stitches around the corner post.
So, for example, if you get to the corner post and you are supposed to work a FPDC, then work a FPDC, a BPDC, and a FPDC all around that corner post. Then in the next stitch you would continue the alternating pattern, working the opposite of whichever stitch you just used. Just remember that you are always alternating FPDC and BPDC around the whole blanket, you just happen to be working three of those stitches around the same post when you are working the corners.
ROUND 3: When you finish round 2, work 3 alternating FPDC/BPDC into the corner you started with and repeat round 2 around the blanket. Always match your post double crochets so that they are poking out in the same direction as the previous row.
ROUND 4: Repeat round 3. When you reach the corner you stared with, slip stitch into the corner and tie off.
Here’s a video for the border:
If you’d like to add finishing touches to your blanket, lay it out flat on a towel or foam blocking boards if you have them. Use a spray bottle with water to dampen the blanket. Press the blanket into straight lines, massaging the stitches and adjusting your tension. Pin with straight pins to let it dry.
Thank you so much for visiting our blog, I hope you enjoy making this blanket! When you’re finished, please come share a picture with us on Facebook or Instagram using #daisyfarmcrafts, we’d love to see!
xo, Hannah
Click here or on image below for printable pattern

