This pattern is available as a free PDF download from Yarnspirations
Yes, the answer is yes! It’s so soft, so plush, and so, so fast to make! (Since sharing this as a work in progress on Instagram, I’ve seen all the q’s you’ve had about this throw and I’m so happy to share my experience working with Bernat Velvet Plus!)
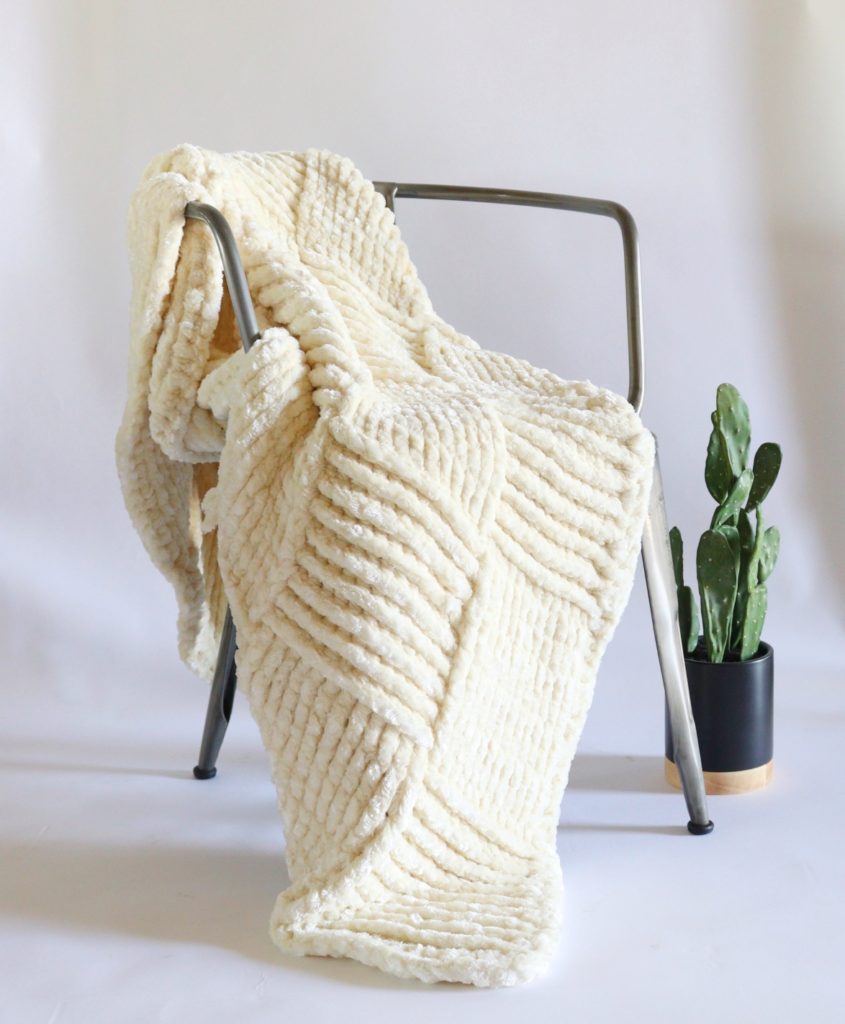
As I am sitting here writing up this pattern, this blanket is across my lap keeping me warm. It is just so cozy. It is a bit on the heavy side too, like a nice weight is pressing around you.
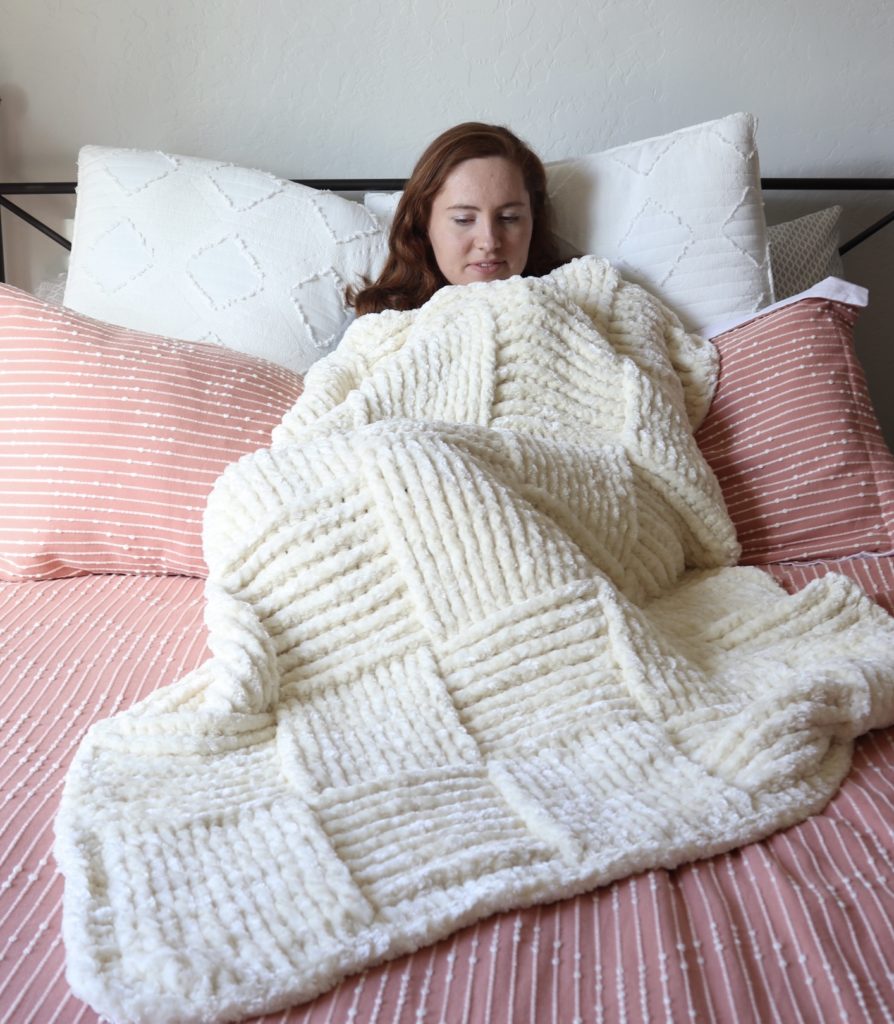
Here’s Annie cuddling up on her bed:
Since this is my first time making a throw or blanket with this yarn, I’m hoping the way I joined the ends will hold together. For now, I tied the two ends in square knots and then clipped them close. Then I tucked the knot into the middle of a stitch. That seemed to hide them and they disappeared into the fluff.
We played with this blanket as much as possible and the knots did not come undone. So hopefully I’ll be okay.
I definitely recommend knotting the yarn though. I’m wondering if I also could have knotted and left long tails and wove them in as well.
This yarn is hand-wash only. I plan on washing it by hand in my bathtub when the time comes. I hand-washed a small sample and it came out fine, dried and fluffed right up.
The only fluffy bits I’m getting right now are from where I cut the yarn. There does not seem to be any fuzz coming off of the yarn with all the use we’ve been able to do.
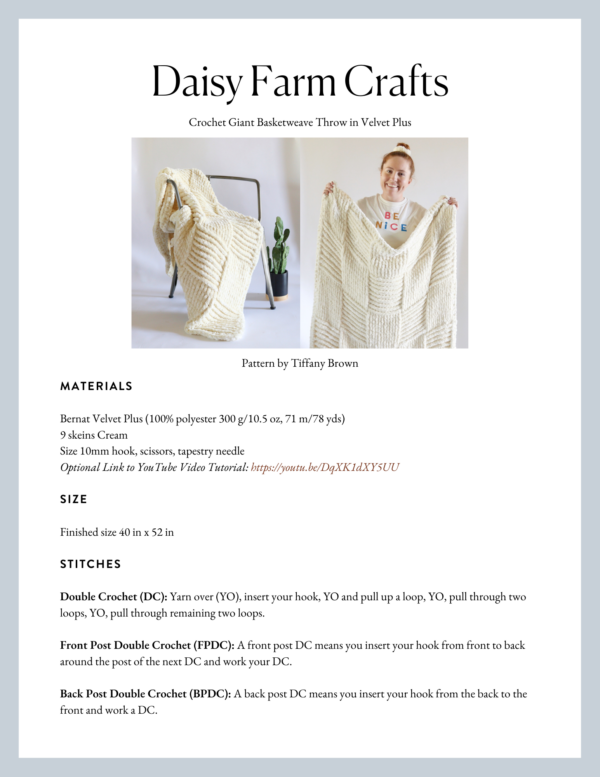
Materials
Bernat Velvet Plus (100% polyester 300 g/10.5 oz, 71 m/78 yds)
9 skeins Cream
Size 10mm hook, scissors, tapestry needle
Size
Finished size 40 in x 52 in
Stitches
Double Crochet (DC): Yarn over (YO), insert your hook, YO and pull up a loop, YO, pull through two loops, YO, pull through remaining two loops.
Front Post Double Crochet (FPDC): A front post DC means you insert your hook from front to back around the post of the next DC and work your DC.
Back Post Double Crochet (BPDC): A back post DC means you insert your hook from the back to the front and work a DC.
Pattern
Chain 64.
Row 1: Work 1 DC in the 4th chain from the hook. DC into each of the remaining chains. (61 dc)
Row 2: Ch 2 and turn. *Work FPDC around each of the next 12 DC.
Tip: your first FPDC to work is around the second post in the row below, not the post that lines up under the turning chain.
Work BPDC around each of the next 12 DC. Repeat from * across the row. Work FPDC around the last 12 posts of the row, work 1 DC around the turning chain.
Row 3: Ch 2 and turn. *Work BPDC around each of the next 12 posts. FPDC around each of the next 12. Repeat from * across the row. Work 1 DC around the turning chain.
Rows 4 – 11: Repeat rows 2 and 3.
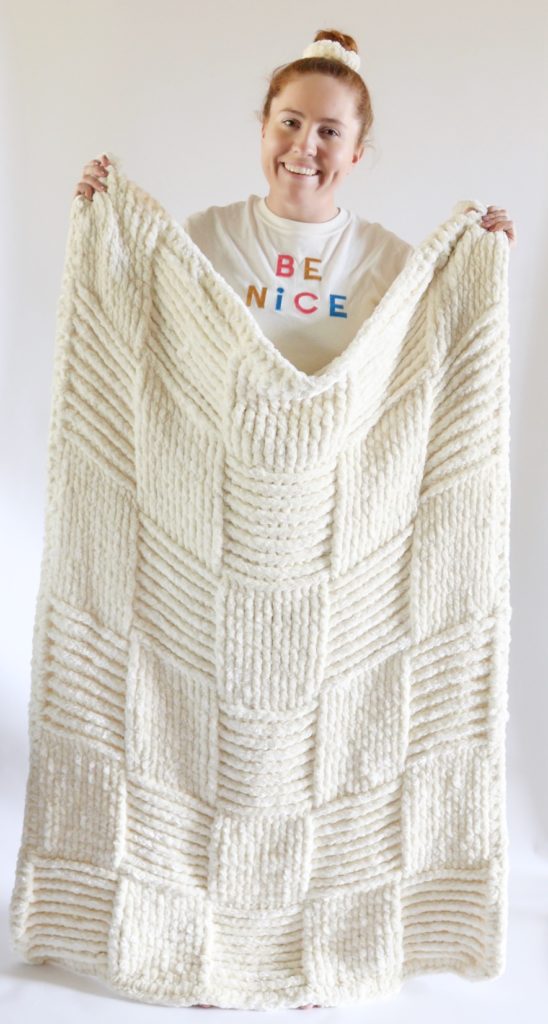
Rows 12 – 21: (Reverse the direction of the post stitches) For this next section of ten rows, begin by reversing the direction of the posts. If the block below is popping to the front, work BPDC, to have them pop to the back. If popping to the back, work FPDC to have them pop to the front. This will give the basketweave appearance.
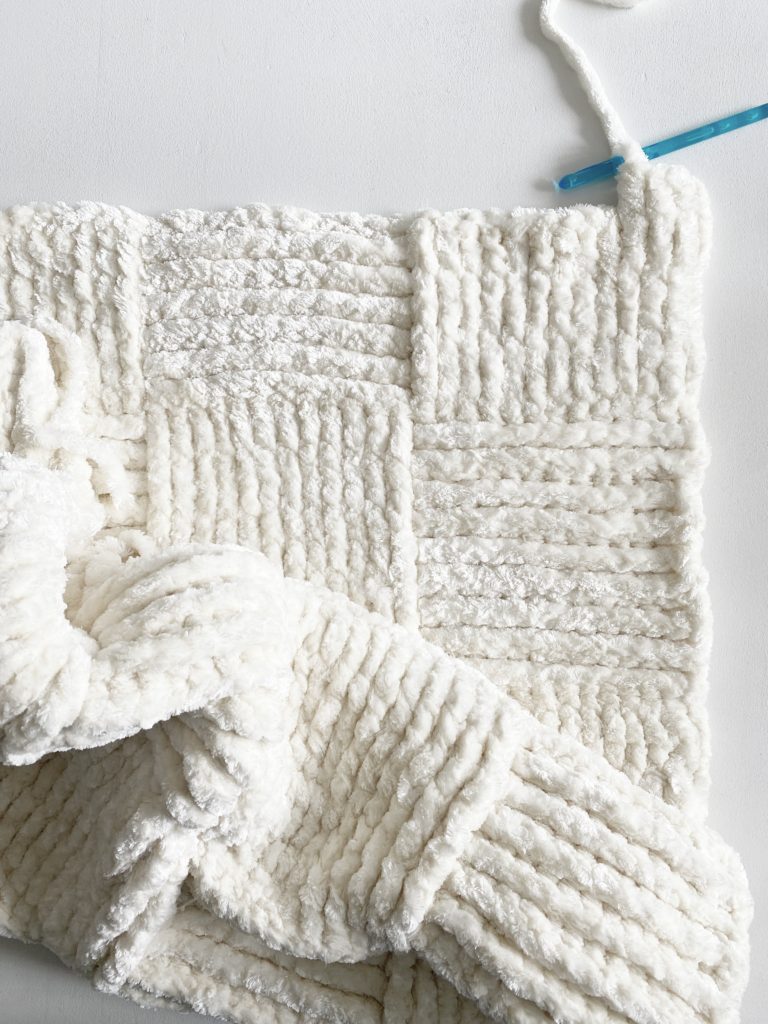
After finishing the next 10 rows, change the direction of the posts again. You will have 6 blocks high and 5 blocks wide total.
Border
Work 1 DC into each stitch across the top and bottom, work 3 DC into each corner and work as evenly as possible around the stitches/turning chains on each side. (If you work too many it will ruffle, too few and it will gather.)
Here’s a video tutorial to help you out further:
Now, enjoy! I really hope you come and show us a picture, I’d love to see all the different colors you make it in!
Use #daisyfarmcrafts on your Instagram posts or come and join the Daisy Farm Crafters Group on Facebook and show everyone there! It’s so fun to have us all in one place.
Happy Crocheting!
xo, Tiffany
Click here or on image below or printable pattern