Hey, it’s Hannah. One of the very first crochet blankets I ever made (well one of the first blankets I made that was actually worth keeping) was this beginner-friendly Modern Moss Stitch Blanket:
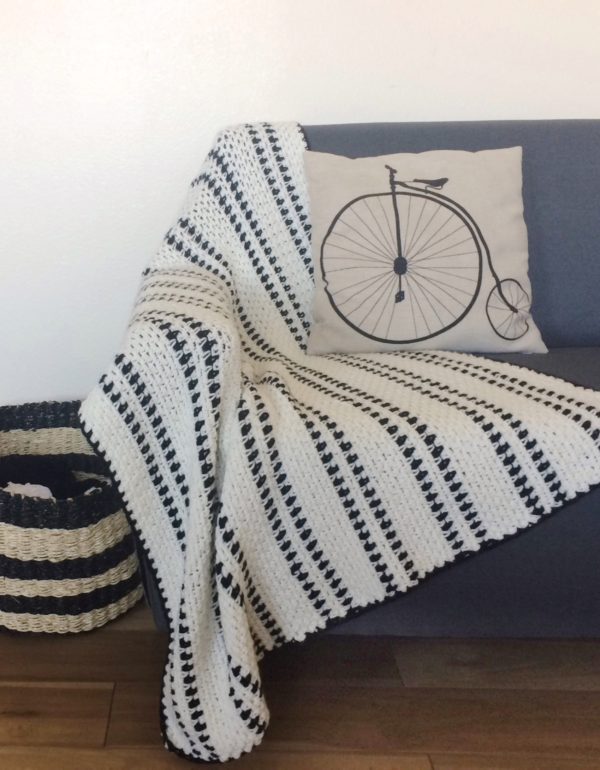
I didn’t really plan it out before I made it – I just told my mom that I wanted to make something black and white to use as a blanket for my living room in the new apartment that my husband and I had just moved into. I told her I wanted to do something a little more interesting than just single crochet and she suggested using the moss stitch and as soon as I started adding the black stripes it quickly became one of my favorite stitches. I love how crocheting into the chain spaces makes the stripes look like dotted lines.
Ever since I made that blanket I’ve wanted to make another version to get that dotted line effect and this time I decided to use some chunky Bernat Roving yarn.

When I first started this blanket, I was planning to alternate some black stripes with the gray, but as soon as I started crocheting with the black I realized I was almost out of yarn… So in the spirit of economizing (and laziness) I decided to just use what I had and make the stripes all gray and I’m actually really glad I did because I think it turned out to be a great neutral throw. Sometimes it’s better to just keep things simple anyway :).
The Bernat Roving yarn is so soft and fun to work with and I love that it makes the stitches and the dotted line effect even more pronounced. I think this blanket would look cool with lots of different colors subbed in for the gray and might make a great wedding or graduation gift!
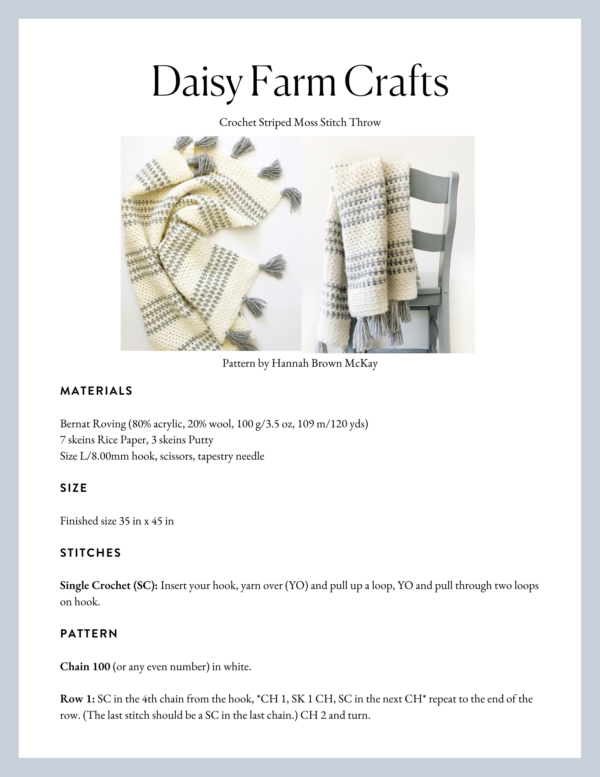
Materials
Bernat Roving (80% acrylic, 20% wool, 100 g/3.5 oz, 109 m/120 yds)
7 skeins Rice Paper, 3 skeins Putty
Size L/8.00mm hook, scissors, tapestry needle
Size
Finished size 35 in x 45 in
Stitches
Single Crochet (SC): Insert your hook, yarn over (YO) and pull up a loop, YO and pull through two loops on hook.
Pattern
Chain 100 (or any even number) in white.
Row 1: SC in the 4th chain from the hook, *CH 1, SK 1 CH, SC in the next CH* repeat to the end of the row. (The last stitch should be a SC in the last chain.) CH 2 and turn.
(What I’m telling you to do is chain one after you make that first single crochet, skip the next chain, and single crochet into the next one. Repeat working a single crochet, chain one, skip over the chain space until you get to the end of the row.)
Row 2: SC in the CH 1 space, *CH 1, SK next SC, SC into the CH 1 SP* repeat to the end working your final SC into the space between the last SC and CHs. CH 2 and turn. (moss stitch)
(In other words, single crochet in the chain 1 space from the row below, chain once, skip over the single crochet in the row below, work a single crochet into the chain one space. Repeat this all the way across and find the space between the last single crochet and the turning chains. Chain 2 and turn.)
Rows 3 – 10: Repeat moss stitch in white. At the end of the 10th row, pull through with gray just before you finish your last single crochet. When you’re pulling through with the gray you should have two loops on your hook. Then CH 2 with the gray and turn.
Row 11: Work 1 row of the moss stitch in gray. At the end of the row, pull through with white before you finish your last single crochet. CH 2 and turn.
Rows 12 – 13: Work 2 rows of the moss stitch in white, then at the end of the second white row, pull through with gray.
Row 14: Work one row of gray,
Rows 15 – 16: then two rows of white, repeating rows 14 – 16 until you have 4 lines of gray.
Crochet ten rows of white and then work 4 rows of gray again, with two rows of white in between in each row of gray. I ended up with five sets of the gray stripes when I felt like the blanket was as long as I wanted it.

Tassels
For this blanket I just made the tassels the same way that I did on my Modern Mesh Stitch Blanket.
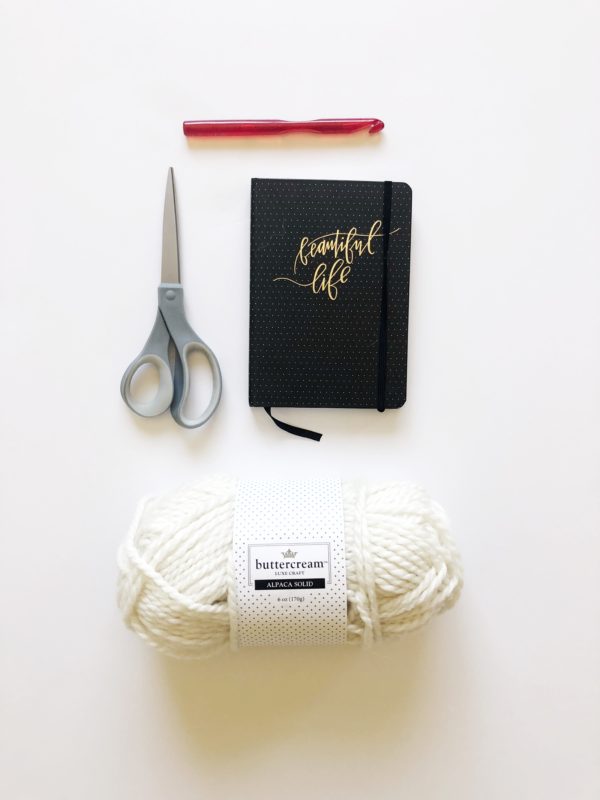
Supplies: A small notebook (or a DVD case would work), Scissors, Yarn, Large Hook (optional)
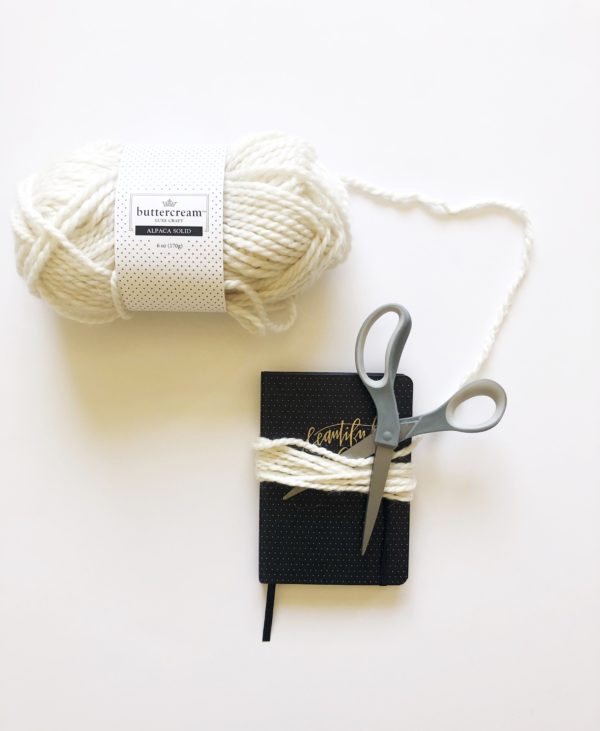
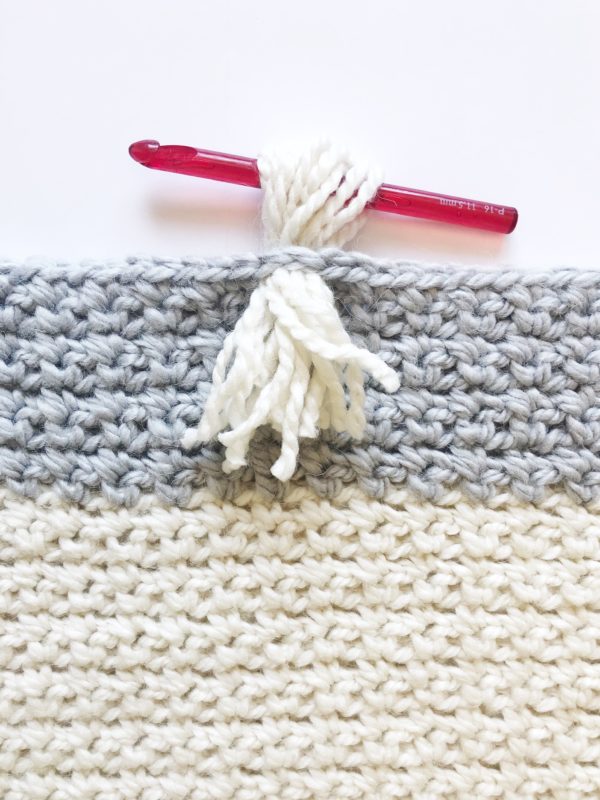
Wrap a piece of yarn around the notebook horizontally 10 times. Then cut the yarn in half.
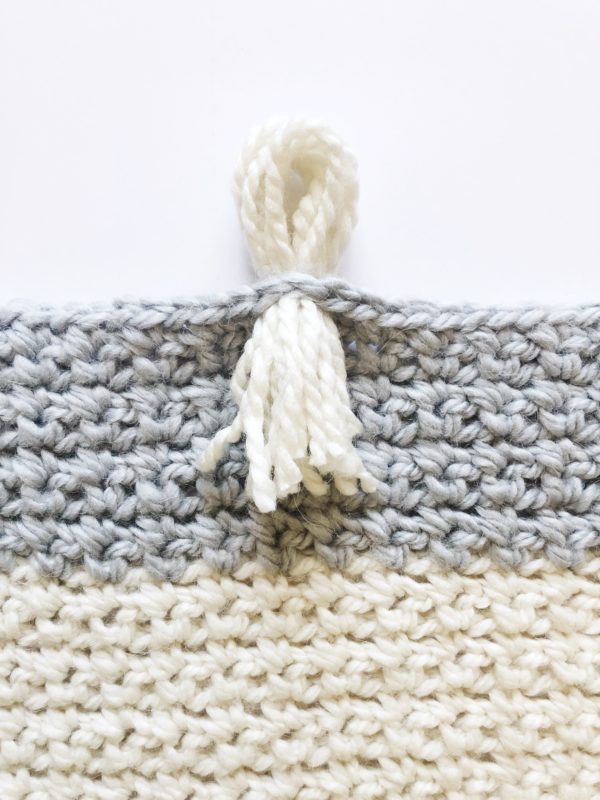
Take the pieces of yarn and fold them in half. Insert the folded end into the chain space above the starting chain. You can either do this just with your fingers or with a large hook – whichever is easier for you.
Turn the yarn so that the loop is facing you.
Pull the ends through the loop…
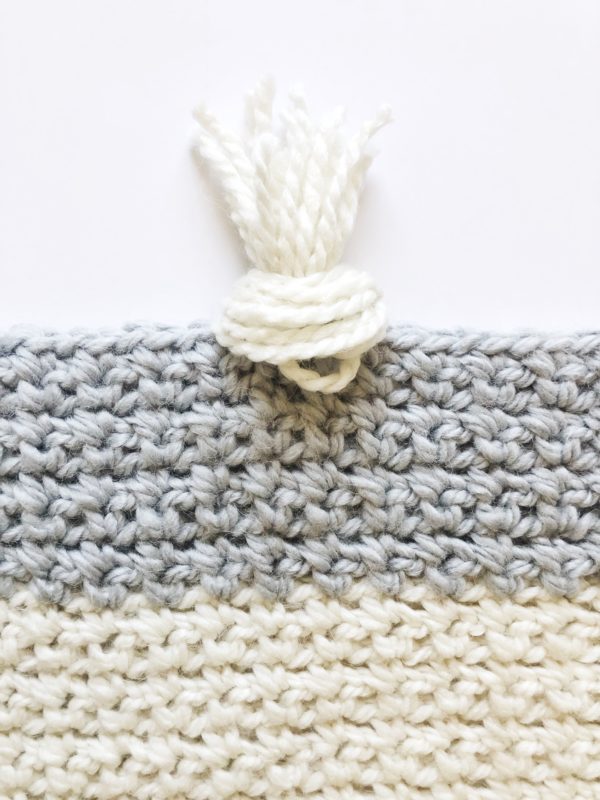
And pull tight to make a knot. Trim the ends to your desired length and to even them out.
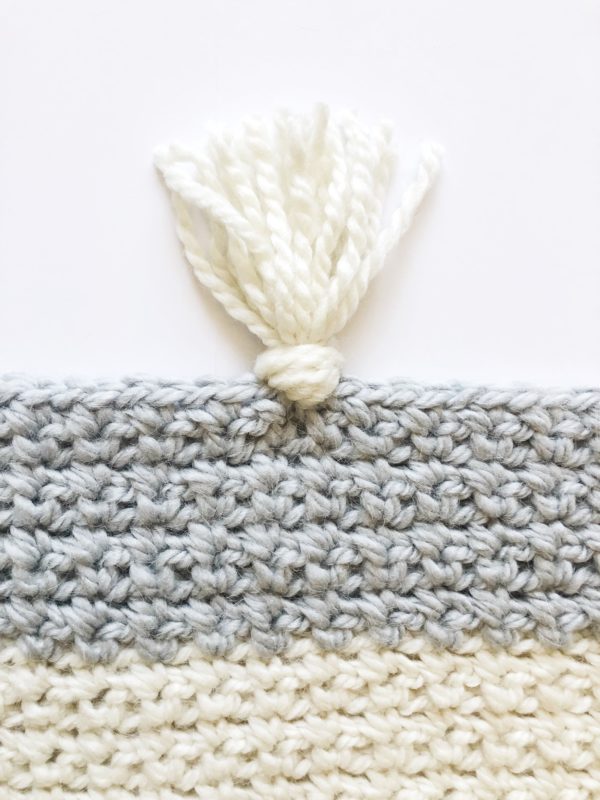
For this blanket I put the tassels about 8 stitches apart, but you can put them wherever you like! You can also make the tassels thicker or thinner and put them in every chain space if you want more of a fringe look.

Thanks so much for coming to learn about this pattern! I hope your project turns out great. Even though I’ve made several blankets now, I’m still very much a beginner at crochet, but I love how creative crochet allows me to be, even with simple stitches.
Though I feel like I’ve kind of plateaued in my crochet abilities – I feel pretty confident in my ability to make a decent blanket, but I have no knowledge when it comes to baby sweaters or hats or mittens or hot pads…sometimes I forget how many different things there are that can be crocheted. The thought of making a baby sweater or anything that works in the round seems way over my head, but eventually, I’ll just have to be brave and just start practicing…
Speaking of brave…for a while now my mom and my sister and I have been talking about how awesome blogs are for being able to record our family history and make sure the things that we learned from our grandmas get passed down to our own (future) children, so we’ve decided to cook and bake our way through my Grandma Anna Vee’s recipes.
She is my Dad’s mom and she passed away from cancer when I was three, so I didn’t have the chance to know her very well, but we always had the box of her recipes in our cupboard when I was growing up, but since I’ve moved out and lived on my own, I haven’t really made any of them. So we thought it would be good for us to get them all online where we all have easy access to them.
We only have time to make a few a month so it will probably take us a while to get through them all, but we’ll be sharing our progress on Instagram @daisyfarmkitchen if you want to follow along!
xo,
Hannah
Click here or on image below for printable pattern