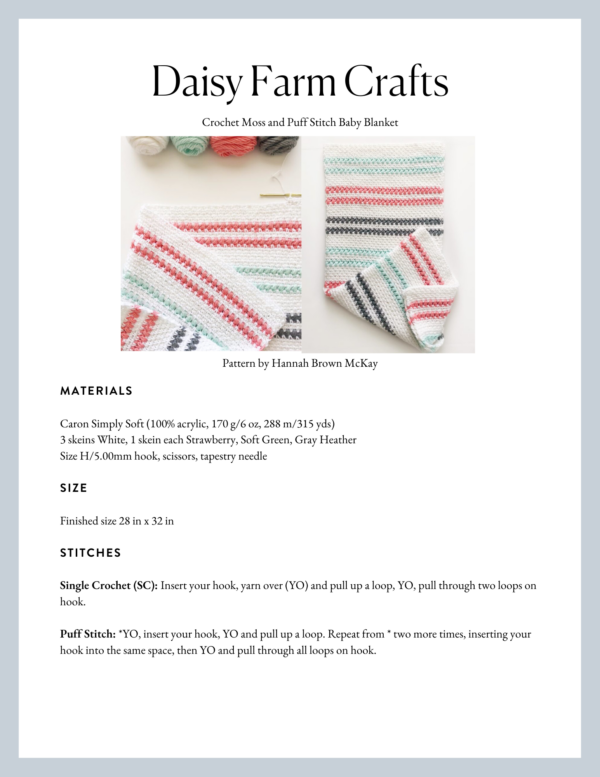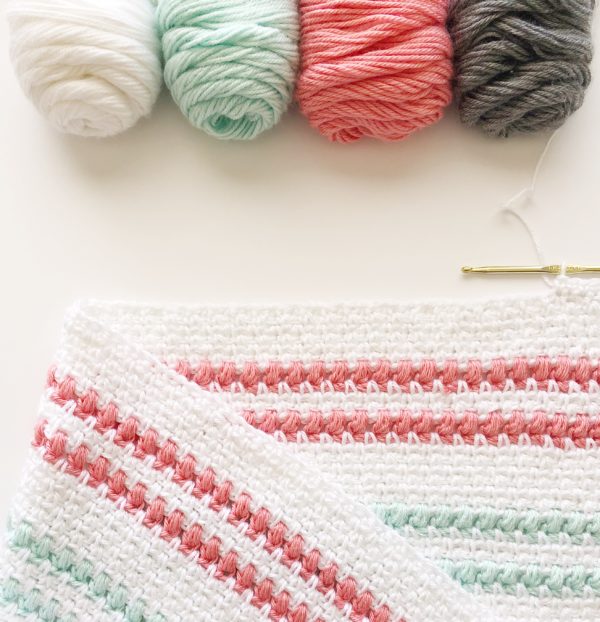
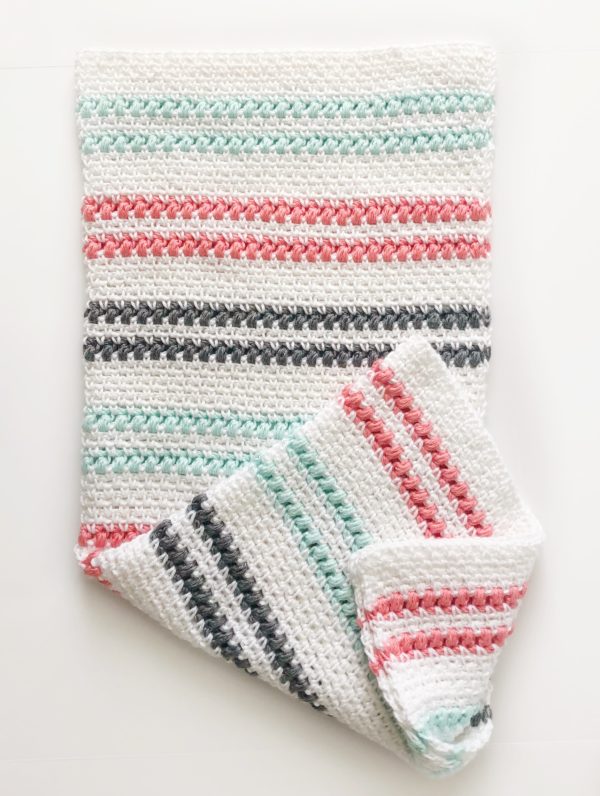
Hi there! Tiffany’s daughter Hannah here. I recently made this crochet moss and puff stitch baby blanket for one of my husband’s surgery co-residents who just had a baby girl and I love how it turned out.
I originally wanted to make a version of the Bobble and Mesh Stitch Blanket my mom made a while ago, but the counting was a little complicated for me, so I decided to go with the same idea with some easier stitches.
This blanket is a nice variation if you are still a beginner like me because you are basically working the moss stitch the whole time, just occasionally substituting your single crochets with a simple puff stitch on the rows with color.
Here is a video to show you the basics of the moss stitch and the pattern is below. I hope you enjoy making this blanket!
Materials
Caron Simply Soft (100% acrylic, 170 g/6 oz, 288 m/315 yds)
3 skeins White, 1 skein each Strawberry, Soft Green, Gray Heather
Size H/5.00mm hook, scissors, tapestry needle
Size
Finished size 28 in x 32 in
Stitches
Single Crochet (SC): Insert your hook, yarn over (YO) and pull up a loop, YO, pull through two loops on hook.
Puff Stitch: *YO, insert your hook, YO and pull up a loop. Repeat from * two more times, inserting your hook into the same space, then YO and pull through all loops on hook.
Pattern
Chain 100 in white (or any even number).
Row 1: SC in the 4th chain from the hook, *CH 1, SK 1 CH, SC in the next CH* repeat to the end of the row. (The last stitch should be a SC in the last chain.) CH 2 and turn.
What I’m telling you to do is chain one after you make that first single crochet, skip the next chain, and single crochet into the next one. Repeat working a single crochet, chain one, skip over the chain space until you get to the end of the row.
Row 2: SC in the CH 1 space, *CH 1, SK next SC, SC into the CH 1 SP* repeat to the end working your final SC into the space between the last SC and CHs. CH 2 and turn. (moss stitch)
In other words, single crochet in the chain 1 space from the row below, chain once, skip over the single crochet in the row below, work a single crochet into the chain one space. Repeat this all the way across and find the space between the last single crochet and the turning chains. Chain 2 and turn.
Rows 3 – 6: Repeat moss stitch in white.
Row 7: Before you finish pulling all the way through with white in your final SC, stop and pull through with pink. Work the turning chains in pink and then start working the puff stitch into the chain spaces. When you get to the last chain space, work a regular single crochet and pull through with the white before you finish the stitch. CH 2 and turn.
Rows 8 – 10: Work 3 rows of the moss stitch in white.
Row 11: Repeat row 7 in pink – working the puff stitch in the chain spaces, and ending the last stitch with a single crochet and pulling through with white. CH 2 and turn.
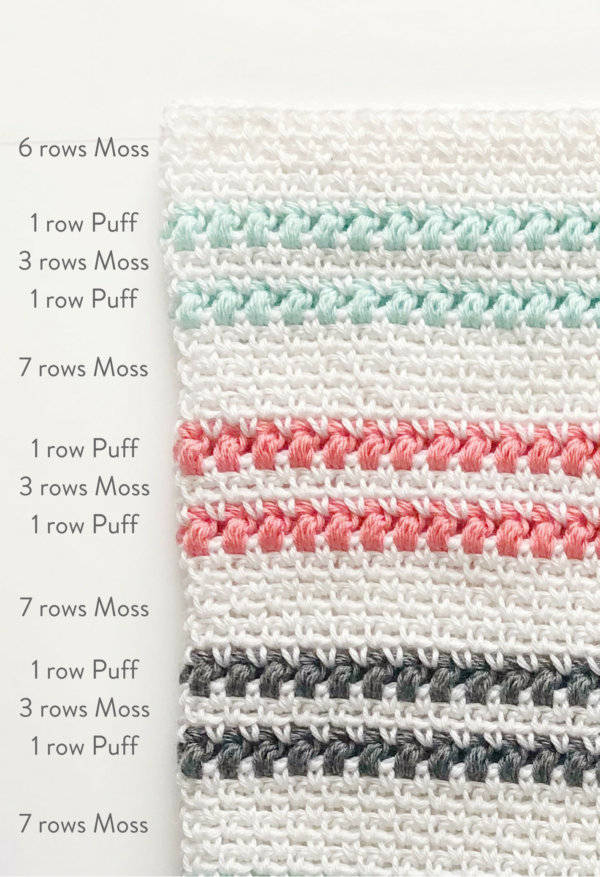
Going forward you are working 7 rows of white in the Moss Stitch, 1 row of color in Puff Stitch, 3 rows of white in Moss Stitch, 1 row of color in Puff Stitch. Repeat this pattern until the very last section of white where you’ll only crochet 6 rows of white to match the beginning. Here’s a diagram in case that doesn’t make sense:
That’s all there is to it! After I finished crocheting, I weaved in all the ends and then sprayed it with some water and laid it out flat to dry. The sides of this blanket turned out pretty straight so I decided not to do a border, but you could always add a simple white border if you wanted. If you’re still a beginner though, I’d say to leave it, since borders can be tricky and if you accidentally do too many stitches it can make your blanket wavy and uneven.
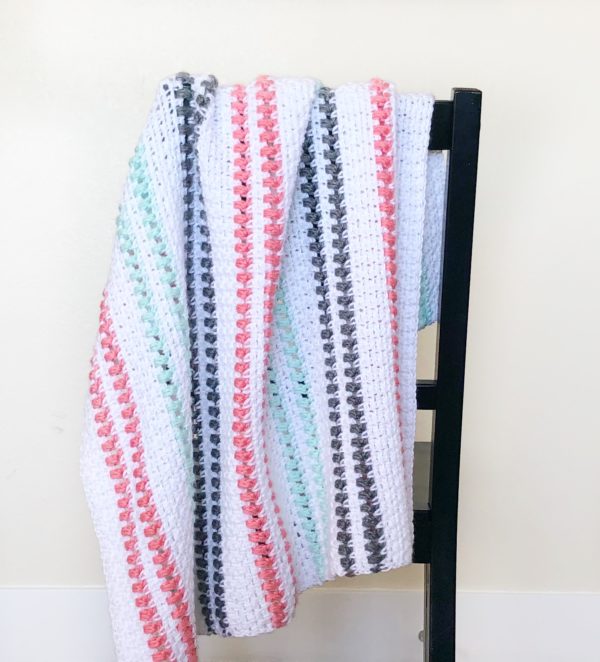
Thanks for stopping by! Best of luck with your crochet moss and puff stitch blanket! Whenever you get finished, come find us on Instagram @daisyfarmcrafts and show us your work, we’d love to see!
Hannah

